


 My Orders




RTG15VGCD2A Frigidaire Refrigerator - Overview
Diagrams for RTG15VGCD2A
See every part. Know exactly what you need.


Enter a part description. DIY Heroes keep it simple, eg. "belt" or "pump".
Search filter:
Clear Filter
Your search term must have 3 or more characters.

$41.75
In Stock
Defrost Thermostat
Part #5303917954
Clipped to the evaporator tubing, this refrigerator defrost thermostat helps limit heater operation during the automatic defrost cycle. It allows the heater circuit to operate when the coils are cold and opens the circuit once they reach the cutoff temperature, helping prevent overheating. A faulty thermostat may interrupt defrost heating...Read more, allowing frost to accumulate and block airflow. This can contribute to warmer food compartments or longer running times. This is an OEM part sourced directly from the manufacturer.
Read less

$53.85
In Stock
Evaporator Fan Blade
Part #5308000010
This evaporator fan blade moves cooled air through the refrigerator or freezer compartments when driven by the fan motor. A cracked, warped, or loose blade may vibrate, strike nearby parts, or fail to move enough air. Unusual ticking or humming noises and warmer compartment temperatures may be reasons to inspect the fan assembly. Check fo...Read morer ice buildup and motor or mounting problems as well, since these can cause similar symptoms. Disconnect power before accessing the blade and follow the appliance instructions for fitting it securely on the motor shaft. This is an OEM part sourced directly from the manufacturer.
Read less

$25.25
In Stock

$13.73
In Stock
Ice Cube Tray
Part #215667501
This plastic ice cube tray holds water for freezing into 12 cubes at a time. Channels help water spread evenly during filling, while corner supports allow trays to stack securely in the freezer. The tray measures approximately 11 inches long and 4.5 inches wide and is sold individually. Its flexible design allows frozen cubes to be releas...Read moreed by hand. Cracks or splits may let water leak before it freezes and are reasons to replace the tray. Check the available freezer space against the tray dimensions before ordering. This is an OEM part sourced directly from the manufacturer.
Read less

No Longer Available

No Longer Available
Freezer Door Gasket
Part #5308007123
This white door gasket is used to make an air-tight seal for the cabinet when the door is closed.

No Longer Available
Door Hinge Pin Bearing
Part #218519300
This white hinge pin bearing pivots the freezer and refrigerator door.

No Longer Available

$39.82
In Stock
Filter - Drier
Part #5303305677
This filter drier removes moisture and traps small particles in the refrigerator sealed refrigerant circuit. It helps keep dirt, metal fragments, and moisture from moving through the cooling system. The component measures approximately 11 inches long. A blocked or faulty filter drier may restrict refrigerant flow and contribute to poor co...Read moreoling even while the compressor runs. These symptoms can also come from other sealed system faults, so confirm the failed component before replacement. Match the filter and tubing connections to the appliance service requirements before selecting the replacement. This is an OEM part sourced directly from the manufacturer.
Read less

$37.52
In Stock
Door/Light Switch
Part #5309918806
This is a door/light switch and it is a replacement part for your refrigerator. This part is activated as you open and close your refrigerator door. When the switch is activated and the door is open it will turn the light on inside your appliance, and when you close the door the switch will deactivate the light. Before purchasing this par...Read moret, you may test it for continuity to determine if your current switch is defective and needs replacing. This model is white in color and measures to be roughly one inch thick, almost two inches high, and almost 1.5 inches deep, with a male end plug.
Read less

No Longer Available
Bottom Door Shelf Rack - Cut-to-Fit
Part #215366074
Replacement part may be longer than the original part. You might need to cut it to make it fit your appliance.

No Longer Available
Common Symptoms of the RTG15VGCD2A
How this model fails, and the parts that fix it.
Fridge too warm
Fixed by
these parts
these parts


Show All
Noisy
Fixed by
these parts
these parts

Show All
Freezer not defrosting
Fixed by
these parts
these parts
Show All
Freezer section too warm
Fixed by
these parts
these parts
Show All
Light not working
Fixed by
these parts
these parts

Show All
Fridge runs too long
Fixed by
these parts
these parts
Show All
Freezer too cold
Fixed by
these parts
these parts
Show All
Frost buildup
Fixed by
these parts
these parts
Show All
Fridge and Freezer are too warm
Fixed by
these parts
these parts
Show All
Fridge too cold
Fixed by
these parts
these parts
Show All
Door Sweating
Fixed by
these parts
these parts

Show All
Leaking
Fixed by
these parts
these parts

Show All
Too warm
Fixed by
these parts
these parts
Show All
Will Not Start
Fixed by
these parts
these parts
Show All
Watch our pros, then fix it yourself.
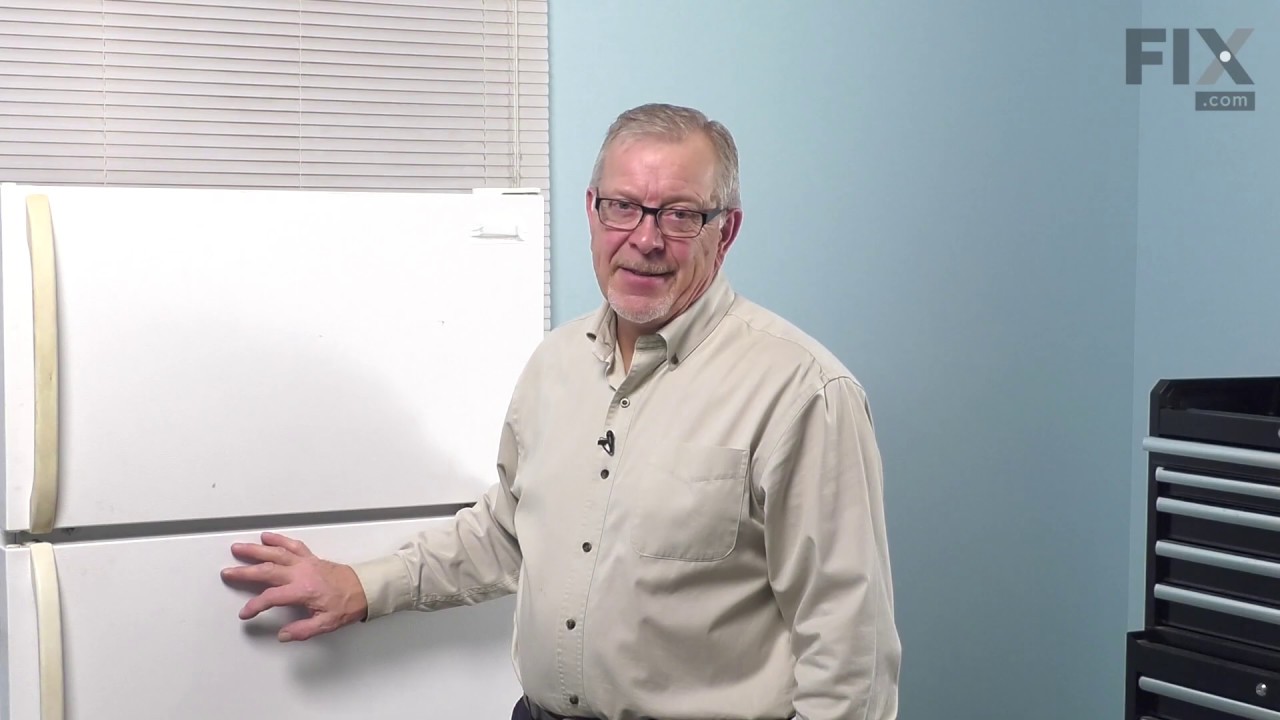
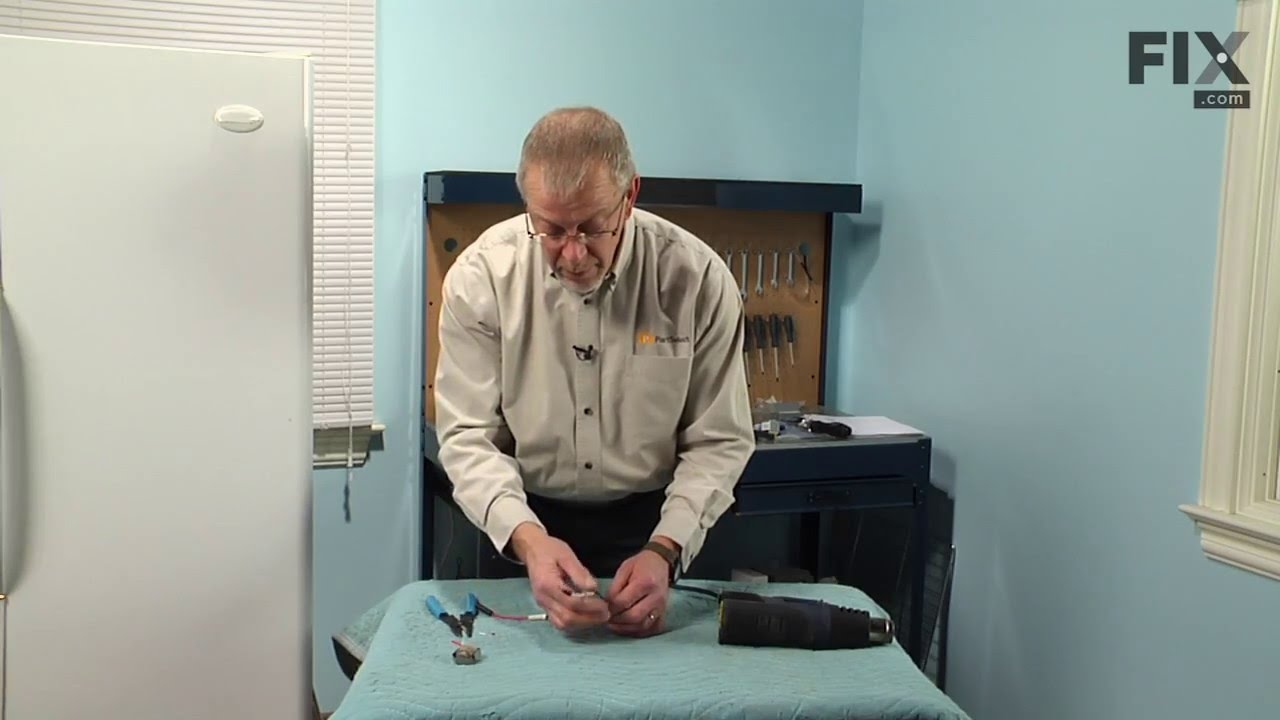
See how others fixed this model. Time, tools, difficulty, and steps that lead to victory!
View More