


 My Orders




RTE5243BL0 Roper Washer Dryer Combo - Overview
Diagrams for RTE5243BL0
See every part. Know exactly what you need.
-
BRAKE AND DRIVE TUBE

-
BRAKE, CLUTCH, GEARCASE, MOTOR AND PUMP

-
DRYER BULKHEAD

-
DRYER CABINET AND MOTOR

-
DRYER FRONT PANEL AND DOOR

-
DRYER SUPPORT AND WASHER

-
GEARCASE

-
MACHINE BASE

-
MISCELLANEOUS, LIT/OPTIONAL

-
SALES ACCESSORY

-
TUB AND BASKET

-
WASHER CABINET

-
WASHER TOP AND LID

-
WASHER WATER SYSTEM

-
WASHER/DRYER CONTROL PANEL

Enter a part description. DIY Heroes keep it simple, eg. "belt" or "pump".
Search filter:
Clear Filter
Your search term must have 3 or more characters.

$21.45
In Stock
Direct Drive Motor Coupling
Part #285753A
This direct drive motor coupling (Direct Drive Washer Motor Coupling, Motor Coupling, Washer Motor Coupling, Coupling Kit) provides a cushioned connection between the transmission and the motor shaft. It attaches to the direct-drive transmission and the motor shaft. If this part is defective it will affect the agitator in your washer beca...Read moreuse of its direct connection with the motor. Your washer may not agitate, spin slowly, or not spin at all. The coupling must be replaced when there is no longer a consistent connection between the transmission and the motor shaft. The coupling can wear over time because of its location between two major parts of the dryer. It is subject to material fatigue over time from normal use, or breakage caused by frequent overloading. The part measures approximately 2 inches in diameter, and is constructed of plastic and metal. This model comes in black/white.
Read less

$8.55
In Stock
Door Catch Kit
Part #279570
This part replaces your appliances latch (Door Latch Kit, Door Catch, Dryer Door Latch Kit). On your appliance you will find both a strike and a catch. The strike is mounted on the body of the dryer, while the catch is mounted on the dryer door. These two parts work together to keep your dryer door closed. The catch holds the door strike ...Read moreto keep the door closed during the drying cycle. If the door does not latch closed, you won’t be able to start a drying cycle. If this part is malfunctioning, you may not be able to open or close your door. In some instances, it may seem like your door is closing, but if it is not latching properly you won’t be able to start your drying cycle. You should replace this part as soon as it’s malfunctioning. Your dryer may run even though the latch is malfunctioning, but it is unsafe if the dryer continues to run while the door is open. This replacement part features 1 door latch kit which includes 2 strikes, 3 catches, and a set of instructions. This model is constructed of plastic and metal, and comes in white/silver.
Read less

$43.18
In Stock
Washer Direct Drive Water Pump
Part #WP3363394
The direct drive drain pump (Whirlpool Direct Drive Washer Pump, Drain Pump, Washer Drain Pump, Water Pump) removes water from the washer during the drain cycle without the use of a belt. The pump is supposed to drain the water from the washer; if the water isn’t draining or if there is a leak, you may have a problem with your pump. You ...Read moremust replace this part if there is a blockage or clog. Although the symptoms may point to a malfunctioning drain pump, there could actually be a problem with one of the connecting hoses. This pump connected directly to the motor, and comes in white plastic. This replacement part features 1 direct drive water pump with 2 ports for water to pass through: a large one and a smaller one.
Read less

$18.22
In Stock
Rear Drum Support Roller Kit
Part #349241T
The drum support roller kit allows the dryer to tumble properly by supporting the drum cylinder. The kit includes two drum rollers, four tri-rings, and one palnut (or retaining washer). The kit does not include a belt or idler pulley and rollers are not sold individually. The drum support roller kit may need to be replaced if the dryer is...Read more noisy or will not tumble. The tools needed to complete this repair are a putty knife, Phillips screw driver, and a 5/16 nut driver. This is an OEM part sourced directly from the manufacturer.
Read less

$32.63
In Stock
Water Inlet Valve with Mounting Bracket
Part #285805
The water inlet valve on your washing machine is used to fill the tub with cold, warm, or hot water for the wash and rinse cycles. This part could have either a blue or green-colored valve body. There are two ports for water to enter and this valve is compatible with a half-inch ID hose. It has two 3/4-11x1/2 NHT hose threads. You may hav...Read moree a faulty valve if your washer is leaking, has no hot or cold water, will not stop filling with water, will not fill with water, fills and drains at the same time, or is noisy. To confirm that the valve is faulty, unplug the washer when the symptom occurs. If the washer continues to fill, then the inlet valve is defective.
Read less

$38.96
In Stock
Washer Clutch Assembly
Part #285785
A clutch assembly (Clutch, Washer Clutch) is found in your washing machine and is responsible for spinning the basket during the spin cycle. The clutch lining can wear over time. If the clutch lining is worn out, the clutch assembly will not rotate properly to release the brake. If you notice a burning smell, or the machine shaking and mo...Read moreving more than normal, this could indicate there is an issue with your clutch. If the washer spins when the washer basket is empty but not when it’s full, or if the assembly begins to turn blue, you may need to replace the clutch assembly. This assembly includes a brake cam driver, blue springs for large capacity washers, a black spring for compact washers, and the installation instructions. It’s constructed of plastic and metal, and comes in beige/silver.
Read less

$16.07
In Stock
Dryer Idler Pulley Assembly
Part #WP691366
This part provides the tension required for a multi-ribbed belt. It also helps the belt rotate the drum and attaches to the idler pulley wheel. If your dryer will not start or tumble, takes too long to dry, or is noisy during operation, you may need to replace the idler pulley assembly. Make sure to disconnect power before installing this...Read more part, and wear work gloves to protect your hands. While the dryer is disassembled for this repair, consider replacing the drive belt as well. You will need a putty knife, a Phillips screwdriver, and a 5/16 nut driver for this repair.
Read less

$11.77
In Stock
Roller Support Tri-Ring
Part #WPW10512946
If you notice that your dryer is noisy or will not tumble, you may need to replace the tri ring. This part is triangular, and is less than an inch in size. Tri rings can be found both on the idler pulley shaft, or on the rear drum roller shaft. In either case, you will need to remove the front panel of the dryer and the drum to access the...Read more part for repair. Once you have accessed the damaged tri ring, you will simply need to slip it off and replace it with the new one. This part is sold individually. Be sure to disconnect the power source from the dryer before you begin this repair.
Read less

$6.40
In Stock
Agitator Bolt
Part #WP358237
This kit contains one screw with rubber gasket and threaded sealant. The screw head is 7/16".

$6.40
In Stock
Washer Tub Spring
Part #WPW10250667
This tub spring is also known as suspension spring, balance spring, or counterweight spring. It is sold individually. The function of the part is to counterbalance the weight of the motor on the front of the front-load washer so the washer tub sits straight and even during the spin cycle. You may need to replace the spring if tub is sitti...Read moreng tilted forward. A broken spring will result in the tub being off-balance during the spin cycle which can cause further damage to washer parts. It is recommended to check all suspension springs as they often wear at the same rate. Tools needed for repair are a Phillips screw driver, flat blade screw driver, and a pair of pliers.
Read less

$50.56
In Stock
Dryer Lint Filter and Cover
Part #W10828351
This lint filter helps keep your dryer running safely and efficiently by catching lint and fibers from clothes. It has a unique kidney shape and fits securely with four metal clips. Made from strong steel and plastic, it’s built to last. If your dryer isn’t drying well or takes too long, replacing the lint screen might help. It works with many Whirlpool and Kenmore models and is easy to install.

$97.46
In Stock
Drive Motor with Pulley
Part #279827
This OEM drive motor is designed to operate the drum in electric and gas dryers by turning the drive belt, enabling proper rotation during drying cycles. Compatible with most Whirlpool-incorporated dryer brands manufactured before 1996, it includes a pre-attached pulley, which is not available separately. If the motor has shorted out or f...Read moreailed, the drum will no longer spin, and replacement is necessary to restore full functionality. Installation requires disconnecting the dryer from its power source before removing the old motor and installing the new one. This component is sold individually and meets original equipment standards for performance and reliability.
Read less
Manuals & Care Guides for RTE5243BL0
Click to downloadCommon Symptoms of the RTE5243BL0
How this model fails, and the parts that fix it.
Leaking
Fixed by
these parts
these parts


Show All
Noisy
Fixed by
these parts
these parts


Show All
Will not agitate
Fixed by
these parts
these parts


Show All
Door won’t close
Fixed by
these parts
these parts


Show All
Spins slowly
Fixed by
these parts
these parts

Show All
Will not drain
Fixed by
these parts
these parts
Show All
No hot or cold water
Fixed by
these parts
these parts
Show All
Spinning Issues
Fixed by
these parts
these parts
Show All
Burning smell
Fixed by
these parts
these parts

Show All
Drum Not Spinning
Fixed by
these parts
these parts

Show All
Will Not Start
Fixed by
these parts
these parts


Show All
Won’t Start
Fixed by
these parts
these parts

Show All
Door Pops Open
Fixed by
these parts
these parts
Show All
Not Heating
Fixed by
these parts
these parts


Show All
Shaking and Moving
Fixed by
these parts
these parts

Show All
Water Filling Issues
Fixed by
these parts
these parts
Show All
Leaks water
Fixed by
these parts
these parts
Show All
Draining Issues
Fixed by
these parts
these parts
Show All
Marks left on clothes
Fixed by
these parts
these parts

Show All
Lid or door won’t close
Fixed by
these parts
these parts

Show All
Too hot
Fixed by
these parts
these parts
Show All
Noisy and Marks Left on Clothes
Fixed by
these parts
these parts
Show All
Touchpad does not respond
Fixed by
these parts
these parts
Show All
Running With Door Open
Fixed by
these parts
these parts
Show All
Watch our pros, then fix it yourself.

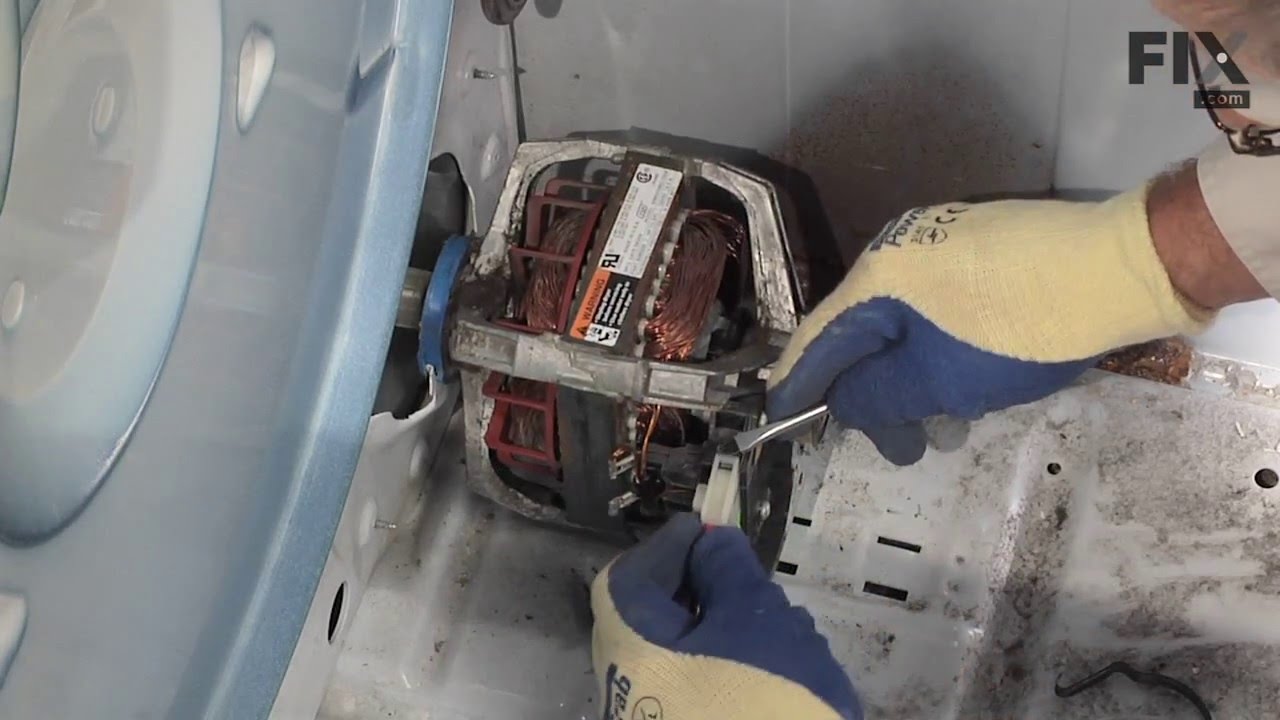
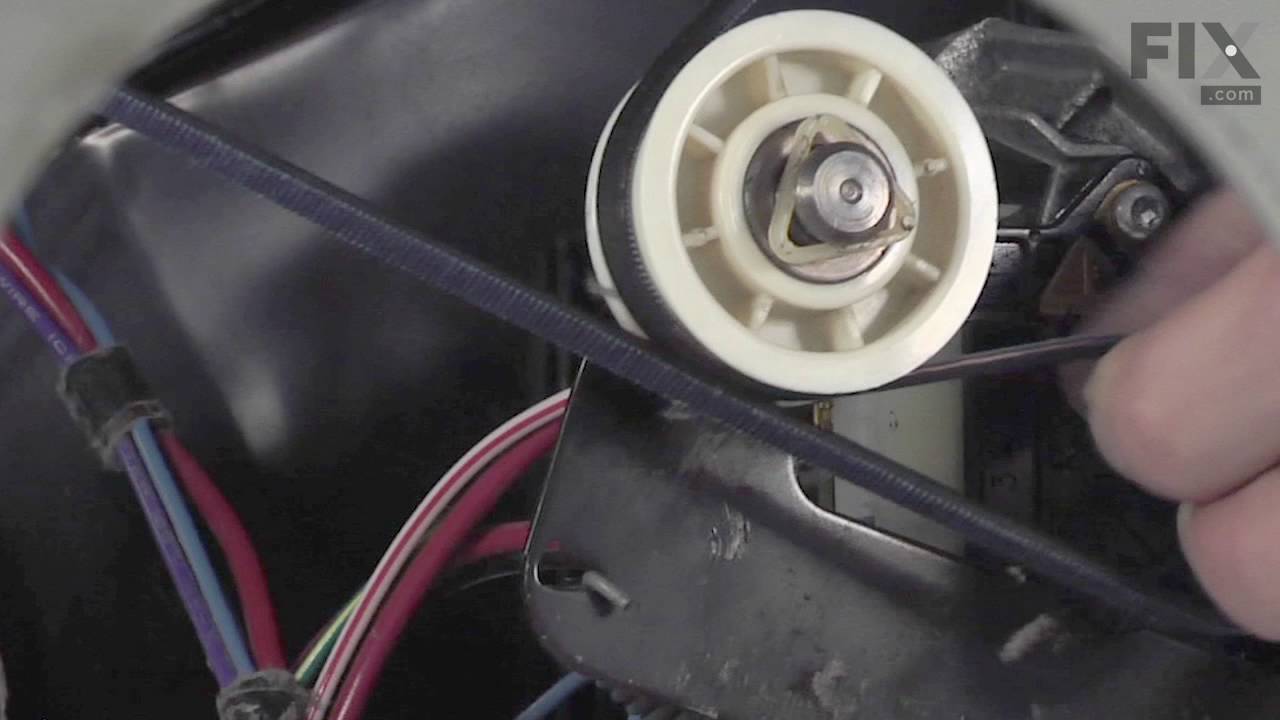
See how others fixed this model. Time, tools, difficulty, and steps that lead to victory!
View More
Search repair tips from other customers using simple keywords like "replace", "fit", "remove", "inspect". DIY doesn't mean you have to do it alone!
Search filter:
Clear Filter
Your search term must have 3 or more characters.
Water pump leaking when machine used.
594 of 637 people
found this instruction helpful.
The hardest part of this job was pulling the machine away from the wall so the hoses could be disconnected and the machine flipped onto it's back. Putting the machine on it's back does two things. It drains the water left in the bottom of the tub so it won't pour out onto the motor when the old pump is removed, and gives the necessary a
... Read more
ccess to the pump. Once the machine is on it's back you remove the hose clamps with a pair of pliers and disconnect the hoses. The pump is secured to the motor with a pair of spring steel retaining clips which are easily popped off by hand. Once the clips are removed, the pump is in your hand. Put the new pump in place, replace the retaining clips and hoses, and you're done. This has to have been the easiest repair I've ever done. I wish cleaning gutters was this easy.
Read less
Other Parts Used:

Was this helpful?
Thank you for voting!