


 My Orders




RT75 (2014) Cub Cadet Tiller - Overview

Enter a part description. DIY Heroes keep it simple, eg. "belt" or "pump".
Search filter:
Clear Filter
Your search term must have 3 or more characters.

$6.40
In Stock
Lawn Mower Hex Washer Head Screw
Part #710-0599
This is an original replacement part sourced directly from the manufacturer. The screw is commonly found in yard equipment from Craftsman, such as lawn tractors, snow blowers, and edgers. This part is made of metal, and may be found in various locations in the machine, depending on model. Please be aware that there are different screws...Read more used in the machine. Refer to the parts diagram to be sure of ordering the correct part. You will require a wrench when replacing this item. The screw is sold as an individual replacement part.
Read less

$6.40
In Stock
Nut-flglk 5/16-18
Part #712-04063
This nut is a manufacturer-approved replacement part for various lawn and garden equipment. It is sold individually, not as part of a kit or assembly. Also referred to as a Lock Nut, it is resistant to loosening when threaded on a bolt. It has a variety of applications and is used in multiple locations on most models. Please refer to your...Read more owners manual to determine the exact location.
While made of durable metal, the ends can round off from improper use of a wrench or socket. Depending on the location, this part may also become worn through regular use of your machine. It should be replaced when visibly cracked, worn or damaged. To complete this repair, you will need a wrench or socket, and a torque wrench. Ensure you torque the bolt according to the manufacturer recommendations.
Customers rate this repair as Easy.
Read less

$6.40
In Stock
Lawn Mower Flanged Lock Nut
Part #712-04065
Designed for use in various models of lawn and garden equipment, this part is not sold as part of a kit or assembly. It is made of metal, is gold in color, and is sold individually. This part may also be called a Flange Lock. This nut is designed to lock in place, preventing vibrations and other parts coming loose.
This nut may be locate...Read mored in multiple locations on your machine, refer to your owners manual to determine if this is the correct part. You will need a wrench or socket set and a torque wrench to complete this repair. You should only torque the nut to the manufacturer recommendation, no tighter.
You will need to replace this part when it is worn or damaged. While this part can wear through regular use, it is most commonly damaged through improper use of a wrench or socket.
Customers describe this repair as Easy.
Read less

$106.41
In Stock
Fuel Tank
Part #799863
This genuine fuel tank assembly is sourced directly from the original equipment manufacturer and is specifically designed for use with Briggs & Stratton engines on lawn and garden equipment. It serves as the primary reservoir for storing fuel required by the engine.
Constructed from durable plastic, this assembly includes both the fuel...Read more tank and cap.
Note: Mounting hardware and fuel lines are sold separately. This tank features four mounting holes for secure installation.
For proper fit and installation, refer to your equipment’s model diagram.
Read less

$15.76
In Stock
Deflector-muffler
Part #796956
This item is available as an individual replacement part but also includes the screws. The muffler deflector attaches to the lo-tone muffler and is made of metal. A nutdriver might be required during the replacement of this item. It may become broken and will need to be replaced. This is an authentic Briggs & Stratton and Toro replacement...Read more part that is sourced from the original manufacturer for use with engines, snowthrowers, tillers, lawn mowers, and lawn tractors.
Read less

$6.40
In Stock
Nut-flglk
Part #712-04064
Also referred to as a Lock Nut or Flange Lock, this nut is designed for use with various lawn and garden equipment. The purpose of this part is to hold parts in place while resisting loosening when properly threaded. It is sold individually, not as part of a kit or assembly. It is black, made of metal, and is found in a variety of locatio...Read morens. Refer to your owners manual to determine if this is the correct part.
This part will need to be replaced when it is weak or broken. The symptoms experienced when this part breaks will depend on its location. You will need pliers to complete this repair.
Customers rate this repair as Easy.
Read less

$28.56
In Stock
Tiller Forward Drive Belt
Part #954-04090
The Forward Drive Belt is a 12.5-inch black, rubber belt, sold individually. Installation of this manufacturer-certified part is rated as "Easy" by customers and will require pliers, a socket set, and a wrench set. This part is used to transfer power from the engine's drive pulley to the transmission. If broken due to wear/fatigue/damage,...Read more the drive wheels will no longer be able to propel the mower, and the part should be replaced. This belt attaches between the engine drive pulley and the transmission's drive pulley. Refer to your make, model and diagrams to ensure this part is right for you.
Read less

$7.04
In Stock
Gasket-exhaust
Part #692237
The exhaust gasket attaches to the exhaust manifold and helps to form a seal. It is an authentic OEM sourced part which is specially designed for use with Briggs & Stratton generators and engines, plus Toro snowthrowers and lawn tractors. This gasket is made of a flexible material and is priced individually. A screwdriver and a wrench may be needed to install this part.

$6.40
In Stock
Washer-sealing
Part #271716
This authentic OEM sealing washer is designed for your lawn equipment to create a tight seal within the carburetor body, preventing fuel or air leaks. If you notice any signs of leaks, such as dripping fuel or hissing sounds, it may indicate a faulty or worn-out sealing washer. Additionally, you might be experiencing engine performance is...Read moresues like rough idling or difficulty starting. To replace the sealing washer, ensure that the machine is off and that the engine has cooled down. Remove the air breather cover and the filter itself, following the instructions provided in your user manual to access the carburetor. Depending on your specific equipment model, you may need to detach the springs from the carburetor choke mechanism, disconnect the fuel line and fuel tank, remove the choke lever, and detach the air breather base. Once you have located the carburetor, carefully unthread the main jet from the bottom of the carburetor bowl. Finally, slide off the old sealing washer, ensuring you take note of its positioning for accurate replacement. Please note that this sealing washer is sold individually.
Read less

$67.63
In Stock

$6.40
In Stock
Screw
Part #690837
This replacement screw is a genuine OEM sourced hardware designed for use with Briggs and Stratton engines commonly installed on Toro lawn and garden equipment. It has multiple applications depending on the unit. Please always make sure to check appropriate diagrams for correct location and use of this hardware. This metal screw is sold individually.

$6.40
In Stock
Clamp-hose
Part #791850
This is a genuine manufacturer-sourced part which is designed for use on lawn and garden equipment. It is an identical replacement for a missing or a damaged clamp that is used to secure the hose. Keep in mind this high-quality product is made of durable metal and is sold individually. Please make sure to check the appropriate diagrams for your model for the correct location and application of this hardware.
Watch our pros, then fix it yourself.

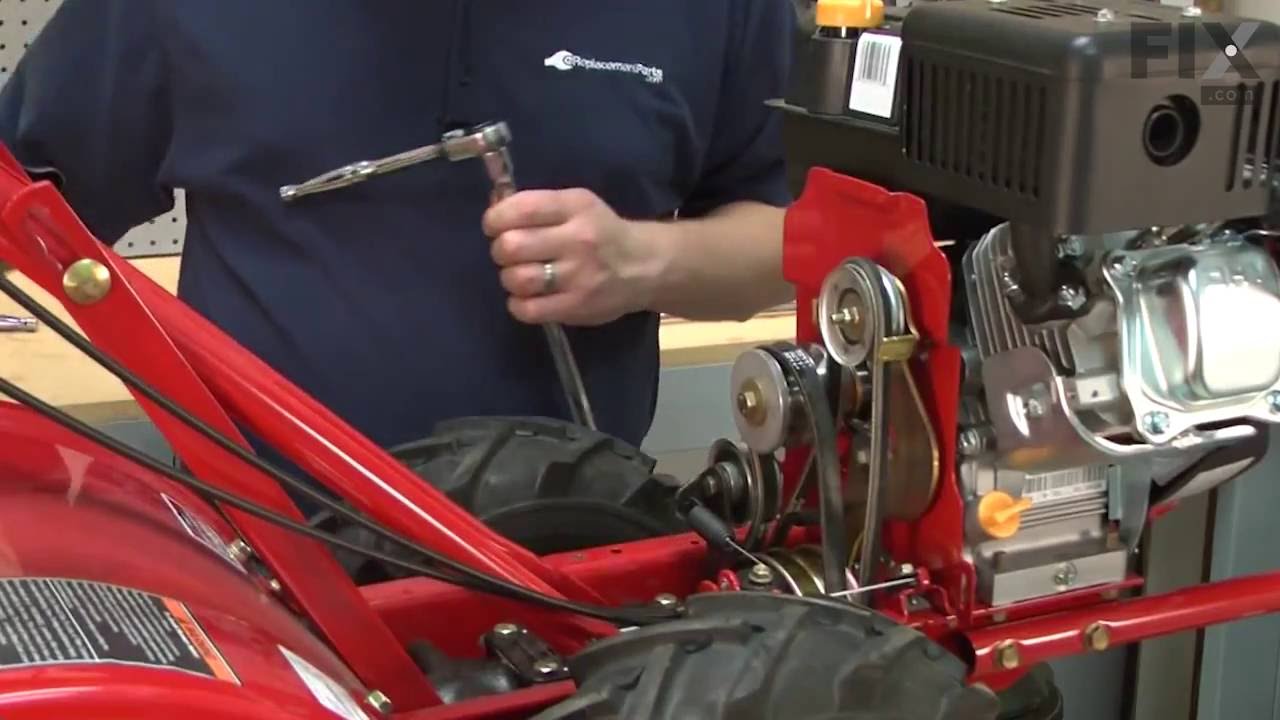
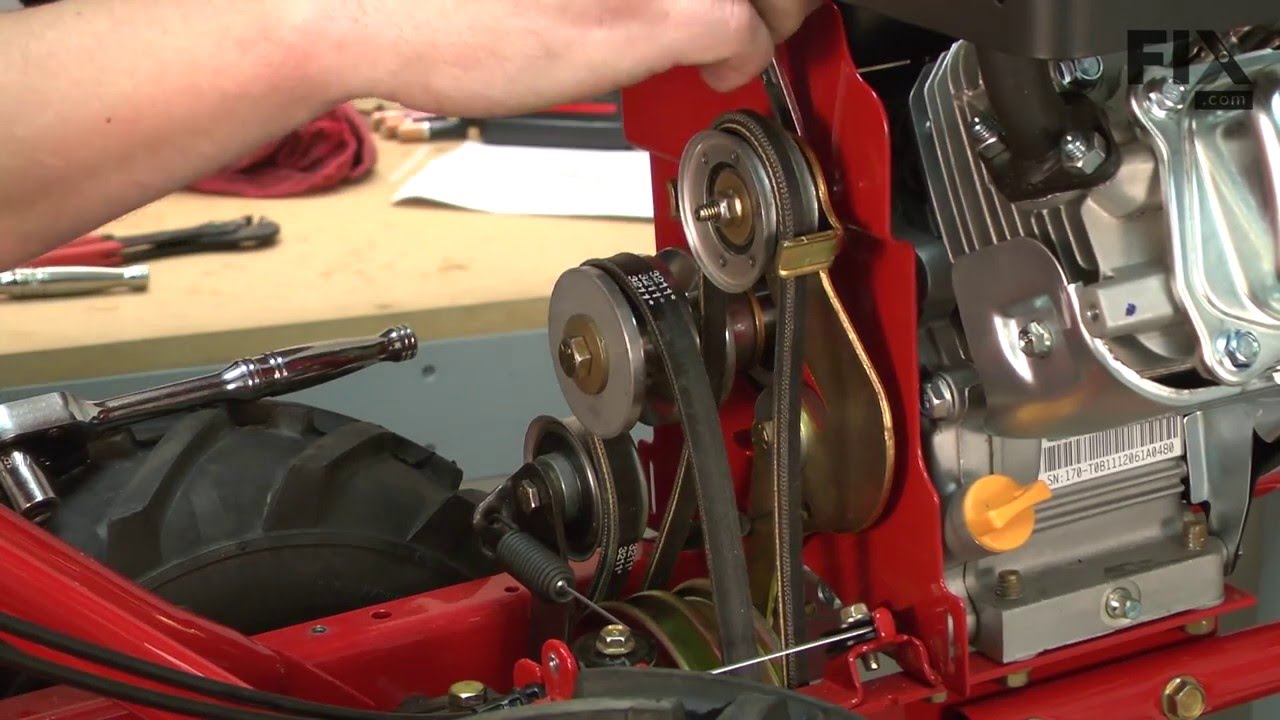
See how others fixed this model. Time, tools, difficulty, and steps that lead to victory!
View More
Search repair tips from other customers using simple keywords like "replace", "fit", "remove", "inspect". DIY doesn't mean you have to do it alone!
Search filter:
Clear Filter
Your search term must have 3 or more characters.
Parts fit like a glove
2 of 3 people
found this instruction helpful.
Removed pull start assembly down to the crank. Installed motor housing, motor fan & rewind assembly. All went real good.
Other Parts Used:


Was this helpful?
Thank you for voting!
Needed to replace muffler
1 of 2 people
found this instruction helpful.
Using a socket wrench with extension and a T20 star socket (you can use the appropriate hex head socket also) i removed to two bolts holding the muffler on. They are right on top of the engine and very accessible. Your model may have a heat shield that needs to be removed. Once the muffler is off remove the old gasket. It may be stuck to
... Read more
the muffler or exhaust opening on the engine. It should just pry of with a little effort. I did make sure there were no gasket pieces left behind. I placed the bolts through the flange of the new muffler and then slid the new gasket over the bolts. You can use a exhaust gasket sealant just hold it place while you place the flange in place and not have to worry about gasket dropping off. I just held it until I got the flange in place. I started the bolts by hand using the socket and extension. I alternated from each bolt until I had tighted it down. You can look up torque specs. I just used my grunt meter. It is good as new. Parts were OEM replacement. Not knock off almost right parts. I got very lucky when I found this company and will use them again.
Read less
Other Parts Used:


Was this helpful?
Thank you for voting!