Your coupon for will be reflected when you check out!
✖
Your coupon for
✖
Hello!
You're visiting the PartSelect site in U.S.
Would you like to shop on the Canadian site?
Stay on this site
Go to Canadian site
✖
Model Number Locations
1Select Category Type
Select Category Type
2Select Product Type
Select Product Type
3Select {MODEL} Type
Select {MODEL} Type
Sample Model Number Tags
Model numbers can be made up of numbers (1005400, for example) or a combination of letters and numbers (LAT1000AAE). The model number will most likely appear on either a paper sticker or a metal plate. Your appliance's model number tag may look similar to the sample model number tags shown here (model number highlighted in yellow):
Model has been saved to My Models. If you're not signed in, your lists are available on this device and will expire within 30 days.
Model has been saved to My Models.
This an authentic OEM 40-Watt replacement light bulb, used in a number of household appliances. It is specially designed to withstand extreme temperatures, which is why these replacement bulbs are mos...
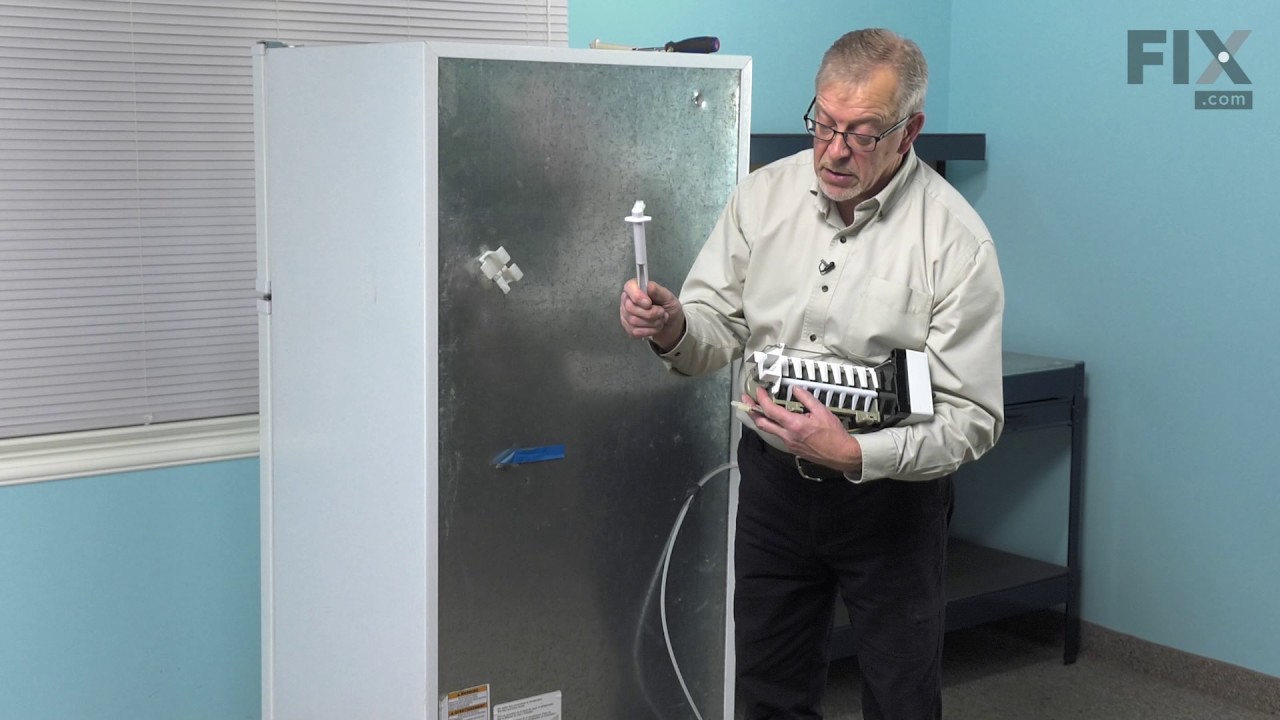
The icemaker water fill tube provides water to the icemaker so it can produce ice and dispense water. If you notice that your ice maker is not making or dispensing ice, or is leaking, you may need to ...
This handle end cap kit, also known as a door handle end cap, includes both the upper and lower door handle caps for freezers and fresh food compartment handles. Used in refrigerators and freezers, th...
This touch-up paint can be used on a wide variety of household appliances. It is most often used on washers, dryer, refrigerators, dishwashers, ranges, freezers, trash compactors, or microwaves. It is...
This hinge bracket, also known as a door stop, is attached to the bottom of the door and is used to limit how far the door swings out to protect the refrigerator itself, and any surrounding cabinets f...
The light socket in your refrigerator houses the light bulb and connects it to the power source. If your refrigerator light is not coming on when you open the door, you may need to replace the light s...
This part is the replacement end cap trim for your refrigerator. It is made of white plastic and is approximately 1 inch wide, 1 inch long, and ½ inch thick. This part can also be known as the shelf s...
Removed 2 screws holding water fill tube to rear of refrigerator and pulled out, matched old part with new to make sure of proper match. Guide new fill tube thru hole, making sure it is aligned with slot in ice cube tray on inside of freezer. Install new plastic line from water pump outlet to water fill tube, check for leaks, job done.
I used a flat-head screwdriver to pop out the old light rocker switch. Then, I unplugged the wires, plugged them into the new light rocker switch, and then popped the new switch into the hole. That's it! Lights began working again.
First I removed the old lightbulb from the socket and replaced it with a new one to confirm that the bulb was not the problem. I then pryed the socket out with a flat-head screwdriver. I could tell that the socket was anchored in its hole with clips so it was relatively easy to pry it out. Once the socket was out, I disconnected the le
... Read moread wires and ordered a replacement socket kit from Partselect. When the new one arrived, I reconnected the lead wires to it, snapped it back into its hole, screwed in a new lightbulb, and presto!! The light was back on with no further problem. Thank you, Partselect!! A $15.00 part saved me what probably would have been at least a $100. service call and heaven knows what the technician would have told me I needed!!!