


 My Orders




RISBS560N Hoover Refrigerator - Overview
Diagrams for RISBS560N
See every part. Know exactly what you need.


Enter a part description. DIY Heroes keep it simple, eg. "belt" or "pump".
Search filter:
Clear Filter
Your search term must have 3 or more characters.

$30.53
In Stock

$21.45
In Stock
Screw
Part #W11233072
This is a multi-use and multi-appliance screw. It can be used on a microwave, refrigerator, range/oven, air conditioner, dehumidifier, washer, or dryer. The measurements of this screw are 8 x 1/2 inch. It has 6 threads. Refer to the manual provided by the manufacturer for further information on repair and accurate guidance. Remember to wear work gloves as a safety precaution.

No Longer Available
Crisper Drawer Shelf Support
Part #67764-1
This crisper drawer shelf support is used for many refrigerators.

$7.47
In Stock
Washer Hose Clamp
Part #WP596669
This hose clamp is used in a wide variety of household appliances. Most often it is found in washers, dishwashers, refrigerators, freezers, dehumidifiers, garbage disposals, or air conditioners. This clamp is used to securely attach a hose to another part of your appliance, which helps prevent leaks from those connections. Depending on th...Read moree appliance, it can attach hoses to drain pumps, water inlet valves, pressure switches, and injector nozzles. We recommend you refer to model-specific diagrams for appropriate uses and exact placement. This hose clamp is made of metal, and is sold individually. To access and replace this part you will need a nut driver, pliers, and screwdrivers. Before you begin any repair work, make sure you have unplugged your appliance, and shut off the water supply if applicable.
Read less

$35.80
In Stock
Refrigerator Water Fill Cup & Bearing
Part #WP628356
This refrigerator ice maker fill cup dispenses the water into the ice cube mold during the fill cycle. Replacing the water fill cup is a possible solution if you notice that the ice maker is leaking, or not making/dispensing ice. If you notice the fill cup has been damaged or cracked; replace the part straight away. This water fill cup is...Read more a genuine OEM part and will fit most refrigerators, but check the list of compatible brands to make sure yours is included before purchasing.
Read less

$7.47
In Stock
Screw
Part #WP488729
Metallic screw that is less than an inch long. Does not include the plastic washer.

$45.29
In Stock
Refrigerator Armshut
Part #W11342242
This ice level arm, also known as an ice shutoff arm, is designed to detect the level of ice within the ice bin of your ice maker or refrigerator and turn it off when enough ice has been made. When the ice maker is empty, the arm will be down. When the ice maker is full, the arm will be raised, and over time, wear and tear to the level ar...Read morem can cause the ice maker to stop making ice completely. To replace this arm, unplug your appliance and remove the ice making assembly, then pull the levelling arm out of the assembly and place the new one. Consisting of a long, angled metal arm and a plastic flap, this level arm is a genuine OEM part that is compatible with a wide-range of refrigerators and icemakers and measures at approximately 9-inches by 4.5-inches.
Read less

$9.62
In Stock
Hose Clamp
Part #WP285655
The hose clamp is used to hold the water hose in place which will prevent the hose from leaking water. Sometimes the clamp may lose its ability to latch on, causing a leaking washer. For the installation, you will need a flat head screw driver to replace the clamp and a drill to access the screws to remove the front of the washer. Be care...Read moreful if you do not have specific clamp pliers as the clamp could fly off. Once the front of the washer has been removed, take a quick look for water damage or any obvious signs of where the leak is coming from. If it is not obvious, run water to test.
Read less

$7.47
In Stock

$60.51
In Stock
Cycling thermostat
Part #WP627985
The ice maker thermostat, also known as the cycling thermostat, controls and regulates the ice maker ejection cycle by monitoring the temperature inside the freezer to determine when to release the ice into the bin and start the ice making cycle again. If your ice maker is making unusual noises, or if the ice maker is not making or dispen...Read moresing ice, there could be an issue with the thermostat. Before you begin this repair, make sure the power is disconnected from your refrigerator, and that any food that may spoil is safely stored. This is an OEM part and is sourced directly from the manufacturer. This thermostat is sold individually, and comes with two attachment clips.
Read less

$11.77
On Order
Refrigerator Compression Nut
Part #WP627018
The compression nut is used as a connection between the water supply line and other components in your refrigerator such as your ice maker and your water dispenser. Tools required for this repair include a pair of pliers and a socket set. Before installing this part you should take all perishable foods out of your refrigerator and store t...Read morehem somewhere cool, unplug the refrigerator from the power source, and shut off the water supply. This repair may require you to wear work gloves to protect your hands, and is considered an easy do-it-yourself fix.
Read less

$7.47
In Stock
Common Symptoms of the RISBS560N
How this model fails, and the parts that fix it.
Light not working
Fixed by
these parts
these parts

Show All
Leaking
Fixed by
these parts
these parts


Show All
Ice maker not making ice
Fixed by
these parts
these parts


Show All
Ice maker won’t dispense ice
Fixed by
these parts
these parts

Show All
Ice maker dispenses too much ice
Fixed by
these parts
these parts
Show All
Fridge too warm
Fixed by
these parts
these parts

Show All
Freezer section too warm
Fixed by
these parts
these parts
Show All
Freezer not defrosting
Fixed by
these parts
these parts
Show All
Door latch failure
Fixed by
these parts
these parts

Show All
Not dispensing water
Fixed by
these parts
these parts

Show All
Will not drain
Fixed by
these parts
these parts
Show All
Watch our pros, then fix it yourself.



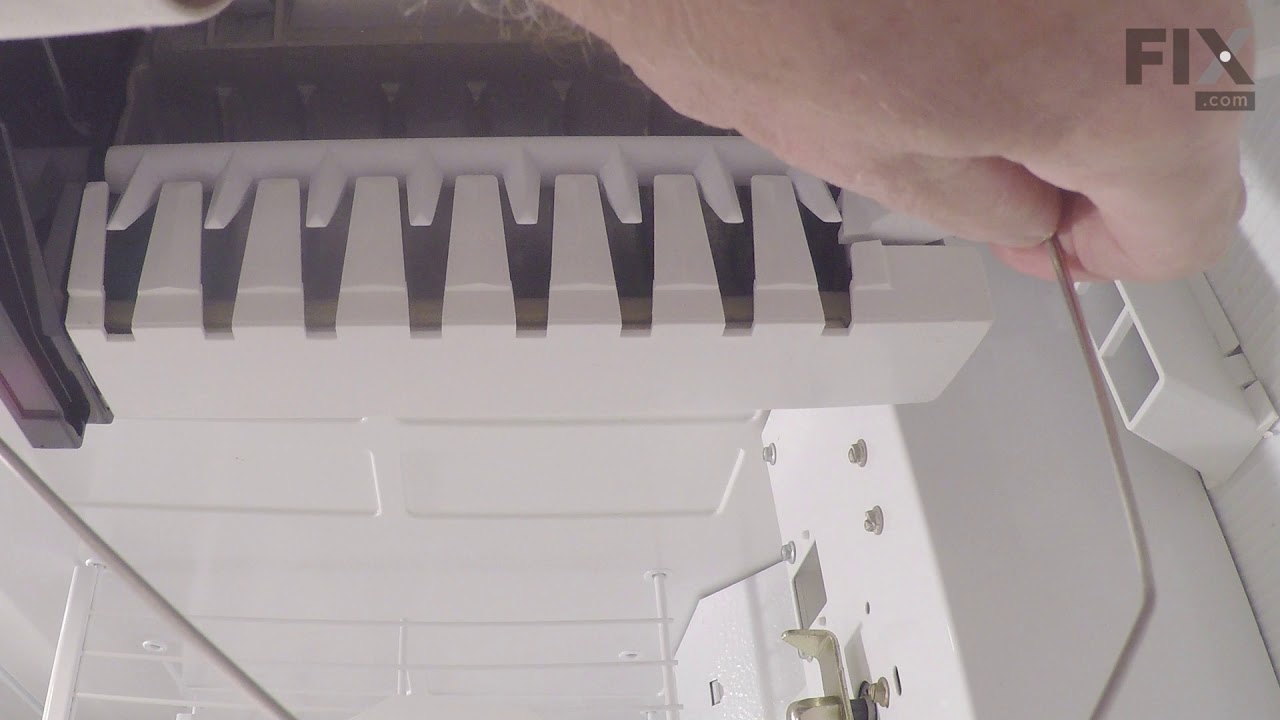

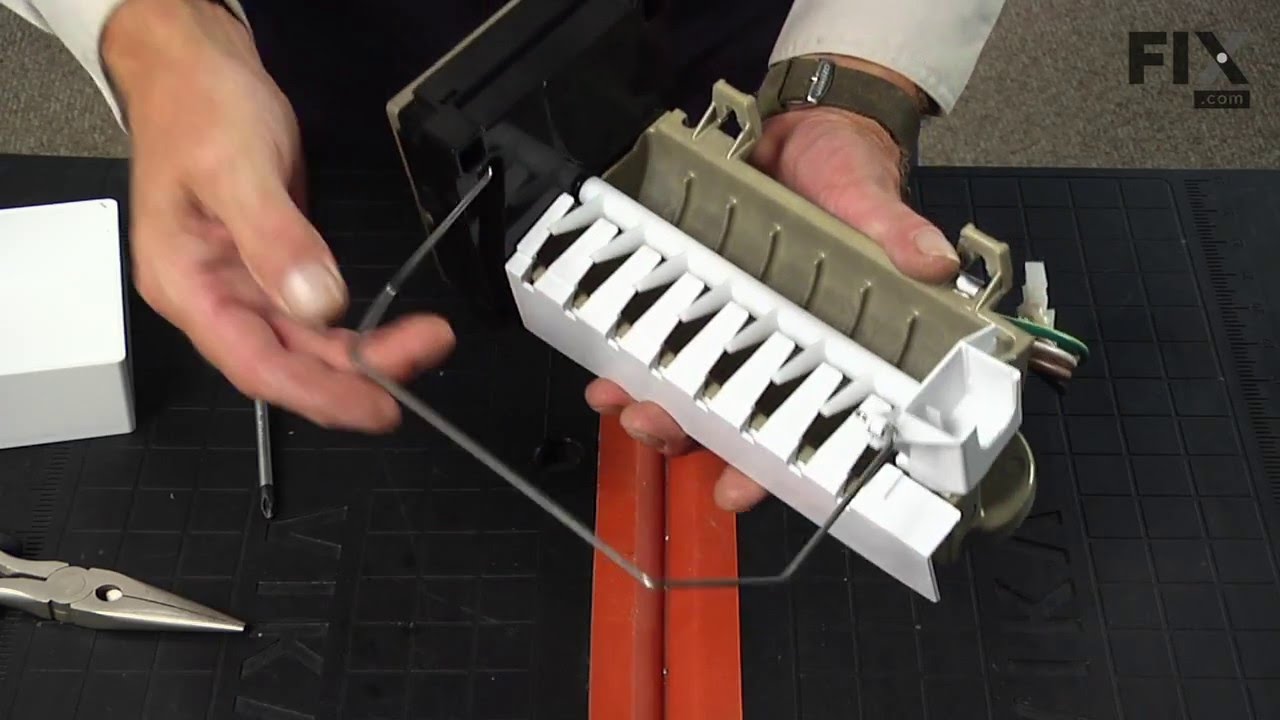
See how others fixed this model. Time, tools, difficulty, and steps that lead to victory!
View More