



 My Orders




RGB524PEHW General Electric Range - Overview

Enter a part description. DIY Heroes keep it simple, eg. "belt" or "pump".
Search filter:
Clear Filter
Your search term must have 3 or more characters.

$59.47
In Stock
Flat Style Oven Igniter Kit
Part #WB13K21
The flat style oven igniter kit comes with a mounting bracket and a wire connector with a plug. The igniter kit is used to light the oven burner. If you notice that your oven will not heat up properly, the igniter kit may need to be replaced. This flat style gas oven igniter has a body length of 3-3/4 inches. When completing this repair, ...Read morethe connector plug might need to be removed and spliced to the range wiring using porcelain wire nuts. Before you begin this repair, be sure to disconnect the power source from the oven, and shut off the gas supply.
Read less

$73.86
In Stock
Oven Rack
Part #WB48T10095
The oven rack is sold individually. It is chrome in color and measures approximately 24 inches wide by 17-1/2 inches deep. The rack is used to hold cookware in the oven and slides back and forth for easy access. Racks can become rough and discolored over time and may need to be replaced, or perhaps you just need extra storage space in the...Read more oven! This repair is extremely simple and does not require any tools. Before you begin, ensure that the rack edges are straight and have not warped from shipment. Once the oven door is open, the stop end goes in first and it simply slides into place.
Read less

$59.47
In Stock

$17.19
In Stock

$29.47
In Stock
GASKET DOOR ASM
Part #WB35X29720
This oven door gasket prevents heat from escaping the oven cavity when in use. It contains all of the attaching clips needed for installation.

$158.64
In Stock
Oven Thermostat
Part #WB20K8
This part establishes and maintains the internal temperature of the oven cavity.

$15.00
In Stock
Liquid Propane Orifice Spud
Part #WB28K10376
This is the replacement propane orifice for your gas range. You will find the orifice under the cooktop, beneath the burner. This part supplies liquid propane from the gas line to the stove top. Be sure to disconnect your range from its power source and turn off the gas line before you begin this repair. The orifices should simply screw o...Read moreut, and the new one will screw in. This part is about ¼ of a inch in diameter and is gold in color. It is sold individually and is a genuine OEM part.
Read less

$25.26
In Stock

$16.05
In Stock

$43.18
In Stock
Broiler Pan - Large
Part #WB48X10056
This large broiler pan is found in the bottom of your oven and is used to catch drippings from broiling foods. This part includes the grate and bottom pan and is made of porcelain. The grate measures 15-1/2 inches wide by 13 inches deep and the pan is about 17 inches wide by 13 inches deep. No tools are required to replace this item, simp...Read morely pull out the lower drawer of your range, pull down the front of the drawer, slide the pan out and slide the new one into place. This is a genuine part sourced right from the manufacturer.
Read less

$16.05
In Stock

$36.85
In Stock
Thermostat Knob
Part #WB03K10037
This is the replacement thermostat knob for your oven. It is made of black plastic and has temperature settings printed on it. The thermostat knob connects to a shaft on your oven and allows you to turn the oven on and off, adjust the temperature, and use the broil setting. If your old knob is worn, stripped, damaged, or missing, this is ...Read morethe part that will replace it. To replace the thermostat knob, carefully remove it from the shaft and replace it with the new knob. This part is sold individually and is an OEM part sourced directly from the manufacturer.
Read less
Common Symptoms of the RGB524PEHW
How this model fails, and the parts that fix it.
Gas igniter glows, but will not light
Fixed by
these parts
these parts


Show All
Little to no heat when baking
Fixed by
these parts
these parts


Show All
Will Not Start
Fixed by
these parts
these parts
Show All
Element will not heat
Fixed by
these parts
these parts
Show All
Oven not heating evenly
Fixed by
these parts
these parts

Show All
Oven is too hot
Fixed by
these parts
these parts
Show All
Gas smell
Fixed by
these parts
these parts

Show All
Little to no heat when broiling
Fixed by
these parts
these parts
Show All
Watch our pros, then fix it yourself.
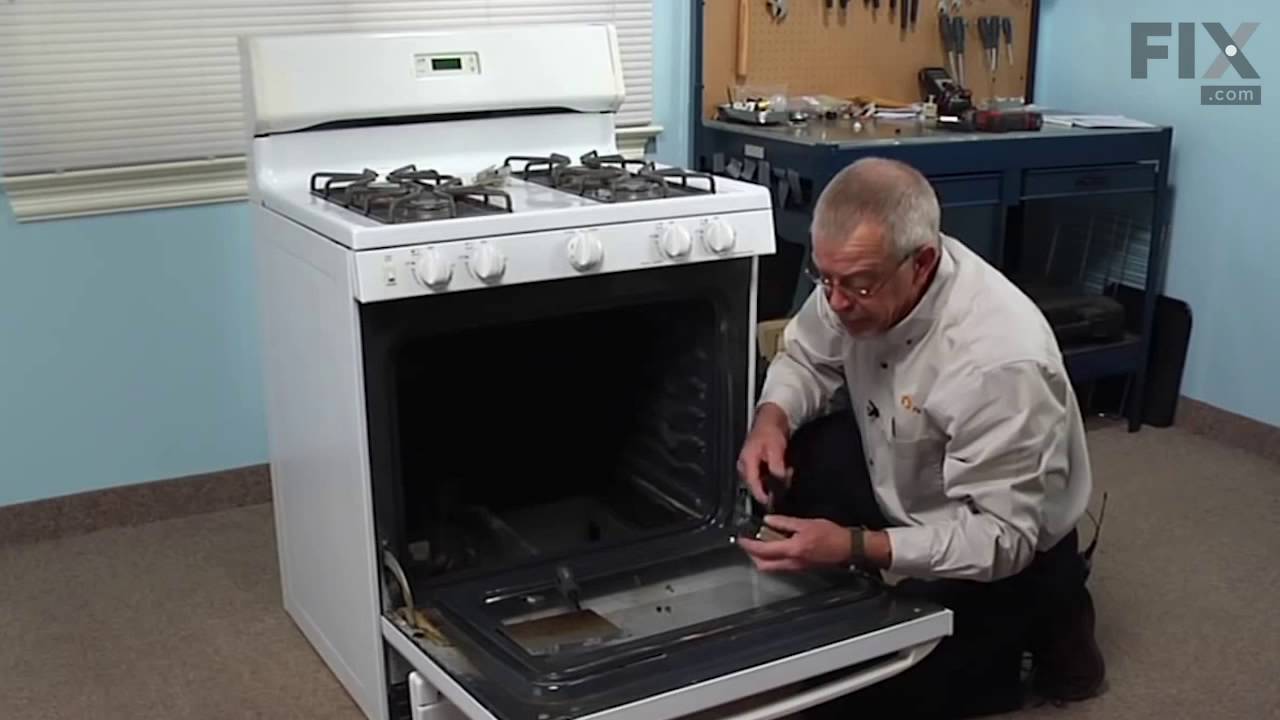

See how others fixed this model. Time, tools, difficulty, and steps that lead to victory!
View More