


 My Orders




RGB518PCD1WH Hotpoint Range - Overview
Diagrams for RGB518PCD1WH
See every part. Know exactly what you need.


Enter a part description. DIY Heroes keep it simple, eg. "belt" or "pump".
Search filter:
Clear Filter
Your search term must have 3 or more characters.

$59.47
In Stock

$79.26
In Stock
Oven Rack
Part #WB48X20249
This metal oven rack provides a stable and durable surface for baking, roasting, and broiling inside your oven. Designed to fit select gas range and oven models, it promotes even heat circulation and airflow around food for consistent cooking results. Constructed from solid 304 stainless steel, the rack resists rust and warping even at hi...Read moregh temperatures, ensuring long-term reliability. Measuring approximately 23.75 inches in length and 16.25 inches in width, it offers ample space for cookware. Many versions feature convenient handles at each end, allowing for easy placement and removal from the oven.
Read less

$43.18
In Stock
Broiler Pan - Large
Part #WB48X10056
This large broiler pan is found in the bottom of your oven and is used to catch drippings from broiling foods. This part includes the grate and bottom pan and is made of porcelain. The grate measures 15-1/2 inches wide by 13 inches deep and the pan is about 17 inches wide by 13 inches deep. No tools are required to replace this item, simp...Read morely pull out the lower drawer of your range, pull down the front of the drawer, slide the pan out and slide the new one into place. This is a genuine part sourced right from the manufacturer.
Read less

$17.28
In Stock

$96.61
In Stock
BOTTOM OVEN AND DEFLECTOR ASM
Part #WB35X37973
This bottom oven and deflector assembly is a durable metal panel designed to fit beneath the oven floor, protecting the bake element from spills while promoting even heat distribution for consistent cooking results. By directing airflow and preventing hot spots, it helps maintain oven efficiency and performance. Installation is straightfo...Read morerward and can typically be completed with basic tools, making it an essential replacement for restoring your range’s functionality.
Read less

$51.61
In Stock

$65.73
In Stock

$30.53
Special Order

$15.00
In Stock
Handle Spacer
Part #WB01K10020
This spacer is located between the handle and the outside door panel. They are sold individually, and are usually recommended to be purchased in pairs.

$33.69
In Stock

$19.50
Special Order
SCREW
Part #WB01K10091

$46.76
In Stock
Range Round Valve Burner
Part #WB28K10578
Manuals & Care Guides for RGB518PCD1WH
Click to downloadCommon Symptoms of the RGB518PCD1WH
How this model fails, and the parts that fix it.
Gas igniter glows, but will not light
Fixed by
these parts
these parts

Show All
Will Not Start
Fixed by
these parts
these parts
Show All
Element will not heat
Fixed by
these parts
these parts
Show All
Gas smell
Fixed by
these parts
these parts
Show All
Watch our pros, then fix it yourself.

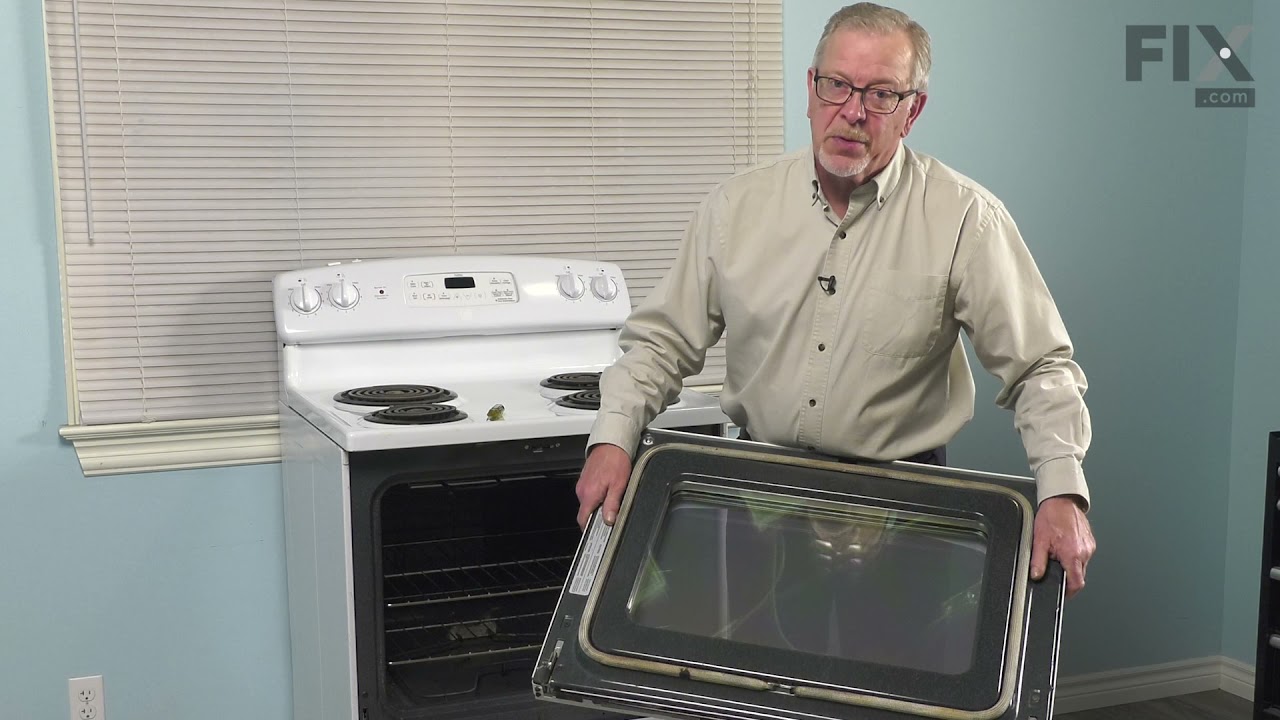
See how others fixed this model. Time, tools, difficulty, and steps that lead to victory!
View More