



 My Orders




RC36DG60PS0 Uni Cooktop - Overview


Enter a part description. DIY Heroes keep it simple, eg. "belt" or "pump".
Search filter:
Clear Filter
Your search term must have 3 or more characters.

$42.82
In Stock
CAP
Part #5304508441
Sold individually. This part helps the flame to spread for even heat. Also protects your burner head from spills.

$59.17
In Stock

$51.85
In Stock
CAP
Part #5304508468
A cracked or warped burner cap can interfere with flame shape and cooking performance. This replacement sits on the burner head, helping distribute the flame evenly while protecting the openings below from spills. Check for food buildup, blocked ports, moisture, and incorrect cap placement before deciding a replacement is needed. Verify f...Read moreit using the complete appliance model because burner caps may look alike but differ in size or output. Turn every control off and wait until the cooktop is completely cool before installation. Place the clean, dry cap flat over the correct burner. Stop using the appliance if you smell unburned gas.
Read less

$38.71
In Stock

$35.14
Special Order

$68.10
In Stock

$59.35
In Stock
Sealed Burner - 5K
Part #316438200
This sealed surface burner delivers controlled heat for precise cooking while preventing spills from entering internal components. Designed for efficiency and easy cleaning, it is replaced when ignition fails, heat output weakens, or burner performance becomes inconsistent.

No Longer Available
Bushing
Part #318146301

No Longer Available
REGULATOR
Part #318122706

No Longer Available
SWITCH
Part #5304485481

$10.95
In Stock
SCREW
Part #316215600

No Longer Available
Power Cord
Part #318144007
Manuals & Care Guides for RC36DG60PS0
Click to downloadInstall
Installation Instructions
(2.67MB)
Specs
Product Specifications Sheet
(0.35MB)
Wiring
Wiring Diagram
(0.35MB)
Common Symptoms of the RC36DG60PS0
How this model fails, and the parts that fix it.
Will Not Start
Fixed by
these parts
these parts

Show All
Gas igniter glows, but will not light
Fixed by
these parts
these parts
Show All
Watch our pros, then fix it yourself.
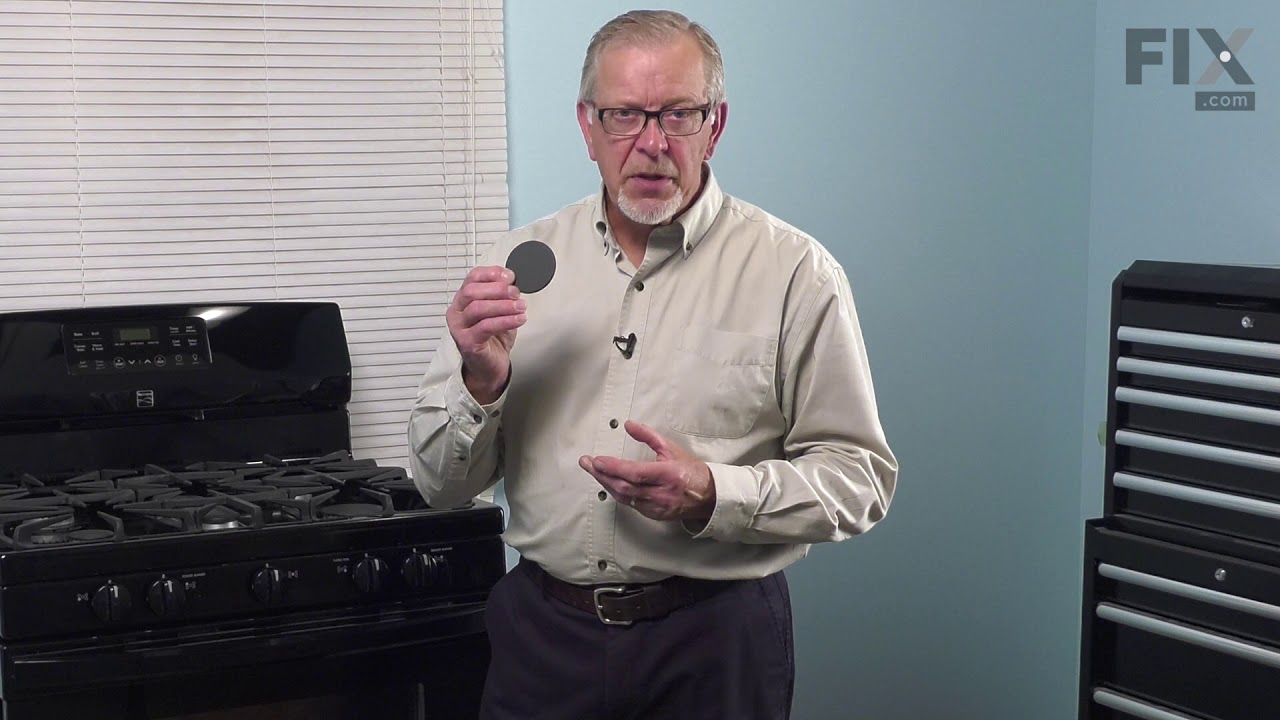
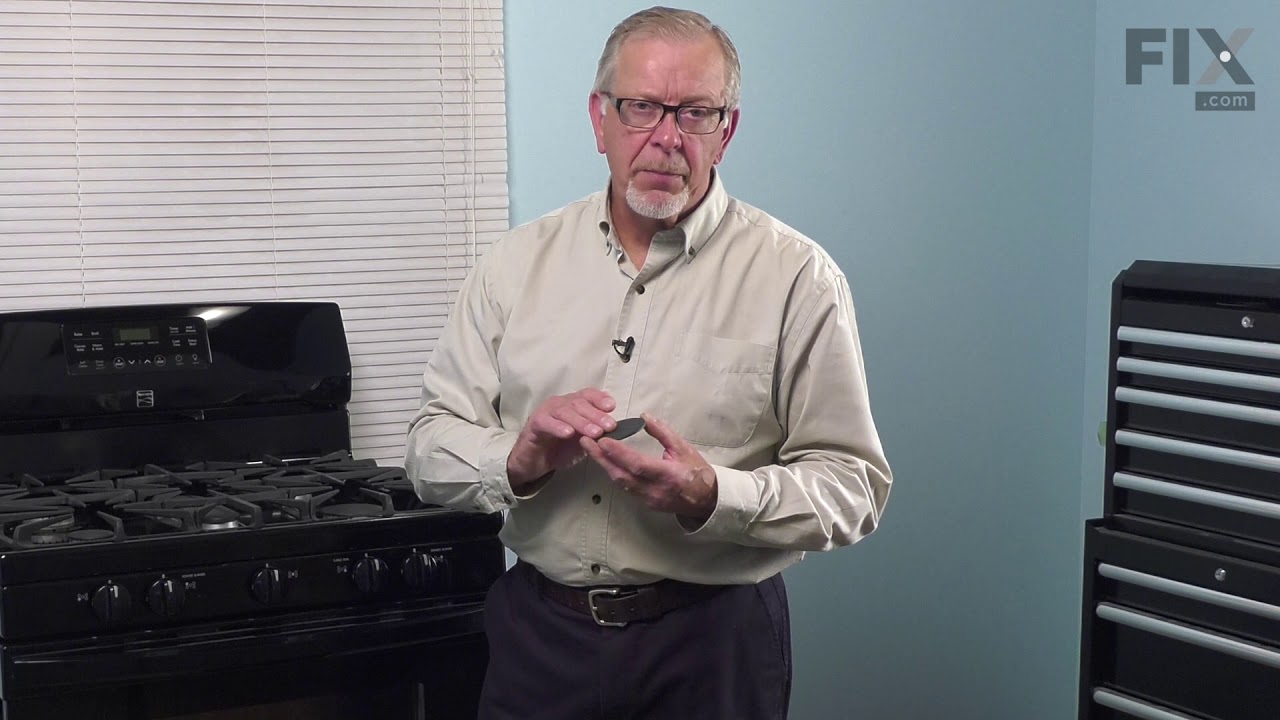
See how others fixed this model. Time, tools, difficulty, and steps that lead to victory!
View More