



 My Orders




RB215ABPNXAA Samsung Refrigerator - Overview

Enter a part description. DIY Heroes keep it simple, eg. "belt" or "pump".
Search filter:
Clear Filter
Your search term must have 3 or more characters.

$36.95
On Order
Ice Cube Tray
Part #DA63-02284B
The ice maker cube tray holds the water that comes from the ice maker during the process of it becoming ice. This part is white in color and made of plastic. All you will need for this repair is a flat blade screwdriver. Over time, the tray may bend out of shape or mineral deposits build up inside, which makes the ice stick to the tray. Y...Read moreou will find the ice maker underneath the ice bin in the freezer. Use your flat-head screwdriver to release the tab holding the ice maker in place, this will expose the ice tray.
Read less

$190.95
On Order
Ice Maker Assembly
Part #DA97-07603B
This is a 40W/120V ice maker assembly for your refrigerator. Ice maker assemblies are designed to continuously make ice cubes by supplying water through its valve, freezing it, and then ejecting the cubs into the ice bin. This ice maker assembly is made of plastic and measures approximately 12 inches, long by 4.75 inches tall and 4.5 inch...Read morees wide. This ice maker is an OEM part that does not come with any other installation parts and attaches within the freezer compartment via its single wire harness.
Read less

$53.27
In Stock
Bi-Metal Defrost Thermostat
Part #DA47-00243K
If ice is building up in your freezer or if your freezer is getting too warm on the defrost cycle you may need to replace the bi-metal thermostat.

$142.24
In Stock
Evaporator Fan Motor
Part #DA31-00146H
This evaporator fan motor is sourced from the original manufacturer for use in refrigerators. It circulates cold air throughout the refrigerator compartment to maintain consistent cooling. If the evaporator fan motor is faulty, you will notice inconsistent internal temperatures, excessive and unusual noise, and frost build up. To begin th...Read moree repair, disconnect the refrigerator from power and remove all shelves and food items in front of the rear panel. Remove the mounting screws on the rear panel and carefully detach it to expose the fan motor. Disconnect the wire connectors to the motor and pull it out of the refrigerator. You may reuse the old fan blades if they are in good condition. Insert the new motor in the refrigerator and reattach the mounting screws. Reconnect the wire connector and reassemble the refrigerator in reverse order.
Read less

$6.55
In Stock
Cover - Sensor;AD,PP,T1.0,
Part #DA63-02183A
This sensor cover, also known as the ice maker thermostat cover, is a genuine OEM replacement part for Samsung refrigerators. It is made of durable white plastic and has measurements of approximately 2.25 inches by 1 inch. The sensor cover is responsible for protecting the ice maker thermostat from contaminants, ice build-up, water, and m...Read moreoisture which can prevent the thermostat from regulating the ice maker temperature properly. If your ice maker is producing ice very slowly and you also notice large clumps of ice in the ice tub, then the sensor cover is likely damaged, or it has fallen out of place. You will need to remove the freezer drawers to replace this part.
Read less

$6.40
In Stock
Tapping Screw
Part #6002-000213

$29.74
In Stock
Fan Blade Assembly
Part #DA31-00010D
This condenser fan blade (part number DA31-00010D) is for refrigerators. Condenser fan blade DA31-00010D moves air across the condenser coil to cool the hot refrigerant before it enters the evaporator. Safely store any food that could deteriorate while the power is off and unplug the refrigerator before installing this part.

$170.21
In Stock
Lower Guard
Part #DA63-01263C

$36.95
In Stock

$39.71
In Stock

$45.95
On Order

$6.55
In Stock
Refrigerator Door Reed Switch Magnet
Part #DA61-03769A
The door reed switch magnet attaches to the door to open or close the reed switch as the door is opened or closed.
Common Symptoms of the RB215ABPNXAA
How this model fails, and the parts that fix it.
Ice maker not making ice
Fixed by
these parts
these parts


Show All
Fridge too warm
Fixed by
these parts
these parts

Show All
Ice maker won’t dispense ice
Fixed by
these parts
these parts
Show All
Watch our pros, then fix it yourself.
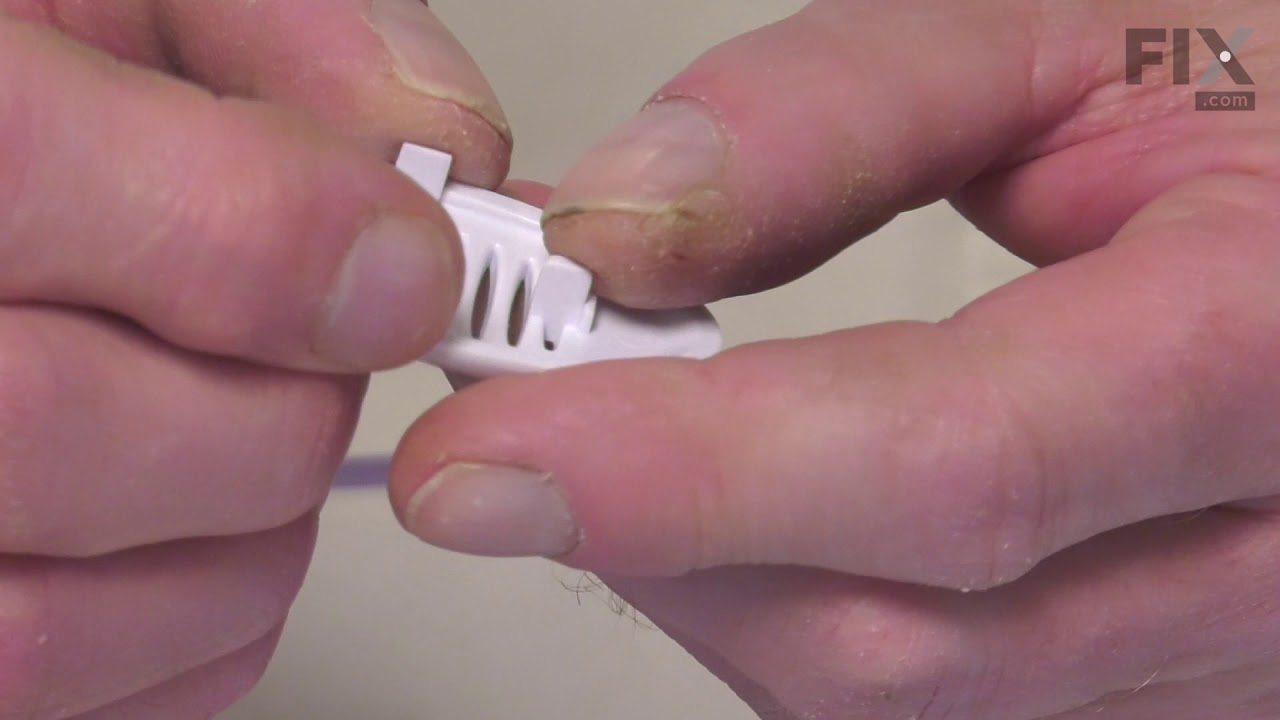


See how others fixed this model. Time, tools, difficulty, and steps that lead to victory!
View More