



 My Orders




RAS200DM3WW General Electric Range - Overview

Enter a part description. DIY Heroes keep it simple, eg. "belt" or "pump".
Search filter:
Clear Filter
Your search term must have 3 or more characters.

$15.00
In Stock

$35.80
In Stock
Surface Burner Terminal Block Kit
Part #WB17T10006
This kit includes the female contact with wires, terminal block and mounting clip.

$16.07
In Stock
Chrome Burner Bowl - 8 Inch
Part #WB31K10266
This burner drip bowl, also referred to as a drip pan or burner pan, is a genuine OEM replacement part that is designed to fit ranges. The bowl is located beneath the burner where it catches food particles and other items that may fall during the cooking process. It prevents these substances from making contact with and potentially damagi...Read moreng the burner or cooktop surface. Each bowl has a diameter of 8 inches. It also comes with a chrome finish that gives the bowl a sleek and modern appearance, helps to protect the bowl from corrosion, and makes it easier to wipe off spills and drips.
Read less

$16.05
In Stock
Range Screw
Part #WB01T10008
This part is a replacement screw for your oven. It is made of black metal and is sold individually. This screw is approximately 1/4 inch in diameter and about 1/2 inch in length. It is designed to connect the different parts of your oven door. This part is an authentic OEM part sourced directly from the manufacturer.

$109.95
In Stock
8 SURFACE BURNER
Part #WB31X46066
This surface element is designed to deliver heat to a specific cooking area on the top of an electric range, providing consistent and efficient performance for everyday cooking tasks. Positioned beneath the cooktop surface, it plays a key role in maintaining accurate temperature control. For safety, always unplug the range or switch off t...Read morehe appropriate circuit breaker before beginning installation. Wearing protective work gloves is also recommended to prevent injury while handling electrical components.
Read less

$27.56
In Stock
Indicator Light
Part #WB25K10002

$80.68
In Stock
Electric Thermostat
Part #WB24X21192
This electric oven control thermostat is a precision-engineered component designed to regulate and maintain consistent internal temperatures within your range. It monitors the oven’s heat levels and activates the heating elements as needed to match the user’s selected temperature, ensuring accurate and reliable cooking performance. Manufa...Read morectured to exact specifications, this OEM replacement part fits a variety of GE appliances and is compatible with select models from Hotpoint, Haier, Monogram, and Café. A faulty thermostat may result in temperature fluctuations, overheating, or failure to heat. Replacing it restores proper oven function and helps ensure consistent cooking results. Always disconnect the appliance from its power source before installation.
Read less

$15.00
In Stock
Handle Spacer
Part #WB01K10020
This spacer is located between the handle and the outside door panel. They are sold individually, and are usually recommended to be purchased in pairs.

$87.95
In Stock
6 SURFACE BURNER
Part #WB31X46067
Replace a worn or malfunctioning burner with this genuine 6-inch electric coil surface element, designed for precise and even heating. Featuring an integrated temperature sensor, it ensures accurate heat regulation for safe and consistent cooking performance. Built to meet modern safety standards, this replacement provides reliable operat...Read moreion and restores your cooktop’s functionality. Installation is simple—disconnect power, remove the old element, and position the new coil securely in place.
Read less

$19.50
On Order
SCREW
Part #WB01K10091

$15.00
In Stock
Infinite Knob (White)
Part #WB03X31034

$15.00
In Stock
Common Symptoms of the RAS200DM3WW
How this model fails, and the parts that fix it.


Watch our pros, then fix it yourself.
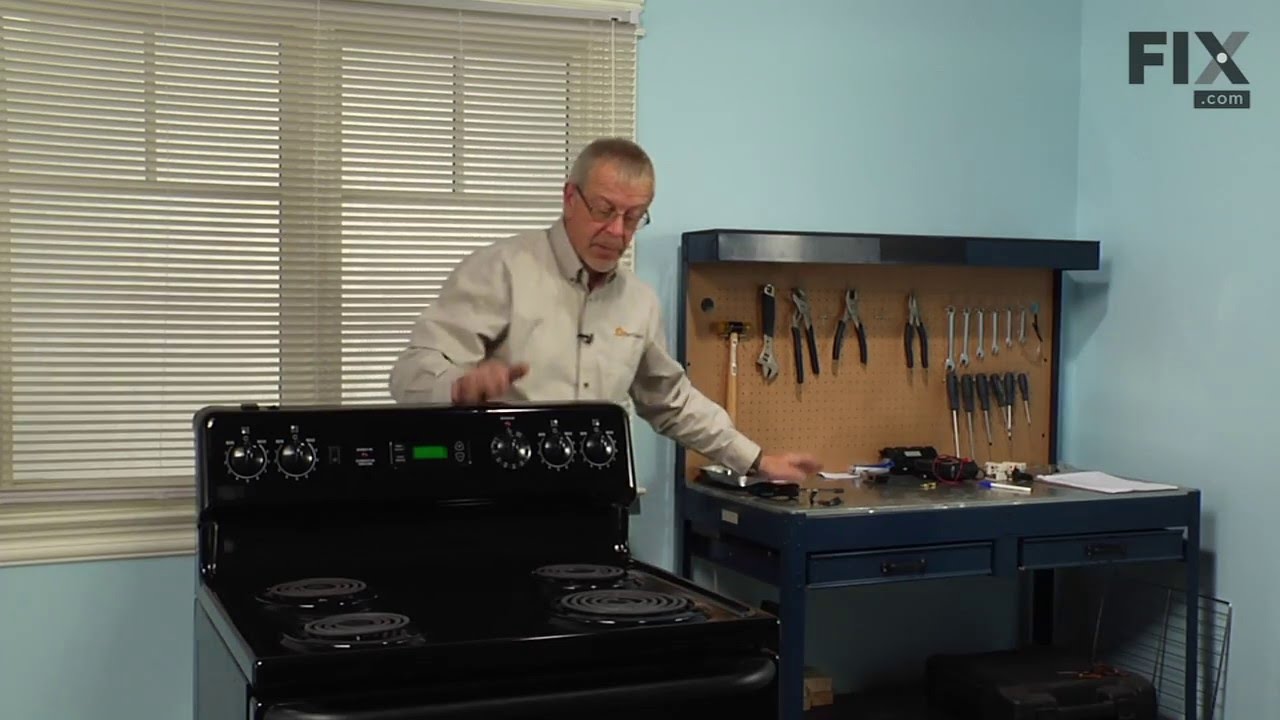
See how others fixed this model. Time, tools, difficulty, and steps that lead to victory!
View More
Search repair tips from other customers using simple keywords like "replace", "fit", "remove", "inspect". DIY doesn't mean you have to do it alone!
Search filter:
Clear Filter
Your search term must have 3 or more characters.
We had been searching for burner bowls for our GE range (10+ years old) and could not find replacements for them. I found the burner bowls we needed on partselect.com . I was able to easily place the order and the burner bowls were delivered to me the next day.
7 of 11 people
found this instruction helpful.
No repair necessary, but the service was excellent!
Other Parts Used:


Was this helpful?
Thank you for voting!