This burner drip bowl, also referred to as a drip pan or burner pan, is a genuine OEM replacement part that is designed to fit ranges. The bowl is located beneath the burner where it catches food particles and other items that may fall during the cooking process. It prevents these substances from making contact with and potentially damagi...Read moreng the burner or cooktop surface. Each bowl has a diameter of 8 inches. It also comes with a chrome finish that gives the bowl a sleek and modern appearance, helps to protect the bowl from corrosion, and makes it easier to wipe off spills and drips.
This surface element control switch, also known as an infinite switch, regulates the power supplied to a 6-inch, 1560-watt heating element on electric ranges. It allows for precise adjustment of heat levels by cycling the element on and off, rather than relying on fixed temperature settings. Operating at 240 volts and drawing between 4.4 ...Read moreto 7.4 amps, the switch ensures consistent and responsive heat control. Replacing a faulty switch can resolve issues such as the element not heating, staying stuck on high, or fluctuating in temperature. This component is essential for maintaining safe and efficient cooking performance.
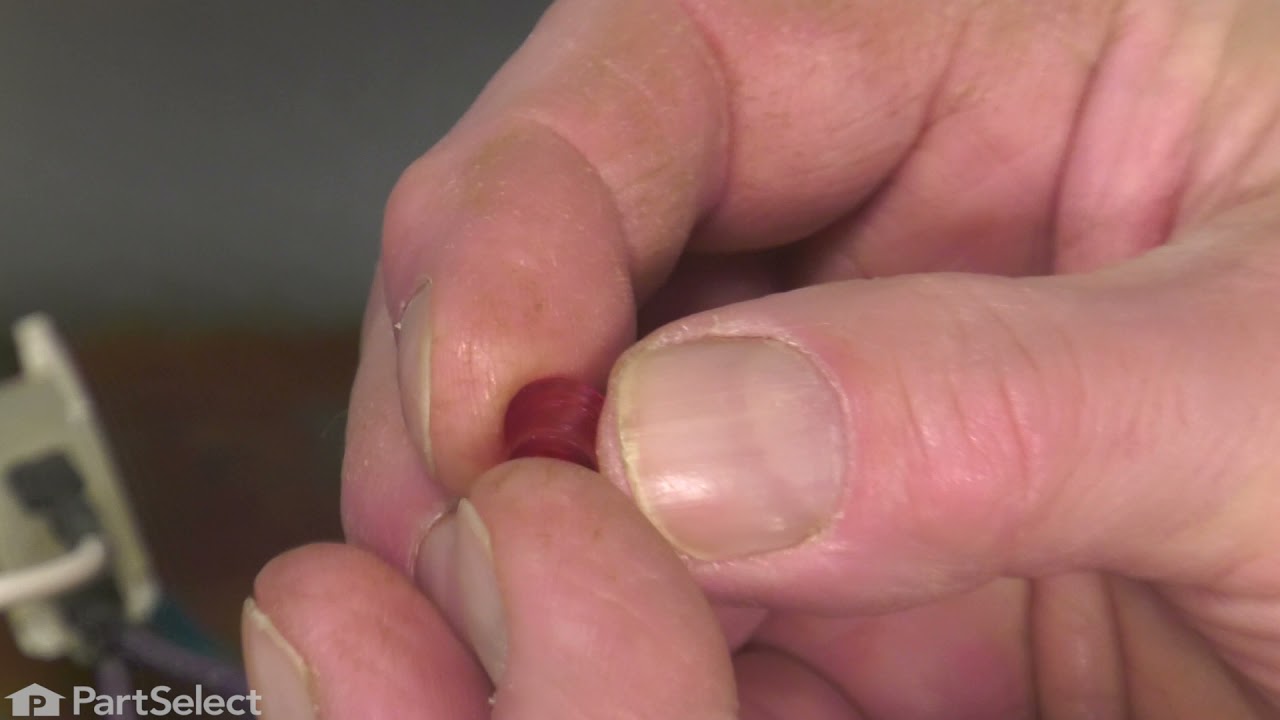
This part is a replacement lens for your oven or range. The lens is red in color, and when the elements are turned on, the light behind the lens will turn on to inform the user that the element is, in fact, on. The lens is a little less than half an inch in diameter and is made of plastic. If the light behind the lens still works, you sho...Read moreuld be able to simply remove the front panel and pop the damaged lens out of position, then replace it with the new one. This part is sold individually and is an OEM part sourced directly from the manufacturer.
This part provides a way of connecting individual electrical wires and offers protection of the device from electrical surges (voltages and/or currents).
This part is a replacement screw for your oven. It is made of black metal and is sold individually. This screw is approximately 1/4 inch in diameter and about 1/2 inch in length. It is designed to connect the different parts of your oven door. This part is an authentic OEM part sourced directly from the manufacturer.
This surface element is designed to deliver heat to a specific cooking area on the top of an electric range, providing consistent and efficient performance for everyday cooking tasks. Positioned beneath the cooktop surface, it plays a key role in maintaining accurate temperature control. For safety, always unplug the range or switch off t...Read morehe appropriate circuit breaker before beginning installation. Wearing protective work gloves is also recommended to prevent injury while handling electrical components.
Ask our experts a question about this model and we'll get back to you as soon as possible!
We may have answered a similar question already! Search questions and answers left by others using simple keywords like "fit", "broken", "easy", or "quality" to find questions that match.
Search filter:
Clear Filter
Your search term must have 3 or more characters.
Sort by:
Prev
1
Next
Sorry, we couldn't find any existing answers that matched.Try using some different or simpler keywords, or submit your new question by using the "Ask a Question" button above!
Janet - For model number RAS200DM1WW
June 4, 2022
I’m looking for the coils and drip pans that fit this electric stove. Serial number Ft918451r
Hello Janet, thank you for your question. Yes, we sell the 6" coil PS12702985 and 8" coil PS12582590. And, the 6" drip pan PS8754845 and the 8" drip pan PS8754846. If you need help placing an order, customer service is open 7 days a week. Please feel free to give us a call. We look forward to hearing from you.
Was this helpful?
Thank you for voting!
Desiree - For model number RAS200DM1WW
April 22, 2024
I have a compact stove where the oven light stays on. Which oven thermostat would work to fix this issue.
Hello Desiree, thank you for contacting us. According to our research, the issue is most probably with the oven temperature control thermostat, part number PS8754468. We would recommend replacing it to fix the issue. We hope this helps!
See how others fixed this model. Time, tools, difficulty, and steps that lead to victory!View More
Search repair tips from other customers using simple keywords like "replace", "fit", "remove", "inspect". DIY doesn't mean you have to do it alone!
Search filter:
Clear Filter
Your search term must have 3 or more characters.
terminal block melted
56 of 77 peoplefound this instruction helpful.
jonathan from willow springs, IL
Easy
Less than 15 mins
Nutdriver, Screw drivers
The existing terminal block on my Ge oven/Range had melted due to a loose wire causing sparking and starting the plastic casing of the terminal block on fire and melting it, Part select made the part easy to find and had it at my house in 2 days. All I had to do was remove six screws to take the back sheet metal cover off of the oven. U
... Read morenscrew the terminal connections remove two mounting screws that held the terminal on to the oven body. This was a little trickier than it should have been because the melted plastic had reformed making it very hard to access the mounting screws. i then mounted the new piece and plugged the oven in, it took 15 minutes and was very easy. definitely saved me at-least a $100 for the service call i would have made if finding the part wasn't so convenient
Read less
Was this helpful?
Thank you for voting!
back burner not getting hot
8 of 10 peoplefound this instruction helpful.
William from Shenandoah, PA
Really Easy
15 - 30 mins
Screw drivers, Socket set
unplug stove first...take back of stove off to get to burner switch remove wires colors coded.. get new switch put wires on the same way.plug stove in test burner...very simple to replace.and save $$$$$$$$
Was this helpful?
Thank you for voting!
Replace stove top burners (3 total)
8 of 10 peoplefound this instruction helpful.
Thomas from Bonifay, FL
Easy
15 - 30 mins
Screw drivers, Wrench (Adjustable)
Unplug stove first. Raised the stove top and propped up useing wooden spoon and wife assistance holding up. Pay attention to spot brackets hand to top. Removed sheet metal screws from bracket clamp holding burner in place. Removed one extension bracket from old burner and transfeered to new burner. Removeing one bracket clamp allows the
... Read more other one to act like a hinge and make for easy removal and replacement. Back of burner had corresponding numbers which made it easy to replace brackets in same place as old. I carefully take one electrical wire at a time from old burner and transfeered to the new burner. Replaced burner same way it came off.



 My Orders