EasyApplianceParts is now PartSelect! We've merged our sites to provide a better shopping experience for you.   Full Details

Find Parts

Parts Departments

Top Model Types

Top Brands

Repair Help

Expert Repair Videos

Keep typing for more specific results...

RA620F1WH Hotpoint Range - Overview

Diagrams for RA620F1WH

See every part. Know exactly what you need.

Enter a part description. DIY Heroes keep it simple, eg. "belt" or "pump".

Search filter:
Clear Filter
Your search term must have 3 or more characters.
Surface Burner Terminal Block Kit – Part Number: WB17X210
$74.79
In Stock
Surface Burner Terminal Block Kit
★★★★★
★★★★★
(7)
Part #WB17X210
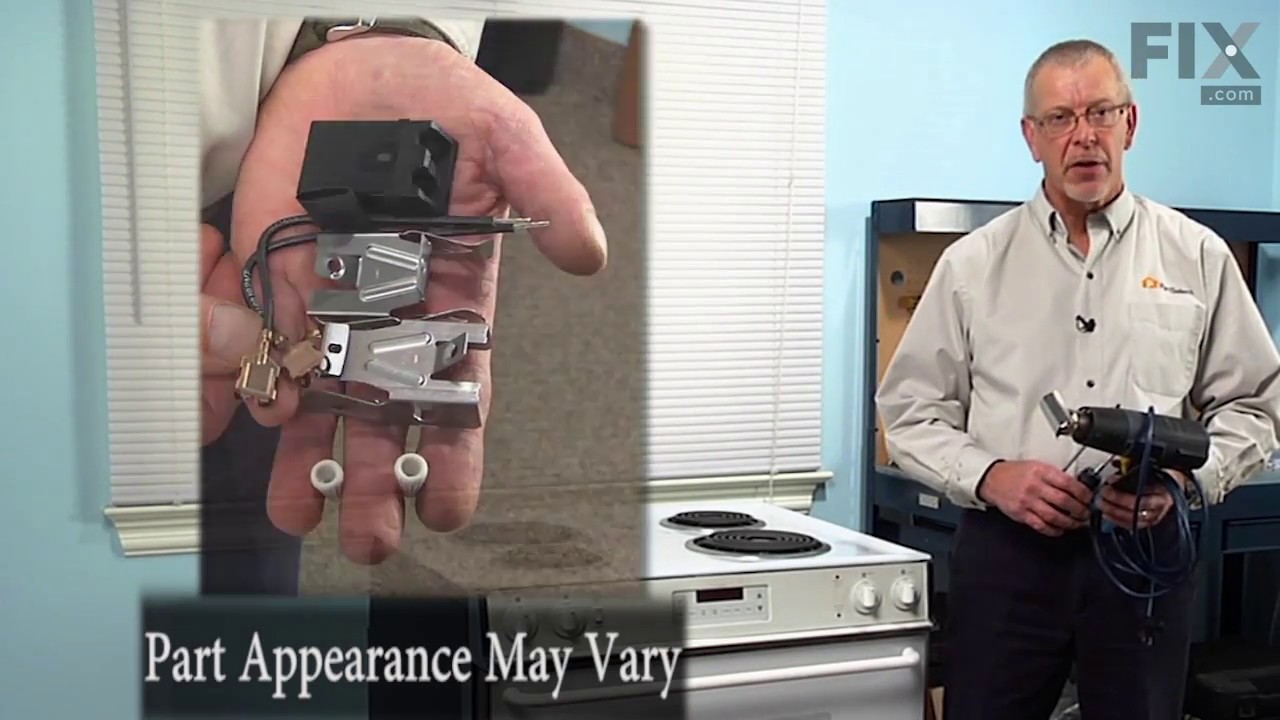
This is a surface burner terminal block kit, also known as range surface element receptacle, for an oven, range, or stove. The kit comes with the terminal block, mounting clip, and wires. This surface burner terminal block kit connects the wiring harness to the surface elements. It is important to shut off the power to the appliance before starting this repair. You will need to remove all four elements, trim rings, and drip bowls to access the terminal block on your stovetop. This is an OEM replacement part that is sourced from the genuine manufacturer.
Indicator Light Kit – Part Number: WB49X10172
No Longer Available
Indicator Light Kit
Part #WB49X10172
This is the replacement indicator light kit for your range. It contains 5 pieces including 2 wires, the lens, the washer, and the indicator light. The indicator light kit contains everything you need to get your indicator light to work properly. The indicator light becomes illuminated when the oven or cooktop is on. If you turn your cooktop on and the indicator light does not light up, you may need to replace it. Be sure to check the control knobs for damage as well. This is an authentic OEM part sourced directly from the manufacturer.
ANTI-TIP RANGE KIT – Part Number: WB2X7909
$61.41
In Stock
ANTI-TIP RANGE KIT
Part #WB2X7909
Burner Knob – Part Number: WB03K10084
No Longer Available
Burner Knob
Part #WB03K10084
Sold individually. This knob accepts a double-flat shaft.
BROIL ELEMENT 240V – Part Number: WB44X10027
No Longer Available
BROIL ELEMENT 240V
Part #WB44X10027
THERMOSTAT 16A 400V – Part Number: WB21X10092
No Longer Available
THERMOSTAT 16A 400V
Part #WB21X10092
Drawer COVER CLIP – Part Number: WB02X10883
No Longer Available
Drawer COVER CLIP
Part #WB02X10883
KNOB THERMOSTAT (BLACK) – Part Number: WB03K10088
No Longer Available
KNOB THERMOSTAT (BLACK)
Part #WB03K10088
OVEN SELEC SWITCH 250V – Part Number: WB21X10090
No Longer Available
OVEN SELEC SWITCH 250V
Part #WB21X10090
OVEN RACK – Part Number: WB48X10030
No Longer Available
OVEN RACK
Part #WB48X10030
LEVELING LEG – Part Number: WB01X10198
$8.55
Special Order
LEVELING LEG
Part #WB01X10198

Manuals & Care Guides for RA620F1WH

Click to download

Common Symptoms of the RA620F1WH

How this model fails, and the parts that fix it.

Watch our pros, then fix it yourself.

See how others fixed this model. Time, tools, difficulty, and steps that lead to victory! View More

Search repair tips from other customers using simple keywords like "replace", "fit", "remove", "inspect". DIY doesn't mean you have to do it alone!

Search filter:
Clear Filter
Your search term must have 3 or more characters.
There was no heat on the coils.
48 of 52 people found this instruction helpful.
  • Shaohui from East Lansing, MI
  • Easy
  • 15 - 30 mins
  • Pliers
I opened the lid, and found that the terminal blocks were burnt, the wires were melted. I ordered one set of terminal block to replace the burnt one, and it worked. Before I started, I shut off the electricity in the whole house to be safe.
Was this helpful?
Thank you for voting!
Surface burner coil did not work.
23 of 33 people found this instruction helpful.
  • Gregory from Mont Belvieu, TX
  • Easy
  • 30 - 60 mins
  • Nutdriver, Screw drivers, Socket set
TURN OFF ALL POWER TO KITCHEN. Took off all burner coils and plates below them. Lift hood. Locate part. Remove old part and replace with new part in same way as was previously installed. The wire that comes with the kit is actually too much wire, but just arrange it the best you can and leave it....no big deal. I didn't have a magnet , but needed one. The wire from burner coil to switch runs through a harness which is screwed on to the body of the oven (below the range). Be careful NOT to drop it behind oven when taking it out. I dropped it and took forever to get it. That turned a 20 minuate job into an hour and a half. Otherwise this is an easy job that anyone can do. Refrigerator compressor is next. Have fun.
Was this helpful?
Thank you for voting!
Oven wouldn't heat well
7 of 8 people found this instruction helpful.
  • LOIS from MINNEAPOLIS, MN
  • Easy
  • Less than 15 mins
  • Screw drivers
I removed power from the oven, then removed the 2 screws in the back of the oven that hold the element in place. I pulled the element out a little bit and disconnected the two wires. I connected the new element to the two wires, and screwed the two screws in the back. I then restored power and tested the oven - it worked great!
Was this helpful?
Thank you for voting!