


 My Orders




RA620F1CT Hotpoint Range - Overview


Enter a part description. DIY Heroes keep it simple, eg. "belt" or "pump".
Search filter:
Clear Filter
Your search term must have 3 or more characters.

$74.79
In Stock
Surface Burner Terminal Block Kit
Part #WB17X210
This is a surface burner terminal block kit, also known as range surface element receptacle, for an oven, range, or stove. The kit comes with the terminal block, mounting clip, and wires. This surface burner terminal block kit connects the wiring harness to the surface elements. It is important to shut off the power to the appliance befor...Read moree starting this repair. You will need to remove all four elements, trim rings, and drip bowls to access the terminal block on your stovetop. This is an OEM replacement part that is sourced from the genuine manufacturer.
Read less

No Longer Available
Indicator Light Kit
Part #WB49X10172
This is the replacement indicator light kit for your range. It contains 5 pieces including 2 wires, the lens, the washer, and the indicator light. The indicator light kit contains everything you need to get your indicator light to work properly. The indicator light becomes illuminated when the oven or cooktop is on. If you turn your cookt...Read moreop on and the indicator light does not light up, you may need to replace it. Be sure to check the control knobs for damage as well. This is an authentic OEM part sourced directly from the manufacturer.
Read less

No Longer Available

$61.41
In Stock
ANTI-TIP RANGE KIT
Part #WB2X7909

No Longer Available

No Longer Available
BROIL ELEMENT 240V
Part #WB44X10027

No Longer Available
THERMOSTAT 16A 400V
Part #WB21X10092

No Longer Available
Drawer COVER CLIP
Part #WB02X10883

No Longer Available
KNOB THERMOSTAT (BLACK)
Part #WB03K10088
No Longer Available
OVEN SELEC SWITCH 250V
Part #WB21X10090
No Longer Available
OVEN RACK
Part #WB48X10030
$8.55
Special Order
LEVELING LEG
Part #WB01X10198
Manuals & Care Guides for RA620F1CT
Click to downloadCommon Symptoms of the RA620F1CT
How this model fails, and the parts that fix it.
Element will not heat
Fixed by
these parts
these parts

Show All
Little to no heat when baking
Fixed by
these parts
these parts

Show All
Watch our pros, then fix it yourself.
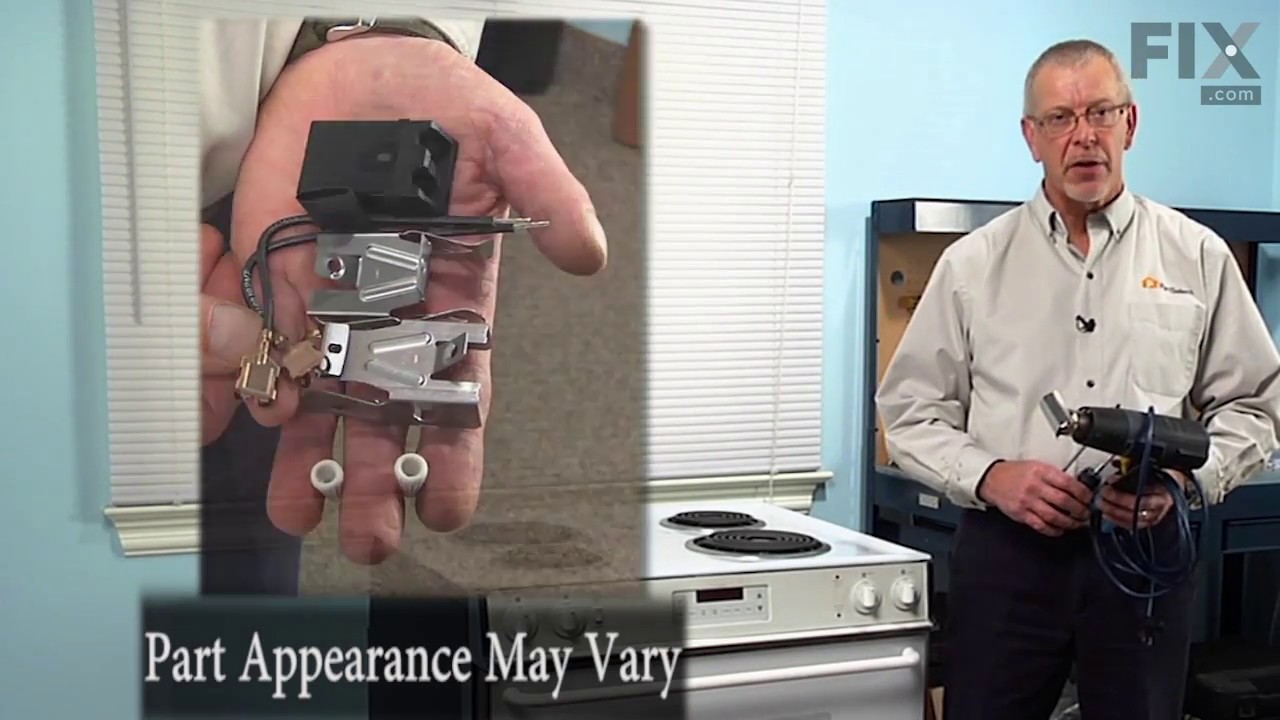
See how others fixed this model. Time, tools, difficulty, and steps that lead to victory!
View More