


 My Orders




RA513002AD Hotpoint Range - Overview

Enter a part description. DIY Heroes keep it simple, eg. "belt" or "pump".
Search filter:
Clear Filter
Your search term must have 3 or more characters.

$21.45
In Stock
Drip Bowl - 6 Inch
Part #WB32X10012
This six inch chrome drip bowl is intended for use with tilt lock style surface mount burner element units.

$10.70
In Stock
Trim Ring - 6 Inch
Part #WB31X5013
This 6 inch high rise burner trim ring is intended for use with detached style low rise tilt lock surface mount burners on ranges.

$17.15
In Stock
Trim Ring - 8 Inch
Part #WB31X5014
This 8 inch high rise burner trim ring is intended for use with detached style low rise tilt lock surface mount burners on ranges.

$28.42
In Stock
Drip Bowl - 8 Inch
Part #WB32X10013
This eight inch chrome drip bowl is intended for use with with tilt lock style surface mount burner element units.

$53.20
In Stock
Range Infinite Heat Switch Kit
Part #WB21X36771
The infinite switch controls the stove top surface burner. This switch will work with most of the electrical range models with coil burner elements.

$63.64
In Stock
8 Inch Surface Burner
Part #WB30X348
This surface element kit includes an 8 inch element, two wire, 2350 watt surface element, and a terminal block with all three-wire units. These high rise elements do not come with an attached trim ring.

$56.93
In Stock
Tilt Lock Hinge Mounted Surface Burner Kit - 6"
Part #WB30X342
This 6-inch surface element provides heat for boiling, frying, and simmering on an electric range. Its 3-wire, tilt-lock design runs on 240 volts and produces about 1,325 watts. Replace it if it does not heat, heats unevenly, or has burned or broken areas. Before ordering, inspect the control switch, wire ends, and mounting parts. Confirm...Read more the size, voltage, wattage, and fit with the full appliance model. Turn off the correct breaker and verify that power is off before service. Let the element cool and secure each wire before testing.
Read less

$48.45
In Stock

$111.62
Special Order
Gasket
Part #WB2X2058
This genuine OEM oven door gasket is designed to create a tight, heat-resistant seal between the oven door and the cooking cavity. By preventing heat from escaping, it helps maintain consistent cooking temperatures and supports efficient oven operation. Replacing a worn, torn, or damaged gasket can resolve issues such as heat loss, uneven...Read more cooking, or longer preheat times, restoring proper performance with a simple, direct-fit installation.
Read less

No Longer Available
INSULATOR
Part #WB2X2398

No Longer Available
Selector Switch
Part #WB22X5134

$121.00
In Stock
Common Symptoms of the RA513002AD
How this model fails, and the parts that fix it.
Element will not heat
Fixed by
these parts
these parts


Show All
Little to no heat when broiling
Fixed by
these parts
these parts

Show All
Watch our pros, then fix it yourself.
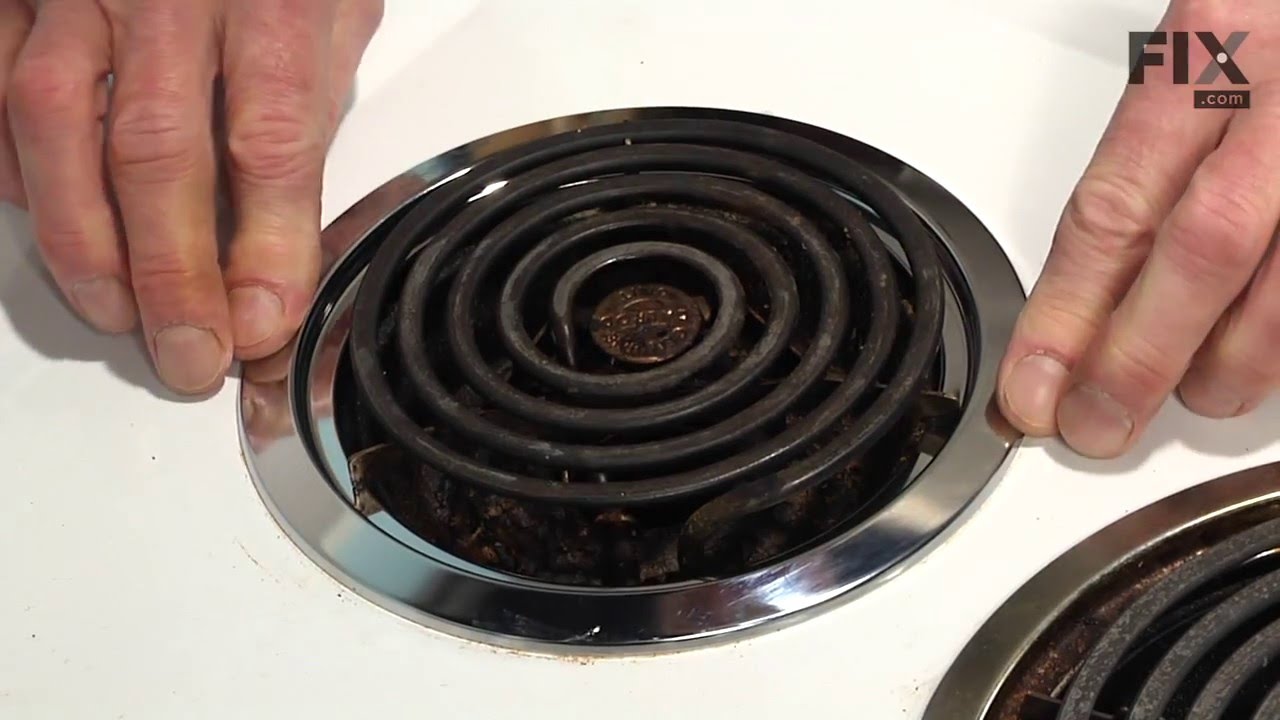
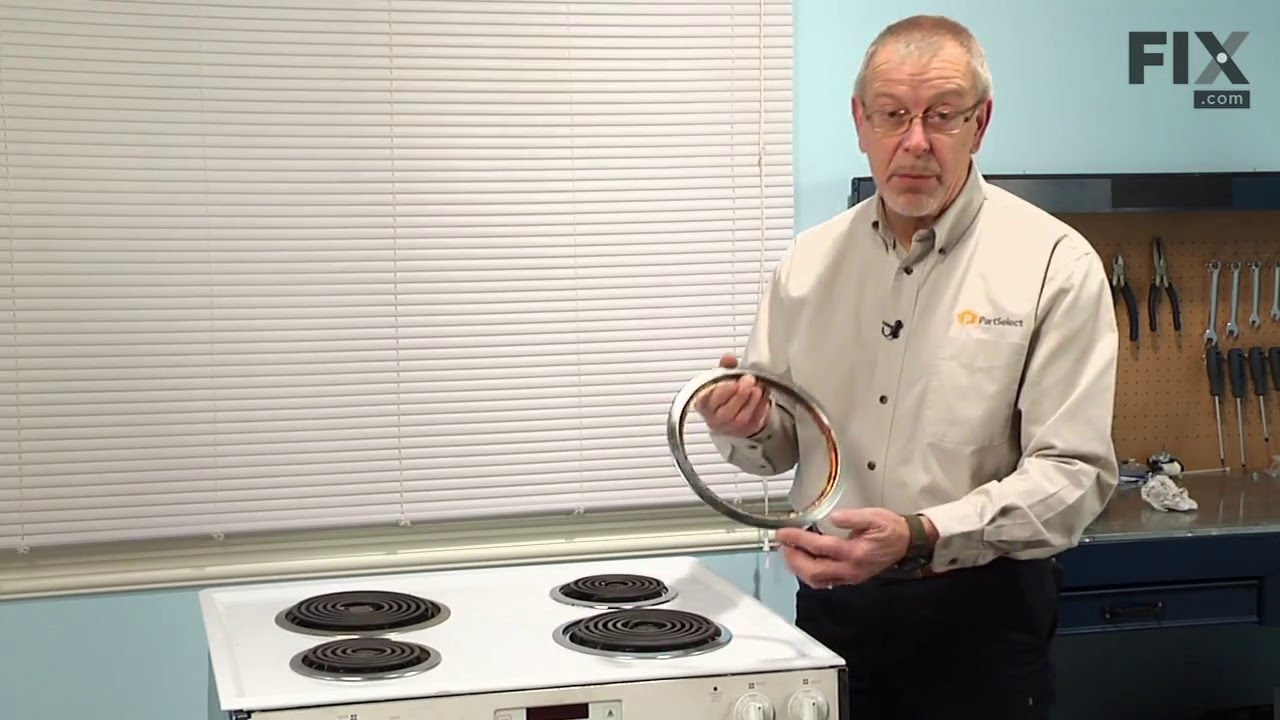
See how others fixed this model. Time, tools, difficulty, and steps that lead to victory!
View More
Search repair tips from other customers using simple keywords like "replace", "fit", "remove", "inspect". DIY doesn't mean you have to do it alone!
Search filter:
Clear Filter
Your search term must have 3 or more characters.
Needed to replace Drip Pans and Trim Rings for old stove
40 of 47 people
found this instruction helpful.
Repair was simple (just lift off the old and put on the new). What was pleasantly surprising was how quickly I received the parts (amazing)!
Lastly, I've been looking for the correct parts/sizes in stores for years (yes, I should have tried this sooner). I was delighted to finally find a place that actually had the correct ... Read more parts.
Lastly, I've been looking for the correct parts/sizes in stores for years (yes, I should have tried this sooner). I was delighted to finally find a place that actually had the correct ... Read more parts.
Read less
Other Parts Used:
Was this helpful?
Thank you for voting!