


 My Orders




RA5114J1 Hotpoint Range - Overview

Enter a part description. DIY Heroes keep it simple, eg. "belt" or "pump".
Search filter:
Clear Filter
Your search term must have 3 or more characters.

$21.45
In Stock
Drip Bowl - 6 Inch
Part #WB32X10012
This six inch chrome drip bowl is intended for use with tilt lock style surface mount burner element units.

$10.70
In Stock
Trim Ring - 6 Inch
Part #WB31X5013
This 6 inch high rise burner trim ring is intended for use with detached style low rise tilt lock surface mount burners on ranges.

$17.15
In Stock
Trim Ring - 8 Inch
Part #WB31X5014
This 8 inch high rise burner trim ring is intended for use with detached style low rise tilt lock surface mount burners on ranges.

$53.20
In Stock
Range Infinite Heat Switch Kit
Part #WB21X36771
The infinite switch controls the stove top surface burner. This switch will work with most of the electrical range models with coil burner elements.

$63.64
In Stock
8 Inch Surface Burner
Part #WB30X348
This surface element kit includes an 8 inch element, two wire, 2350 watt surface element, and a terminal block with all three-wire units. These high rise elements do not come with an attached trim ring.

$58.04
In Stock
Tilt Lock Hinge Mounted Surface Element - 6"
Part #WB30X359
This tilt lock hinge mounted surface element kit includes a 6 inch, two wire, 1350 watt surface element, and a terminal block with all three-wire units. These high rise elements do not come with an attached trim ring.

$48.45
In Stock

$18.34
In Stock
SCREW
Part #WB1X536

$24.09
Special Order
Washer - 12 Pack
Part #WB1X119D

No Longer Available
Center Piece - 6 Inch Burner
Part #WB32X52

No Longer Available
Center Piece - 8 Inch Burner
Part #WB32X51
This part it is used to cover the center of the coil burner. Sold
individually.

No Longer Available
Common Symptoms of the RA5114J1
How this model fails, and the parts that fix it.
Element will not heat
Fixed by
these parts
these parts


Show All
Little to no heat when broiling
Fixed by
these parts
these parts

Show All
Watch our pros, then fix it yourself.
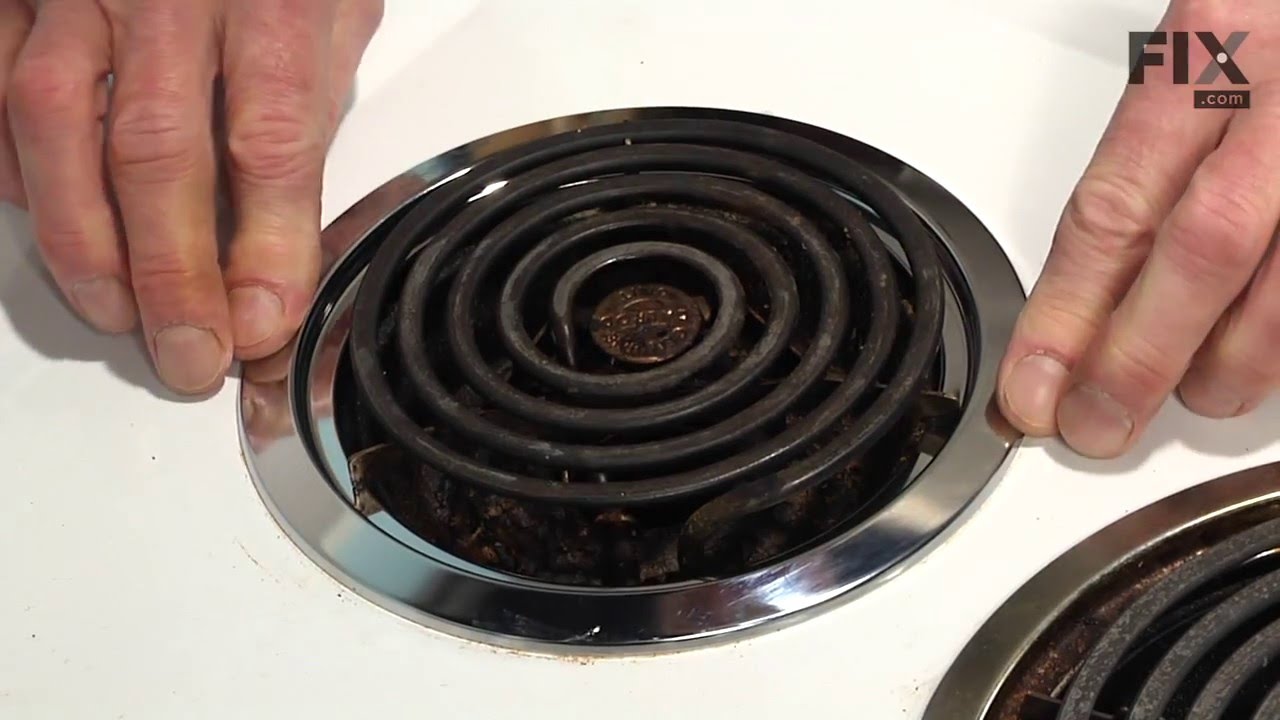
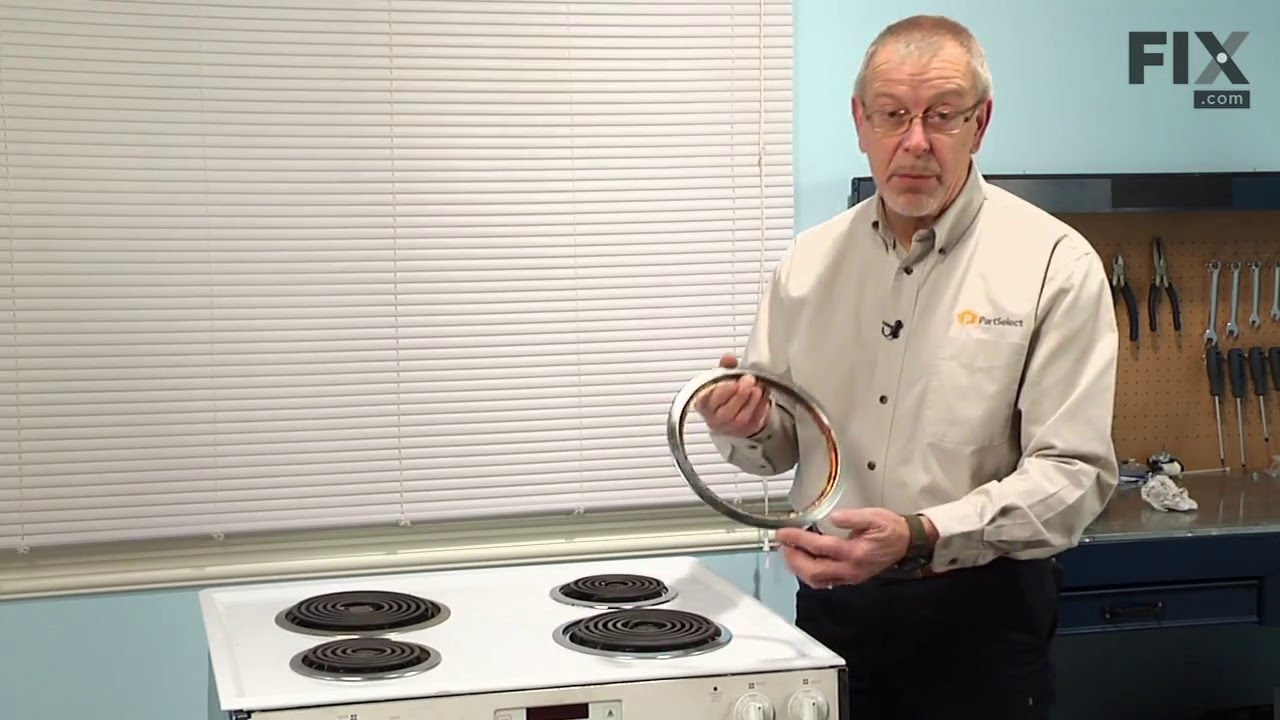
See how others fixed this model. Time, tools, difficulty, and steps that lead to victory!
View More
Search repair tips from other customers using simple keywords like "replace", "fit", "remove", "inspect". DIY doesn't mean you have to do it alone!
Search filter:
Clear Filter
Your search term must have 3 or more characters.
Two 6" and two 8" burner elements needed replacing on a 36 year old counter range.
60 of 66 people
found this instruction helpful.
First of all I want to thank PartSelect. I have been looking for these parts for over 15 years. I am so happy to have found PartSelect. 1. Turn off Range 2. Turn off Breaker to the Range at your home Breaker Box. 3. Turn on Range to see if you turned off the right Breaker if so then turn Range off. 4. Lift Burner Element up. 5. Take off S
... Read more
ilver Trim Ring and Drip Bowl. 6. With screw driver unscrew the screw that is holding the Burner Element to the Range. It is located at the base of the hing where the Burner Element attaches to the Range. 7. Pull the Burner Element out just far enough to see the entire Element where the wires attach. 8. Snap off the two silver clips from each side of the White Glass Insulation Block with a screw driver. 9. With an adjustable wrench (crescent) loosen and remove the screws holding one of the wires to the Burner Element. 10. Find the same Terminal on the new Burner Element and reattach the wire to the new Burner Element Terminal. 11. Now do the same to the remaining Terminal. 12. Install the White Glass Insulation Block over the two Terminals and secure with the two silver clips. 13. Reattach Burner Element to Range with screw. 14. Replace Silver Trim Ring and Drip Bowl. 15. Turn on Breaker and test by turning on Range. You will smell a slight electrical burn smell for a moment while the new Elements heat for the first time. This will dissipate quickly. NOTE: I used the old White Glass Insulation Block I did not use the one that came with the new Burner Element. I found the old one to be the better choice. I saved the new one in case needed at a later date. The Job to replace both the 6" & 8" Burner Elements took less than 30 Minutes. I think it took longer to write this replacement instruction. LOL Very easy...Thanks again PartSelect. Charles McAllen, Texas
Read less
Other Parts Used:
Was this helpful?
Thank you for voting!