



 My Orders




QSS740RN2SS General Electric Range - Overview
Diagrams for QSS740RN2SS
See every part. Know exactly what you need.


Enter a part description. DIY Heroes keep it simple, eg. "belt" or "pump".
Search filter:
Clear Filter
Your search term must have 3 or more characters.

$112.60
In Stock
Dual Radiant Element - 9 Inch
Part #WB30T10133
This 9-inch dual radiant element is a genuine replacement component designed for use in electric ranges and cooktops. Positioned beneath the main glass cooktop surface, it provides the high, consistent heat required for cooking. As the larger of the two element sizes, it accommodates larger cookware and supports versatile cooking needs. I...Read moref the element fails to heat or heats unevenly, replacement is necessary to restore proper function. This part is sold individually and is engineered for durability and compatibility with a range of models. Always disconnect the appliance from the power source before beginning installation to ensure safety.
Read less

$79.26
In Stock
Oven Rack
Part #WB48X20249
This metal oven rack provides a stable and durable surface for baking, roasting, and broiling inside your oven. Designed to fit select gas range and oven models, it promotes even heat circulation and airflow around food for consistent cooking results. Constructed from solid 304 stainless steel, the rack resists rust and warping even at hi...Read moregh temperatures, ensuring long-term reliability. Measuring approximately 23.75 inches in length and 16.25 inches in width, it offers ample space for cookware. Many versions feature convenient handles at each end, allowing for easy placement and removal from the oven.
Read less

$16.05
On Order
Range Screw
Part #WB1K5062

$16.05
In Stock

$140.74
In Stock
Temperature Sensor Kit
Part #WB23X5340
This kit includes the sensor as well as the connectors. NOTE This sensor is 2" long.

$16.05
In Stock
SPRING RADIANT ELEMENT
Part #WB09X40389
This part is the replacement spring for the radiant element in your range. It is black in color, curved in shape, and is approximately 1 inch by 1/2 an inch. The radiant element spring is found beneath the cooktop on your range. The main reason to replace the spring is if it is damaged or missing. This is a genuine OEM part sourced directly from the manufacturer, and it is sold individually.

$18.59
Special Order
NUT
Part #WB02T10017

$19.50
On Order
SCREW
Part #WB01K10091

$17.28
In Stock
Range Leveling Leg
Part #WB02X29030

No Longer Available
SCREW 12-14
Part #WB1K78

$17.20
On Order
GASKET OVEN LIGHT
Part #WB32K10044

$29.47
In Stock
Common Symptoms of the QSS740RN2SS
How this model fails, and the parts that fix it.
Element will not heat
Fixed by
these parts
these parts


Show All
Little to no heat when baking
Fixed by
these parts
these parts
Show All
Oven not heating evenly
Fixed by
these parts
these parts
Show All
Oven is too hot
Fixed by
these parts
these parts
Show All
Will Not Start
Fixed by
these parts
these parts
Show All
Watch our pros, then fix it yourself.

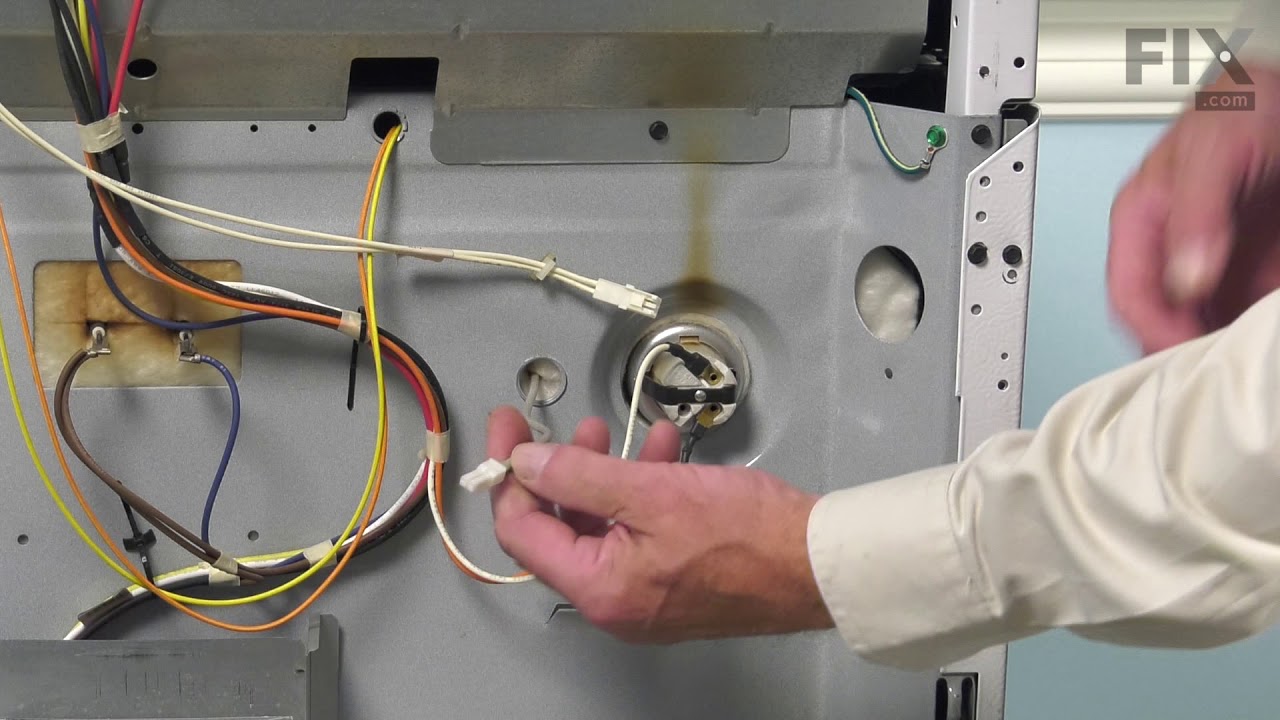
See how others fixed this model. Time, tools, difficulty, and steps that lead to victory!
View More