This dryer drum belt (Whirlpool Dryer Belt, Drive Belt) has four ridges, three grooves and is 1/4" wide, and 92 1/4 inches in length. It comes in black and is made of rubber. The belt transfers the rotation of the motor to turn the drum. The belt attaches to the drum, idler pulley, and motor pulley.
This is an OEM lint filter for a dryer. This lint filter screen has two side guides on either of the screen. One measures 3/8 of an inch wide, while the other measures 5/8 of an inch wide. This part is white and is made of plastic. You may need to replace the filter if the plastic is broken or warped. Simply slide the lint filter out of t...Read morehe slot and slide the replacement filter in. The lint filter collects lint from drying clothes and prevents lint from building up in internal moving parts, specifically the heating coil. Neglecting to clean your lint filter is a fire hazard, be sure to clean it on a regular basis.
The high limit kit comes with three separate thermal fuses for dryers. One electric thermal fuse with a limit of 258, one gas high limit at 240, and one gas and electric high limit thermostat with a limit at 300. The thermal fuse kit shuts off the motor in the dryer when it begins to overheat. If the dryer will not heat, is overheated, sh...Read moreuts off too soon, or takes too long to dry then the thermal fuse might have exploded and need to be replaced. For replacement instructions refer to the diagram by manufacturer. For safety, unplug the dryer before installing the part.
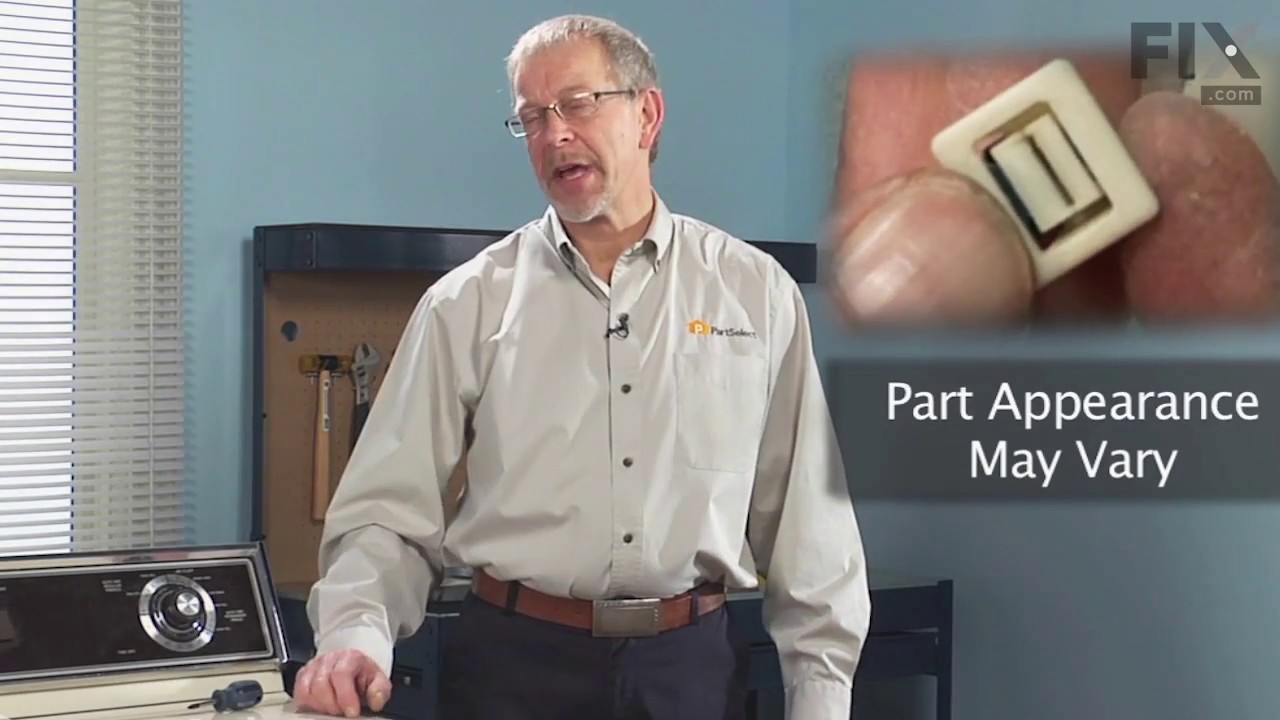
This door catch kit is designed for use in dryers. This is an authentic OEM replacement part. This catch assembly ensures the door of your appliance will close, and remain closed. It allows your appliance to both start and complete a full drying cycle. There are two pieces included in this kit, one catch, and one strike. You open and clos...Read moree the door on such a regular basis that this mechanism can wear out. It is a fairly common part to replace. You will need to remove the door of your dryer to install the replacement catch assembly.
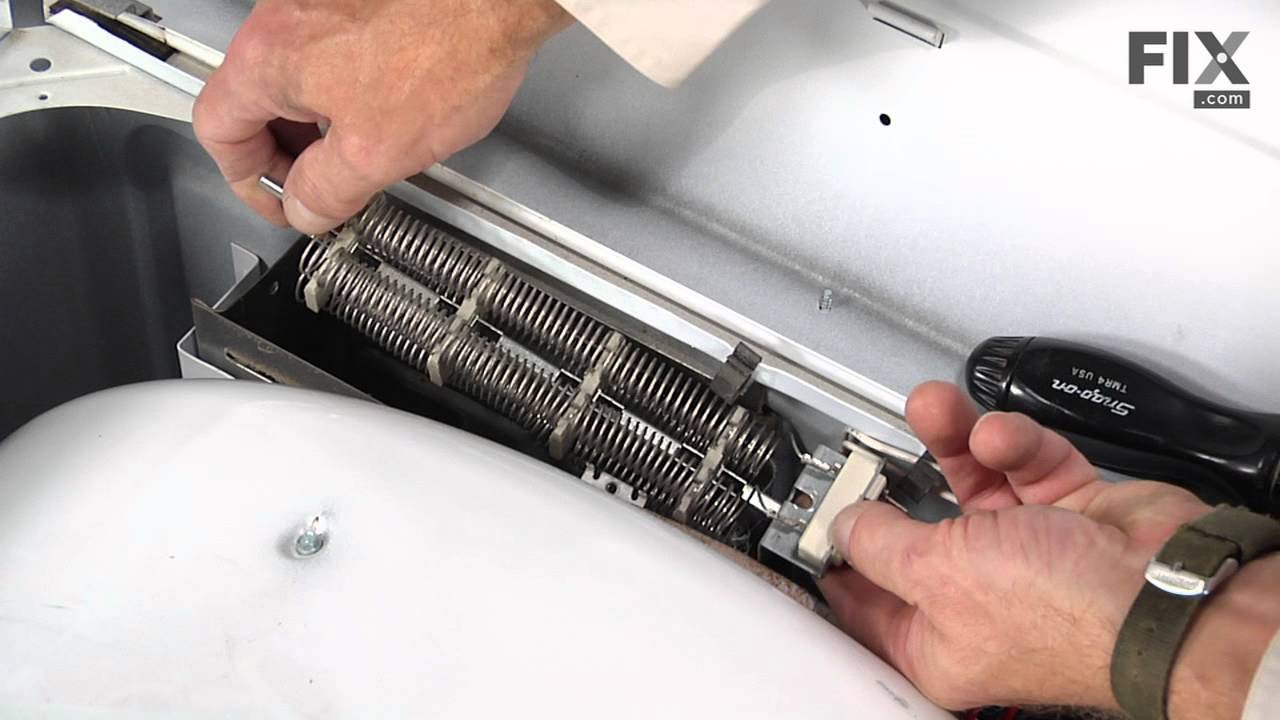
This dryer heating element kit is 240 volts and 4750 watts. The function of the heating element is to produce the heat that allows you to dry your clothing during your dryer cycle. If your clothes take too long to dry, or if your dryer is not getting any heat or enough heat, you may need to replace your element. Before you begin your repa...Read moreir, make sure to disconnect the power from the dryer. The tools you will need for this repair include a putty knife, a quarter-inch nut driver, and a pair of needle nose pliers.
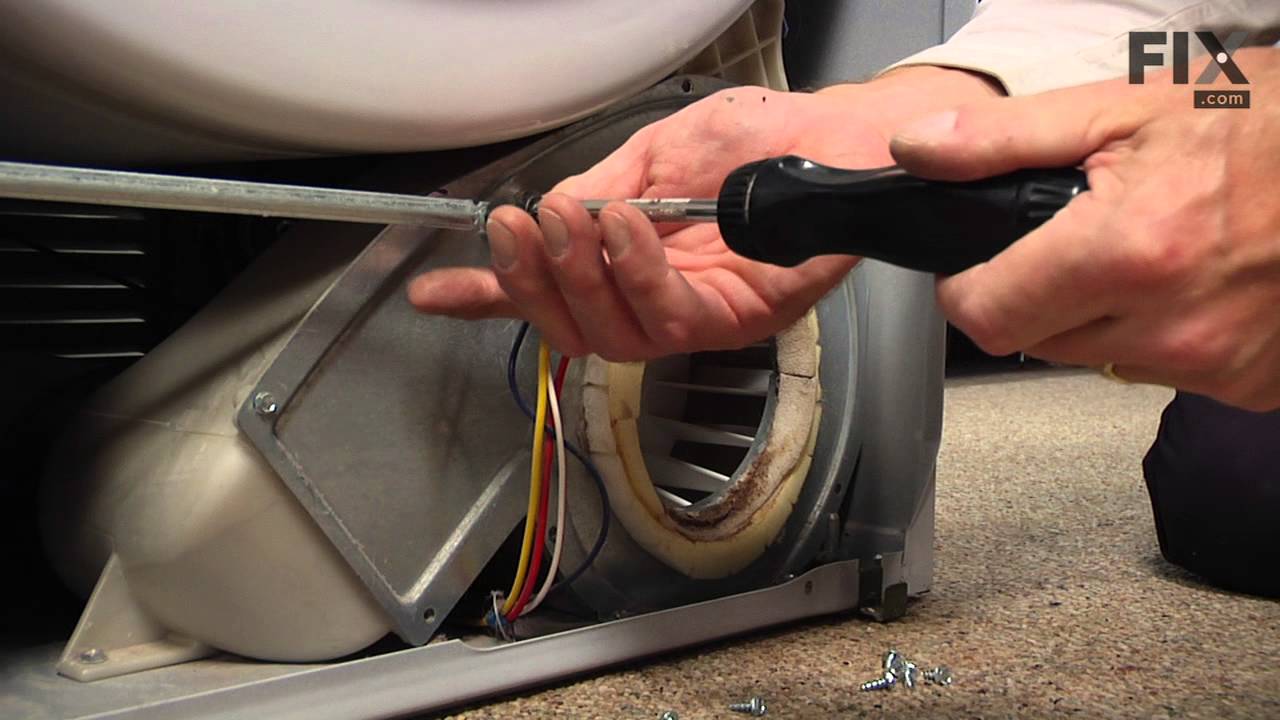
This blower wheel clamp, used in a clothes dryer, is a clamp that holds the blower wheel to the motor shaft. This part helps hold the blower wheel in place to function easily and properly. If your clothes dryer has any of the following symptoms then replacing the clamp can be a solution: making loud noises, not producing enough heat or no...Read more heat at all, and/or clothes are taking too long to dry. Make sure to unplug thedryer from power source before installing this part and refer to the installation instructions provided by the manufacturer for further guidance.
The rear dryer drum roller functions by holding the drum in place while the drum rotates on support wheels during the drying spin/tumble cycle. Included in this rear drum support roller kit are four screws, one spacer, two washers, two retaining rings, two rear rollers, and two cylinder support shafts. The drum support roller kit may need...Read more to be replaced if the dryer is noisy or will not tumble. Important note: This kit has been updated by the genuine manufacturer to have one spacer that is the thickness of two spacers. Please search by model number to get these parts separately.
Ask our experts a question about this model and we'll get back to you as soon as possible!
We may have answered a similar question already! Search questions and answers left by others using simple keywords like "fit", "broken", "easy", or "quality" to find questions that match.
Search filter:
Clear Filter
Your search term must have 3 or more characters.
Sort by:
Prev
1
2
3
Next
Sorry, we couldn't find any existing answers that matched.Try using some different or simpler keywords, or submit your new question by using the "Ask a Question" button above!
Gary - For model number PYE2300AYW
March 12, 2020
Dryer won’t start but has power
Hi Gary,
Thank you for your question. If the dryer will not start, there are some parts that you will need to check to see which one is causing the issue. You will need to check the high limit kit, the multi-rib belt, the door catch kit, the timer resistor and the high limit thermostat. You will need to test the parts with a multi-meter. Here is a link to one of our videos on YouTube that you may use as a general reference on how to use one, https://www.youtube.com/watch?v=bWC44fHn0As. For the door catch and strike, you will need to test the parts visually for signs of damage and to verify if the parts are aligned correctly. The belt will also need to be inspected to verify if it is installed correctly and you will need to check it for damage. For more information on how to test these parts, click on the Appliance Repair link on our website and on the next page that comes up click on the dryer icon. When the next page comes up, you will be provided with a symptoms list. Choose the "Will not start" symptom and the information will come up for you. Not all the parts may be listed under this option and you will need to check the other symptoms for information on them. We hope this helps. Thank you and have a great day.
6 peoplefound this instruction helpful.
Was this helpful?
Thank you for voting!
Dale - For model number PYE2300AYW
December 6, 2019
Which blower wheel can replace the one i have... what number
Hello Dale, thank you for inquiring. The replacement for your model is Blower Wheel part number PS2030883. Good luck with your repair!
3 peoplefound this instruction helpful.
Was this helpful?
Thank you for voting!
Scot - For model number PYE2300AYW
December 2, 2024
The dryer stopped during a load. It will not start on any cycle or setting.
Tested the motor, and switches for continuity. They seen good. Power to outlet is OK (240V)
Hi Scot,
Thank you for your question. If the dryer shuts off too soon, there may be an air restriction in the dryer. Check the lint filter, the lint duct housing, the exhaust vent hose and the exterior vent for lint build up. A lint build up may cause the dryer to overheat and shut down in the middle of a cycle. If there is a build up of lint, it will need to be cleaned out. We hope this helps!
When pressing start, house lights dim and the button has to be held in for a couple of seconds. Then, it runs normally. Do these motors have start assist capacitors? (There are no obstructions for the drum to turn freely and all of the rollers seem just fine.)
Hello John, thank you for getting in touch. The motor has an internal centrifugal switch that engages the run windings and disengages the start windings once the motor is up to speed. If this switch is faulty, the motor might need the manual engagement of the start button to run, but once released it stops. The switch comes built into the motor, part number PS3497647. We hope this helps.
Dryer has an odor in it and the clothes smell after drying what is causing this
Hello AJ, Thank you for your inquiry. It depends on where the smell is coming from as there are several causes. It could be moisture or mildew in the lint trap and lint duct, so we would recommend checking the lint filter, and lint duct housing. You can wash both in warm soapy water and dry completely before replacing in the dryer, and make sure your vent hose is free from debris that could cause an odor. If it is more of a burnt smell, it could be an issue with the motor or the heating element. Check the motor and heating element with a multimeter, and check the blower wheel for any obstructions. If you are unfamiliar with how a multimeter functions, we have videos available to assist you. We hope this helps and if you need help placing an order, customer service is open 7 days a week. Please feel free to give us a call. We look forward to hearing from you!
See how others fixed this model. Time, tools, difficulty, and steps that lead to victory!View More
Search repair tips from other customers using simple keywords like "replace", "fit", "remove", "inspect". DIY doesn't mean you have to do it alone!
Search filter:
Clear Filter
Your search term must have 3 or more characters.
lint filter broke
485 of 498 peoplefound this instruction helpful.
Jane from Grand Forks, ND
Really Easy
Less than 15 mins
I pulled out the broken lint filter and put the new one back in, real easy. I am so happy with the prompt delivery I got from PartsSelect.com. I ordered on a Monday and and it was delivered on a Wednesday
Was this helpful?
Thank you for voting!
Electric dryer would not heat - Thermal fuses - $25 fix - I love DIY
218 of 239 peoplefound this instruction helpful.
Ronald from Fredericksburg, VA
Easy
30 - 60 mins
Nutdriver, Pliers, Screw drivers
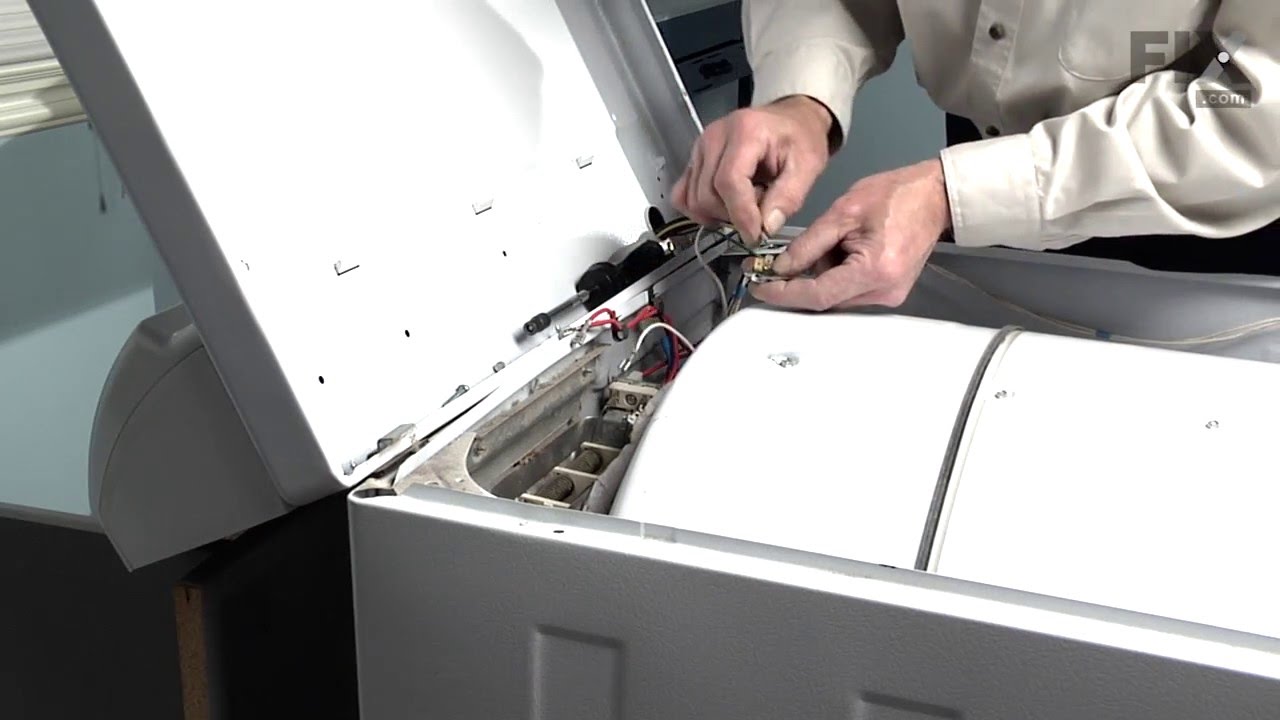
1. Unplug dryer from power outlet 2. Lift dryer top from front (hinged in rear). Just friction holding top down. Use flat scewdriver wrapped in cloth to help lift. 3. Locate heating element - rear top behind drum 4. Unplug red wires to the high limit thermal fuse 5. Unplug red wires to the heating element 6. Unlug
... Read more white wires to the high limit fuse 7. Remove high limit thermal fuse 8. Remove heating element 9. Remove high limit fuse 10 Clean heating box Installation is reverse order but do the following first! Clean lint trap - Remove front of dryer 1. Unplug white door switch wires. inside front top right 2. remove two screws securing the front of dryer - inside front top left and top right. Front of dryer is hinged at bottom 3. Clean all the lint you can find. If you have never cleaned out the lint, there might be a lot and the cause of over heating (shorting fuse life). Add to your yearly things to do list. 4. While your at it check the alignment of the plastic glides the drum sits on. 5. Also check the foam gasket between the fan housing and lint trap. Mine was off a bit. Realigned with doubled sided tape.
Read less
Was this helpful?
Thank you for voting!
Dry stopped heating - still had good air flow
211 of 241 peoplefound this instruction helpful.
Brianna from Littleton, CO
Really Easy
Less than 15 mins
Socket set
I was about to purchase a new dryer because of the age of my dryer and not wanting to hire someone to fix it. After a little web research, I saw several do-it -yourself stories indicating this was a very easy repair.
This was an extremely easy repair and it save me lots of $$: (1) Disconnected power (2) Opened the
... Read moretop of the dryer (3) Disconnected wires to temperature sensor. (4) Used a 1/2" socket wrench with extension and a drill to remove 2 screws holding down the temperature sensor (5) Removed 1 screw holding down the heating element. (6) Removed wires connected to heating element and pulled out old element. (7) Reassembled new element. (8) Turned on empty dryer for 30 minutes to burn off smell from the new element.



 My Orders