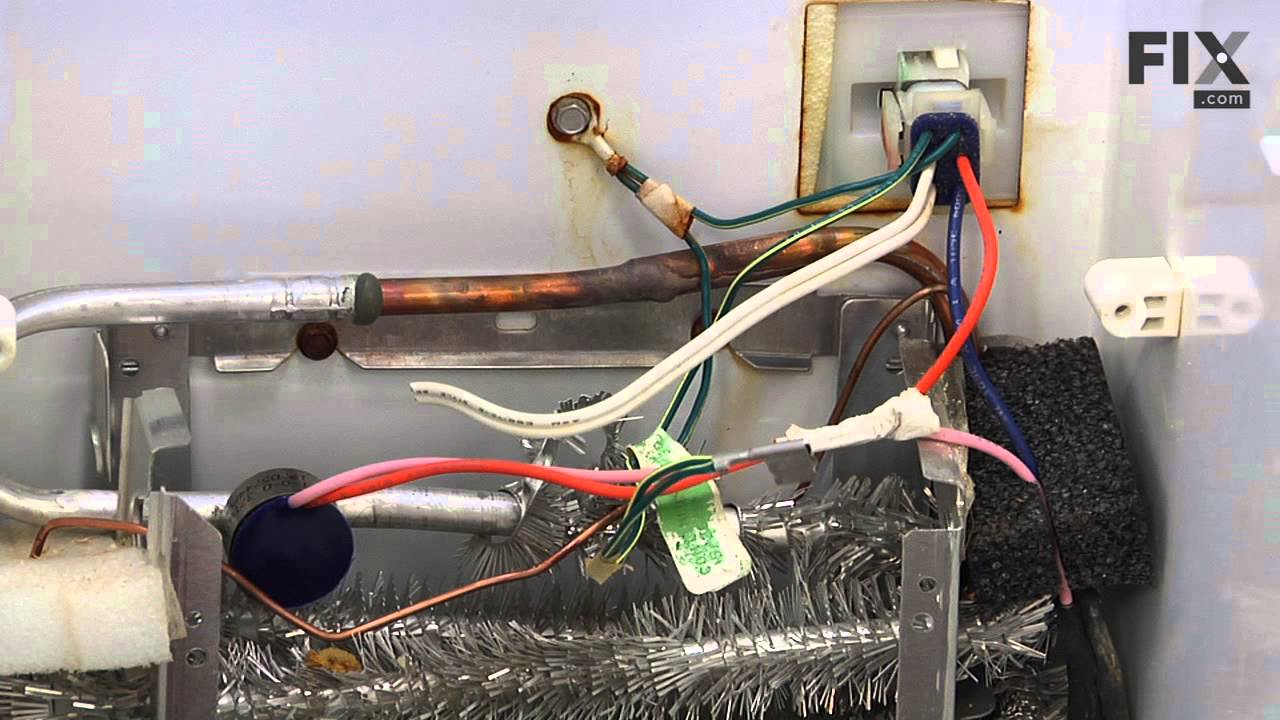
This sensor (Temperature Sensor, Thermistor, Refrigerator Temperature Sensor) sends the temperature reading of the compartment to the control board. If you notice your refrigerator is too warm, too cold, or not defrosting properly, then there may be a problem with your sensor. The temperature sensor can break from material fatigue or thro...Read moreugh normal use, and should be replaced. It is attached to the evaporator and control housing in your appliance. It measures approximately 1.25 inches long with 18 inch wire leads, and is constructed out of plastic. This part comes in white, beige. It includes the sensor, with wire leads.
This 10 by 5 inch ice maker (Electromechanical Icemaker Kit, Ice Maker Assembly) produces ice. This particular model will produce seven crescent shaped cubes every cycle. It is constructed of plastic and metal, and comes in black/white. This kit includes a set of installation instructions, a 4-pin round plug-in connector, 6 post plug-in c...Read moreonnectors, tube and fill cup. The ideal temperature of a freezer is zero degrees Fahrenheit. If the temperature in your freezer is at an appropriate level yet ice is still not being made, it could be an issue with the water inlet valve or your ice maker assembly. If you determine it is the ice maker, this is the replacement you need. The ice maker can break from normal wear and accidental damage. Ice makers will need to be replaced every 3-10 years depending on the frequency of usage and water quality. This model is mounted on the freezer wall.
This “Dispenser Door Assembly” (Door Recess Assembly, Ice Door Assembly, Dispenser Door, Refrigerator Dispenser Ice Chute Door Kit, Dispenser Door Flap, Ice Chute Door, Flapper) keeps the room air from infiltrating the freezer. Once the lever is pressed, the door flap opens and allows the ice to dispense into your container. If your door...Read more flapper is broken, it could allow outside air to enter the freezer and alter the inside temperature. You may notice frost buildup surrounding the dispenser area. The door flap can disconnect from the dispenser lever, or the tabs that hold it in place may break. Frequent use may distort the sealing face and cause air leaks and frost buildup. This part mounts in the ice dispenser, and measures approximately 3.25 inches in diameter. It is constructed of plastic and rubber, and comes in white/black. This part is sold individually.
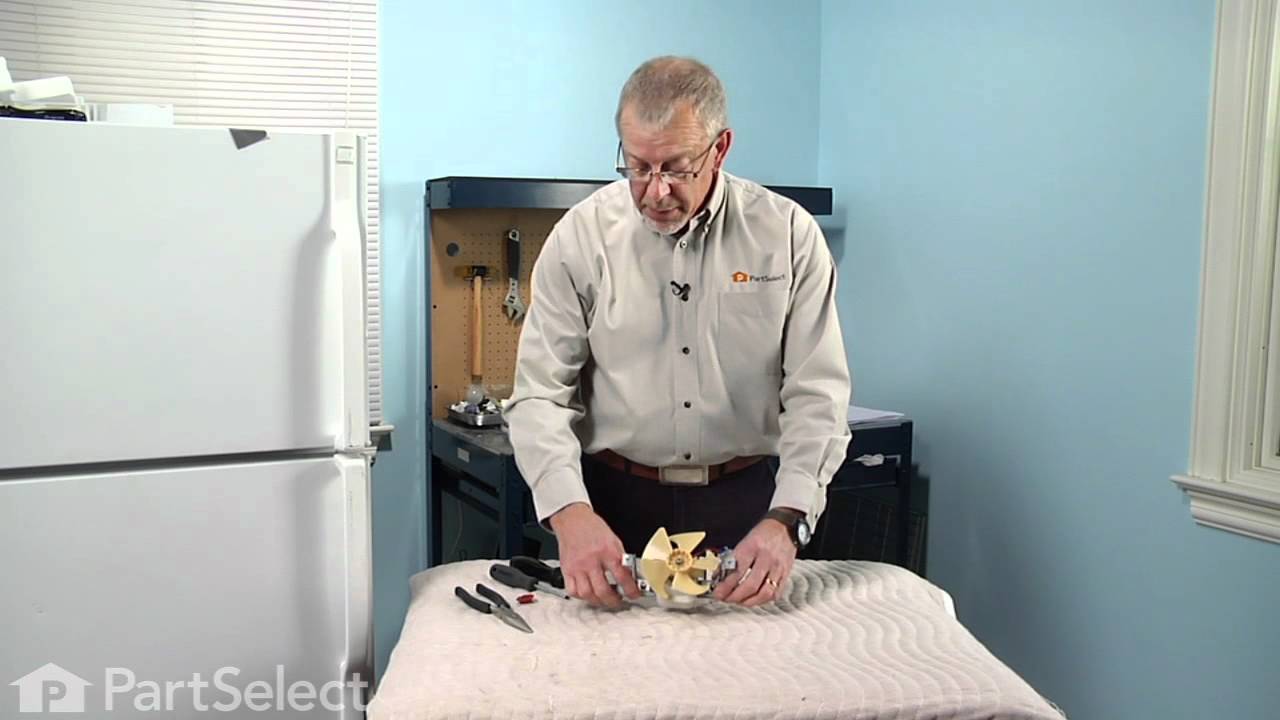
If you notice that your refrigerator or freezer is noisy or too warm, you may need to replace the evaporator fan grommet. This part is red in color, and is about 1 inch in diameter. The evaporator fan grommet is located behind the evaporator fan cover in the back of the freezer. You will need to remove the evaporator fan cover to access t...Read morehe evaporator fan and complete this repair. Before you begin this repair, ensure the power to the refrigerator is disconnected. You will need a pair of needle nose pliers, a small flat blade screw driver and both a 1/4 and 5/16-inch nut driver to complete this repair.
This genuine OEM solenoid is designed for use with GE refrigerators and controls the opening and closing of the ice chute door. It serves as a direct replacement for a worn or faulty solenoid, helping to restore proper ice dispenser function. Constructed from durable metal, this part includes all necessary wiring for installation and is s...Read moreold individually.
Installation requires a Phillips screwdriver. Always refer to your appliance’s manual or diagram to ensure proper placement and compatibility before beginning the repair.
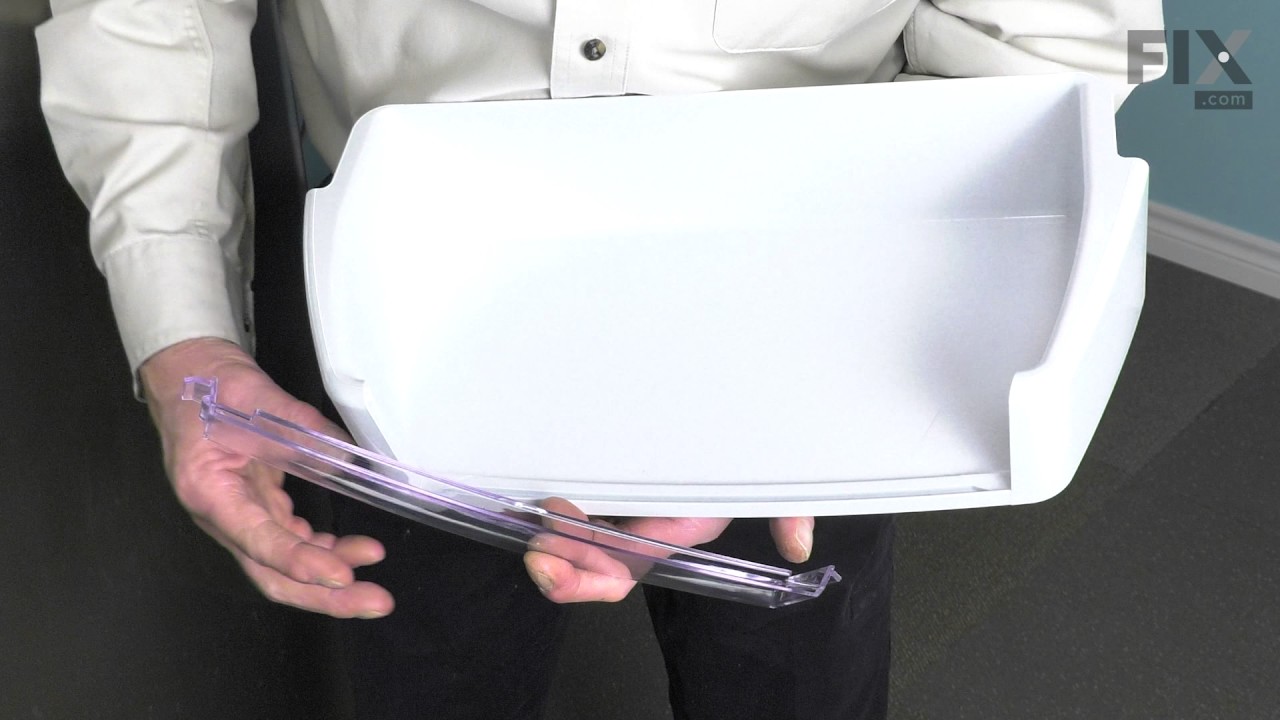
This shelf insert is a genuine OEM replacement part for your refrigerator. The shelf insert can be installed without any tools. Simply pull out the existing shelf and insert the new one.
This door recess spring or dispenser lever spring in your refrigerator is used to return the ice door to the closed position or the dispenser lever to the home position once released. You will find the spring in the water dispenser assembly, behind the main control panel. If the dispenser lever is malfunctioning or the dispenser ice door is not closing, you may need to replace this door recess spring.
This 40-Watt light bulb is sold individually.
It is specially designed to withstand extreme temperatures, so this bulb is compatible with a variety of appliance types including refrigerators, ranges, microwaves, and dryers. It features a frosted glass bulb with a standard metal socket base, which allows you to easily unscrew the burnt-out light and twist the new bulb into place.
This is the light switch that goes in your refrigerator. If the light is not working or stays on, you may need to replace the switch. It is made of mainly white plastic, and is an OEM part, directly from the manufacturer. Be sure to disconnect the refrigerator from the power source before you begin this repair. To remove the switch, simpl...Read morey use a flathead screwdriver to pop the switch out from the refrigerator wall, then disconnect the wires. Reconnect the wires to the new switch, snap it into place, and the repair is complete.
Ask our experts a question about this model and we'll get back to you as soon as possible!
We may have answered a similar question already! Search questions and answers left by others using simple keywords like "fit", "broken", "easy", or "quality" to find questions that match.
Search filter:
Clear Filter
Your search term must have 3 or more characters.
Sort by:
Prev
1
2
Next
Sorry, we couldn't find any existing answers that matched.Try using some different or simpler keywords, or submit your new question by using the "Ask a Question" button above!
David - For model number PSCS3RGXCFSS
December 15, 2019
When you push button in door will not dispense water or ice, numbers and lights flash on display.
Hello David, thank you for your question. If the lights and numbers are flashing on the display and you aren't able to dispenser water or ice, the dispenser board should be replaced which is Part #: PS2340411. Good luck with your repair!
2 peoplefound this instruction helpful.
Was this helpful?
Thank you for voting!
Melvin - For model number PSCS3RGXCFSS
January 10, 2020
How I change the lightbulbs? Thanks
Hi Melvin. Please watch our video here: https://www.youtube.com/watch?v=7yE0ZZBNISU. Thank you for your question and good luck with your repair!
Was this helpful?
Thank you for voting!
Keith - For model number PSCS3RGXCFSS
November 27, 2019
When i go to get ice the ice turns on then off and the light flashes and the it gives ice out in spurts...what do i need to get it to work properly?????
Hello Keith,
Thank you for your question. We suggest replacing the dispenser door solenoid for your model under part PS1483583 to fix the issue. Hope this helps!
Hello Orlando, Thank you for the question. This model does not have a separate timer so it can not be manual initiated. The Defrost cycle is controlled by the control board and it does not have the circular notch that Defrost Timers have to trigger the cycle manually. We hope this helps.
Was this helpful?
Thank you for voting!
Charles - For model number PSCS3RGXCFSS
February 14, 2023
I need a Door Shelf Bin Basket (Right Side) clear plastic for part no. 200D5619P001. I just the the clear plastic insert if you have it? Thanks.
Hi Charles,
Thank you for your question. The part number listed under your model number for the module shelf insert is PS2323441. If you would like to place an order for it, please call our customer service line and anyone will be happy to assist you. We look forward to hearing from you!
See how others fixed this model. Time, tools, difficulty, and steps that lead to victory!View More
Search repair tips from other customers using simple keywords like "replace", "fit", "remove", "inspect". DIY doesn't mean you have to do it alone!
Search filter:
Clear Filter
Your search term must have 3 or more characters.
Fridge too warm, evaporator icing up
606 of 738 peoplefound this instruction helpful.
Gerald from San Clemente, CA
Easy
15 - 30 mins
Screw drivers
After replacing the defrost heater, main board and thermistor I still had the same problem. Called a repair guy and he (with the help of GE on the phone) diagnosed that the temperature sensor was bad. So I ordered from partselect and installed it and it fixed the problem. Been good for a couple months (knocking on wood). To install I
... Read morehad to cut the 2 wires to the old sensor, crimp the 2 new wires on and snap the new sensor to the clip on the evaporator. Very easy. Make sure you seal the ends of the wire crimps so moisture doesn't get in and corrode the connection.
my refigerator was warm but the freezer was cold and working correcttly
305 of 404 peoplefound this instruction helpful.
michele from North Smithfield, RI
Really Easy
15 - 30 mins
Pliers
I went to a GE repair center to explain my problem, the service center reccomended that I have a techinician come out o look at it. $75.00 for the visit and what ever labor and materials wuld cost.
I went on line to see if there were others having this same problem and found that there were many with the same problem.
... Read more />After reading some of the ways that people found out what was wrong ...it became a matter of three components, the timer, heater or thermostat.
I tried the most common component and the less expensive one first , the thermostat switch I installed it very easily snipping two wires and attaching the news using wire nuts I used the diagram on this website to pinpoint the component and there has not been a problem since.
Read less
Was this helpful?
Thank you for voting!
Refrigerator too cold
156 of 163 peoplefound this instruction helpful.
Marc from Orlando, FL
A Bit Difficult
1- 2 hours
Screw drivers
My repair experience was a little more complicated than previous posts, but nothing major. And most importantly replacing the Fresh Food Air Inlet Cover did fix my problem. Here are the steps I followed: 1. You will need to remove a minimum of the top two shelves to get access to the Air Inlet Cover. It runs along the back of the
... Read more fridge and connects to a hole to the freezer side. It has a little fan inside that sucks the cold air from the freezer and diverts to the top and bottom of the fridge. 2. As mentioned in other posts, there are four screws holding the Inlet Cover in place, 2 lower and 2 upper. To get access to the lower two screws,you simply pop off the lower duct assembly (squeeze the sides). Be careful when removing and installing these screws. If you drop one into the lower duct, you will add a few more steps to the installation to remove more shelves and take out the lower duct to get to where the screw fell. Obviously this happened to me. Not difficult to do, just adds more time. 3. To access the upper two screws I had to remove the top light cover (one screw) and then slide out the top duct/diffuser assy (my name, not GE's). 4. Finally to get clearance to pull out the Inlet Cover, I had to remove the water filter and cover. When you pull away the Inlet Cover, you will see the electrical connection that is simple to disconnect. 5. After I removed my Inlet Cover, it was obvious that it was broken because it rattled and I could peek inside to see that the plastic air diverter/flapper thingy was broken. 6. One final surprise was that the replacement Air Inlet Cover did not exactly match the one I removed. The replacement only had one upper air outlet, while my old one had three upper outlets, left, right and center. I noticed there was a plastic cover over one of the side outlets on the replacement, so I just popped that off and hoped for the best. 7. The replacement Air Inlet Cover Kit came with sticky back insulation that you attach to where the Inlet Cover meet the freezer access hole to make sure snug fit to limit extra cold air leaking into the fridge side. 8. Installation of the replacement Air Inlet Cover was fairly easy, just follow the above steps in reverse and make sure you don't drop any screws. It's been a couple of weeks since I performed this installation and my fridge has been maintaining temperature perfectly. No more frozen milk or lettuce. The wife is very happy.



 My Orders