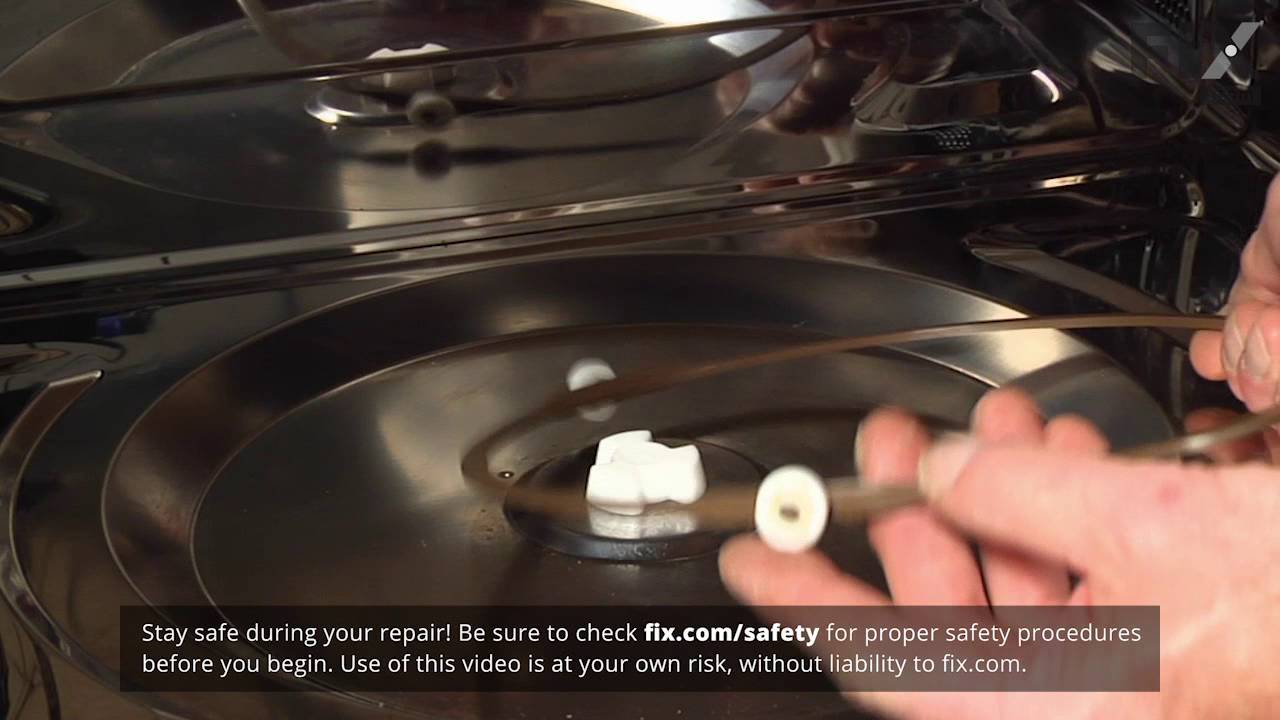
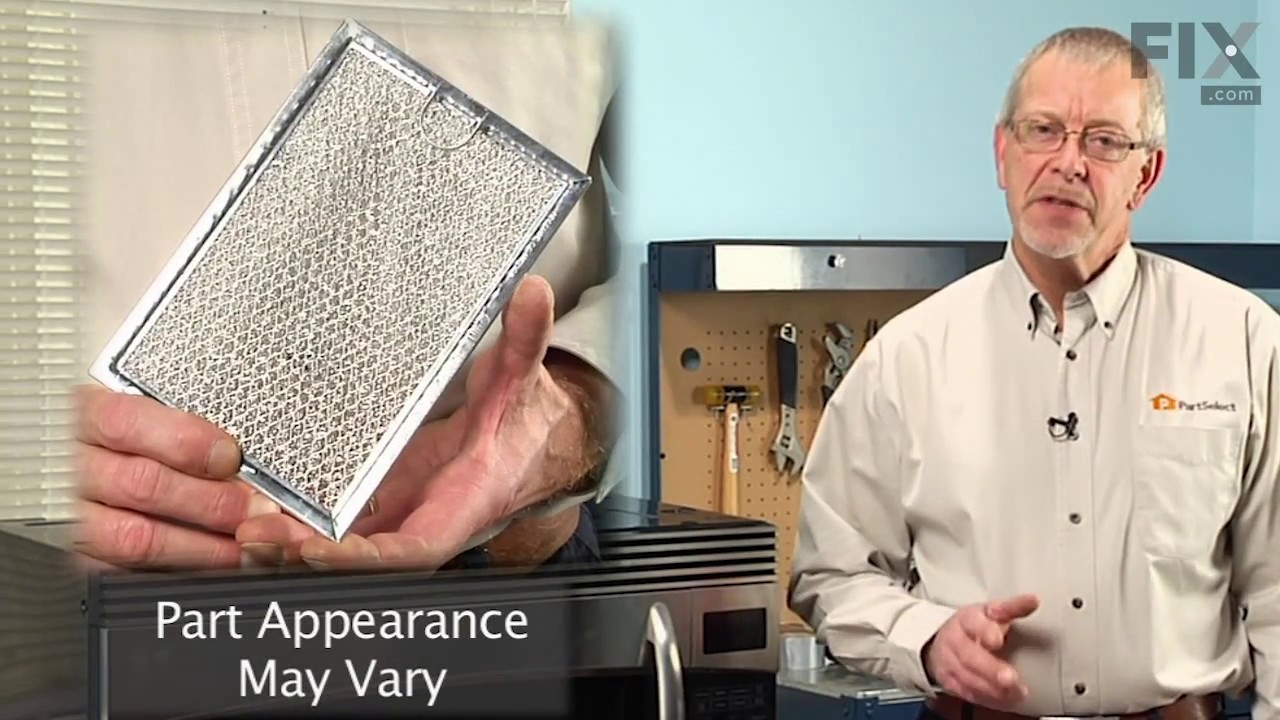
The grease filter can be found on the bottom of the microwave. If your grease filter is damaged, it will not effectively capture grease that builds up when your microwave is in use. To replace the grease filter, simply grasp the filter ring and push it to the back of the microwave, then lift out the filter. To preserve the life of your gr...Read moreease filter, you should occasionally remove them and gently wash them in a warm water and detergent solution. Most microwaves will have two grease filters, but this part is sold individually. The grease filter is approximately 8.5 inches by 5 inches.
This mounting plate, also known as a bracket, is crucial for keeping your microwave mounted to the wall, when placed above the stove. This OEM part is sold separately from the screws that are needed to hold it in place. You will need a screwdriver in order to secure the mounting bracket into place. Part has been substituted. Part is no lo...Read morenger a U-shaped bracket, it is now a flat mounting plate and will function the same.
This is a control knob for your microwave. The knob is about 1.5 inches in diameter, is black and silver in color, and is sourced directly from the original manufacturer.
This vent damper is a manufacturer-approved replacement part for your above-range microwave. This part helps vent air from the microwave to the exterior of your home, and helps keep exterior wind out of the vent. Replacing the vent damper will require some disassembly of your microwave/ Unplug the unit before beginning work on it.
Ask our experts a question about this model and we'll get back to you as soon as possible!
We may have answered a similar question already! Search questions and answers left by others using simple keywords like "fit", "broken", "easy", or "quality" to find questions that match.
Search filter:
Clear Filter
Your search term must have 3 or more characters.
Sort by:
Prev
1
Next
Sorry, we couldn't find any existing answers that matched.Try using some different or simpler keywords, or submit your new question by using the "Ask a Question" button above!
Chris - For model number PSA9240SF4SS
January 1, 2024
Door handle broke at the top. Need replacement. Please advise
Hi Chris, thank you for reaching out. The door handle for your model is part number PS8754188. We hope this information helps!
See how others fixed this model. Time, tools, difficulty, and steps that lead to victory!View More
Search repair tips from other customers using simple keywords like "replace", "fit", "remove", "inspect". DIY doesn't mean you have to do it alone!
Search filter:
Clear Filter
Your search term must have 3 or more characters.
Broken Glass Cooking Tray after running our 43' Fithwheel down the world famous Deals Gap -- Tail of the Dragon
20 of 25 peoplefound this instruction helpful.
Christopher from Clewiston, FL
Really Easy
Less than 15 mins
After picking up glass from one end of the trailer to the other, this thing must have exploded because we are still finding glass! 1.) Open microwave door 2.) Insert Glass Tray 3.) Close microwave door
Now if it was that easy to replace the ground off fiberglass on my end cap!
Was this helpful?
Thank you for voting!
When door was opened, the microwave would turn on.
5 of 5 peoplefound this instruction helpful.
David from HILTON HEAD, SC
A Bit Difficult
30 - 60 mins
Screw drivers
Looked on line and found a you tube that said to check the door micro switches (there are three of them. Found one of the switches had an actuator that was stuck down. I got the actuator working but problem was still present. Another you tube showed how to repair the contacts in the switch and that solved the problem. however the plas
... Read moretic piece that holds the switches was broken and would not hold the switches securely. Ordered that piece and a new switch. Remove the vent plate on top (one phillips) and the control panel (one phillips). The switch holder is held in place with 2 phillips and is a little tricky to get it out and undo the wires. Once out, it's just a matter of putting the switches into the new holder and reinstalling it. Google the model number and the problem and there's virtually a you tube to repair ANYTHING.
Read less
Was this helpful?
Thank you for voting!
I needed to acquire and install a mounting plate for an over the range microwave
9 of 17 peoplefound this instruction helpful.
Roy from Lakewood, CO
Really Easy
30 - 60 mins
Screw drivers
I attached the mounting plate to the wall as directed in the installation instructions which I had downloaded from GE. This procedure took 45 minutes to complete. I was then able to mount the microwave.



 My Orders