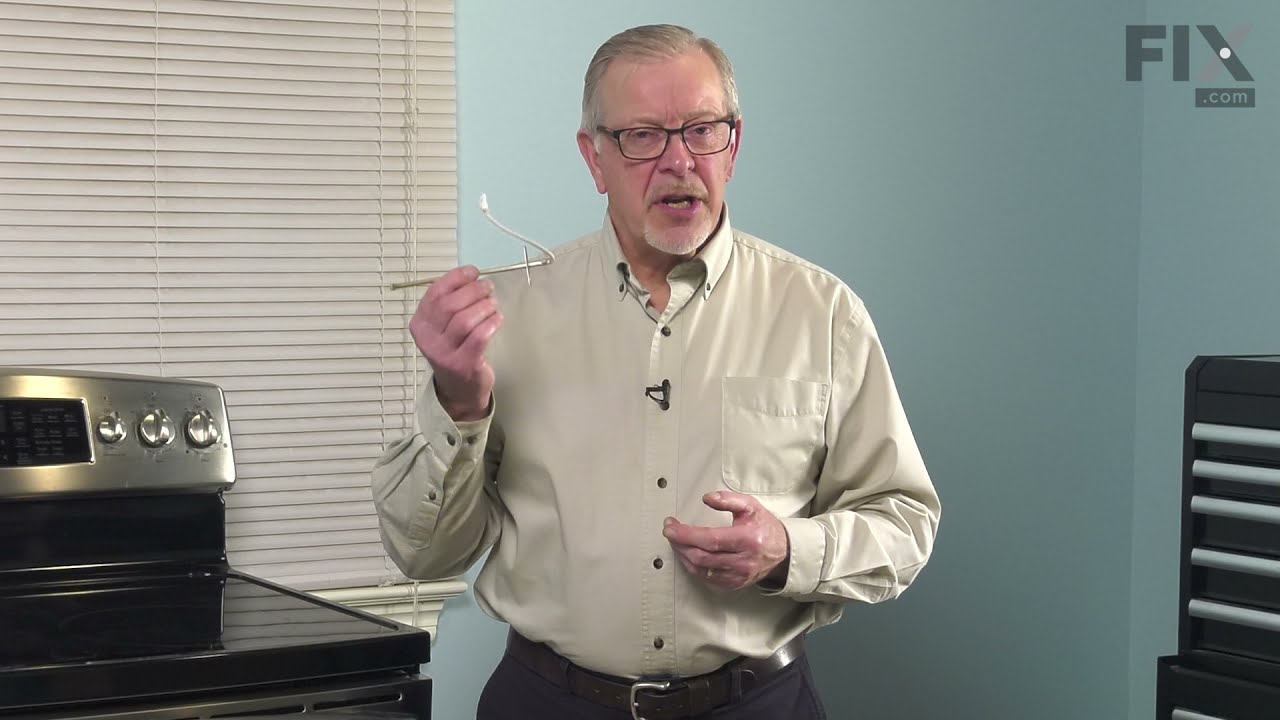
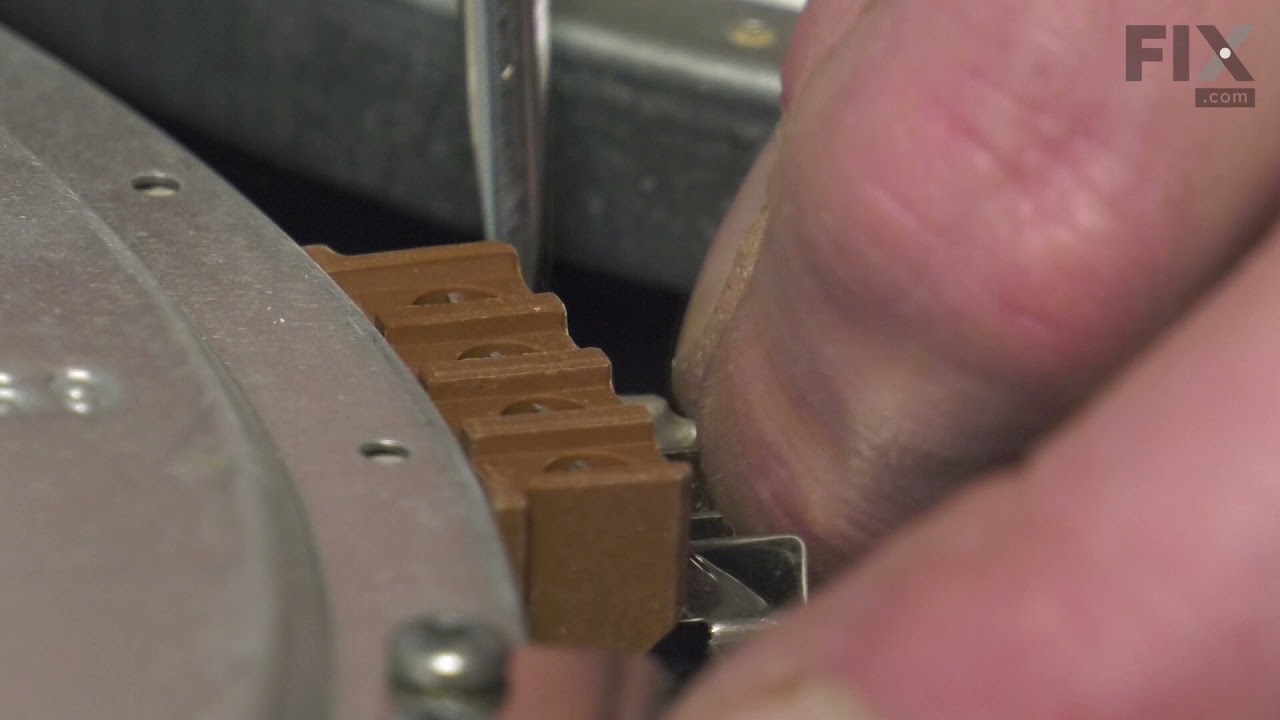
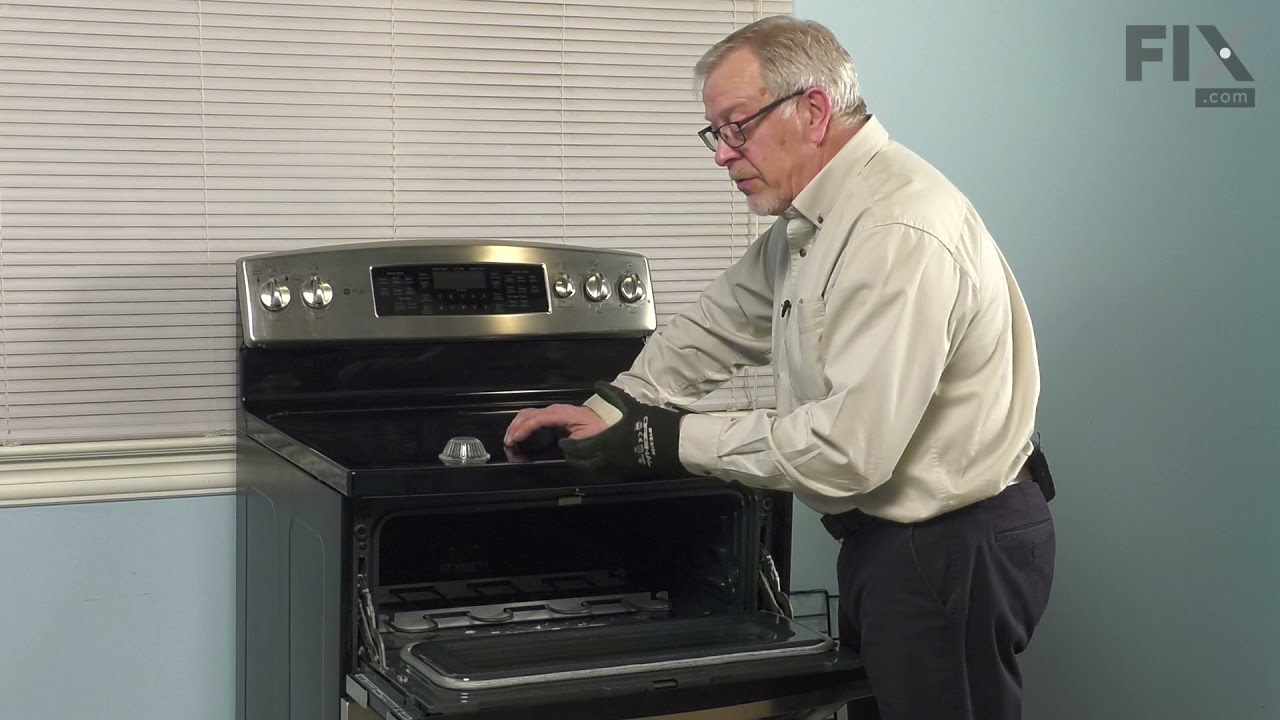
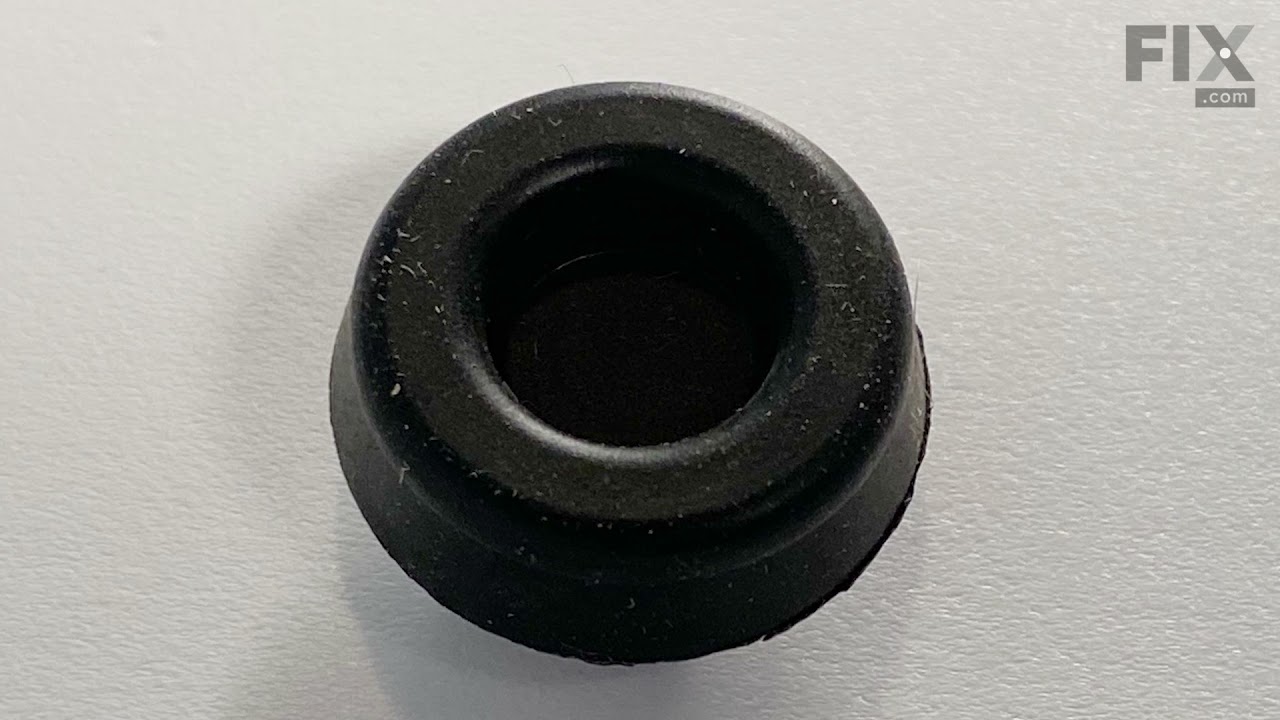
The temperature sensor, also known as the oven temperature sensor assembly is usually found in the back of the oven. The function of the oven temperature sensor assembly is to measure the temperature inside your oven while it is on and send the temperature back up to the electronic control, which adjusts as necessary. If your oven is havi...Read moreng difficulty achieving warmer temperatures and/or keeping warmer temperatures up, you may want to test your temperature sensor. Before you make this repair remember to unplug your range from the power source, and turn off the gas shut off valve.
This 40-Watt light bulb is sold individually.
It is specially designed to withstand extreme temperatures, so this bulb is compatible with a variety of appliance types including refrigerators, ranges, microwaves, and dryers. It features a frosted glass bulb with a standard metal socket base, which allows you to easily unscrew the burnt-out light and twist the new bulb into place.
The function of the oven sensor is to detect the temperature within the oven cavity. If you notice that the oven is too hot or too cold, or it is not heating evenly, you may need to replace the oven sensor. The oven sensor is typically located in the back of the oven so you will most likely need to pull your oven out to access it. Many of...Read more our customers have rated this repair as easy. You will need a Phillips screwdriver to complete this repair. Be sure to disconnect the power source and shut off the gas valve before doing this repair.
This 8-inch radiant stovetop element is a genuine replacement part designed to deliver consistent heat to cookware during stovetop use. It fits select electric ranges and cooktops and is engineered to restore proper heating performance when an existing burner is damaged, unevenly heating, or non-functional. The element transfers heat effi...Read moreciently to support even cooking across a variety of pot and pan sizes. Installation involves lifting the cooktop and removing the screw and clip securing the old burner. A screwdriver is required, and the appliance should be disconnected from power before beginning the repair to ensure safety.
This part is the replacement oven bulb lens cover. It is made of glass and is approximately 3 inches in diameter. The lens cover is rigid and protects the oven light bulb from being damaged. The main reason to replace the oven bulb lens cover is if it is cracked, damaged, or missing. Be sure that the lens cover is cool to the touch before...Read more you begin this repair. To remove the lens cover simply turn it counterclockwise until you can remove it. Replace it with a new cover and turn it clockwise to lock it into place. This is an OEM part sourced from the manufacturer, and it is sold individually.
This replacement haliant surface element is designed for use with flat-top ranges and cooktops, positioned beneath the glass surface to supply consistent heat to the cooking area. Measuring approximately 12 inches in diameter, it provides reliable performance for a variety of cooking tasks. If the burner fails to light when activated, the...Read more surface element may be faulty and require replacement. Installation involves disconnecting power to the appliance, removing the screws securing the cooktop, lifting the glass surface, and replacing the element by disconnecting the wires and securing the new unit in place. This component is sold individually and is compatible with select models of electric ranges and cooktops.
The GE Oven Door Window Pack Assembly is a genuine OEM part that fits select GE ranges and ovens. It includes a heat-resistant inner glass panel, frame, and seals, providing insulation and clear visibility into the oven cavity. Common issues like cracked glass or heat loss can indicate the need for a replacement. Ensure the oven is cool to the touch and wear gloves for safe installation.
This part is a replacement screw for your oven. It is made of black metal and is sold individually. This screw is approximately 1/4 inch in diameter and about 1/2 inch in length. It is designed to connect the different parts of your oven door. This part is an authentic OEM part sourced directly from the manufacturer.
This 6-inch radiant surface heating element is designed for use in electric cooktops and ranges with smooth-top surfaces. Positioned beneath the glass cooking surface, it delivers consistent heat to the designated burner area. The element typically measures slightly over 6 inches in diameter—closer to 7 inches—and operates at 1500 watts w...Read moreith a voltage rating of 240 volts. It is engineered to provide efficient and even heating for everyday cooking tasks. Installation involves accessing the underside of the cooktop, disconnecting the faulty element, and securing the replacement in place. Always ensure the appliance is powered off before beginning installation.
Ask our experts a question about this model and we'll get back to you as soon as possible!
We may have answered a similar question already! Search questions and answers left by others using simple keywords like "fit", "broken", "easy", or "quality" to find questions that match.
Search filter:
Clear Filter
Your search term must have 3 or more characters.
Sort by:
Prev
1
2
Next
Sorry, we couldn't find any existing answers that matched.Try using some different or simpler keywords, or submit your new question by using the "Ask a Question" button above!
Fritz - For model number PS978ST1SS
November 30, 2019
All the burners stopped at once...using all top top burnners at one time...what board controls all of them
Hello Fritz and thanks for writing.
This symptom suggest a defect in your PCB board Part Number: PS5135628 is in the list of compatible items for your model. We hope this helps. Please contact us anytime.
Front right burner does not work on medium size. Works on small and large size only.
Hello Randy, thank you for your question. That is probably an issue with the burner itself. We would recommend replacing the burner, PartSelect Number PS2321560, and if that does not fix the issue, the switch that controls the burner should be replaced. I hope this helps.
1 personfound this instruction helpful.
Was this helpful?
Thank you for voting!
Maria - For model number PS978ST1SS
September 3, 2021
The stove just topped working. On buttons do not work clock is off, seems to have no power. Yet, the oven lights are on so it is an indication that the stove is receiving power. Could this be control board? Prior to this the on indicator light was staying on after the burners were shut off.
Hello Maria, Thank you for your inquiry. We have researched your model and it could be the control board, the thermal fuse or the wiring. We recommend checking the wiring for any visible damage and test the thermal fuse with a multimeter to see if it has failed. Hope this helps.
The heating elements are turning off after selecting. Some of the numbers don't work. The top oven will not turn on. Back left burner will not turn on. The clock won't set.
Hi Dennis. Our best guess based on these symptoms is you have a bad control board. Thank you for your question and good luck with your repair.
The kitchen timer is not working. It just stays on set time but does not count down
Hi Edna. I would recommend power cycling the range if this does not fix the issue than the control board likely needs to be replaced. Thank you for your question and good luck with your repair.
See how others fixed this model. Time, tools, difficulty, and steps that lead to victory!View More
Search repair tips from other customers using simple keywords like "replace", "fit", "remove", "inspect". DIY doesn't mean you have to do it alone!
Search filter:
Clear Filter
Your search term must have 3 or more characters.
Oven would go in to a F2 Error
148 of 226 peoplefound this instruction helpful.
Peter from stamford, CT
Really Easy
15 - 30 mins
Nutdriver
Removed six 1/4" hex nuts on rear of oven. Then through front/inside removed a single 1/4" hex nut to actually remove sensor. Unplug sensor connector, remove. Reversed steps, push oven back in place and plugged in. Tested oven function.
Was this helpful?
Thank you for voting!
Oven was not coming up to temperature
57 of 79 peoplefound this instruction helpful.
Sean from Highlands Ranch, CO
Really Easy
15 - 30 mins
Nutdriver, Screw drivers
I had to remove the oven from the wall because the sensor plug connction is behind the unit. Two screws hold the sensor inside the oven and then I disconnected the lead and pulled the sensor out from the front. I installed the new sensor, tightened the two screws holding it in and connected the lead. Then reinstalled the oven into the wal
... Read morel. Overall, a very easy repair once you get the oven out.
Read less
Was this helpful?
Thank you for voting!
Oven wouldn't preheat above 300 degrees
54 of 95 peoplefound this instruction helpful.
Gerald from Cape Canaveral, FL
Really Easy
15 - 30 mins
Nutdriver
Unplugged appliance and removed 5 screws on back of stove/oven and removed plate. Disconnected the sensor and unscrewed it on the inside of the oven. Pulled the cord through and replaced with new sensor. Replaced all parts and plugged in the appliance and tested. Worked great.




 My Orders