


 My Orders




PPT-235ES (S07037001001-S07037999999) Echo Pole Saw - Overview
Diagrams for PPT-235ES
See every part. Know exactly what you need.
_WW_1.gif "Page A Diagram and Parts List for S07037001001-S07037999999 Echo Pole Saw")
_WW_2.gif "Page B Diagram and Parts List for S07037001001-S07037999999 Echo Pole Saw")
_WW_3.gif "Page C Diagram and Parts List for S07037001001-S07037999999 Echo Pole Saw")
_WW_3.gif "Page D Diagram and Parts List for S07037001001-S07037999999 Echo Pole Saw")
_WW_4.gif "Page E Diagram and Parts List for S07037001001-S07037999999 Echo Pole Saw")
_WW_6.gif "Page F Diagram and Parts List for S07037001001-S07037999999 Echo Pole Saw")
_WW_7.gif "Page G Diagram and Parts List for S07037001001-S07037999999 Echo Pole Saw")
_WW_8.gif "Page H Diagram and Parts List for S07037001001-S07037999999 Echo Pole Saw")
_WW_9.gif "Page I Diagram and Parts List for S07037001001-S07037999999 Echo Pole Saw")
_WW_10.gif "Page J Diagram and Parts List for S07037001001-S07037999999 Echo Pole Saw")
_WW_11.gif "Page K Diagram and Parts List for S07037001001-S07037999999 Echo Pole Saw")
_WW_12.gif "Page L Diagram and Parts List for S07037001001-S07037999999 Echo Pole Saw")
_WW_13.gif "Page M Diagram and Parts List for S07037001001-S07037999999 Echo Pole Saw")
_WW_14.gif "Page N Diagram and Parts List for S07037001001-S07037999999 Echo Pole Saw")
_WW_15.gif "Page O Diagram and Parts List for S07037001001-S07037999999 Echo Pole Saw")
_WW_16.gif "Page P Diagram and Parts List for S07037001001-S07037999999 Echo Pole Saw")
_(503212-599999)_WW_14.gif "Page Q Diagram and Parts List for S07037001001-S07037999999 Echo Pole Saw")
Enter a part description. DIY Heroes keep it simple, eg. "belt" or "pump".
Search filter:
Clear Filter
Your search term must have 3 or more characters.

$6.40
In Stock
Trimmer Fuel Grommet
Part #13211546730
This is a genuine ECHO/Shindaiwa replacement part It is compatible with over 150 machines listed below. The Fuel Line Grommet is placed into the fuel tank. The Vent tube, Fuel return line and fuel line are inserted through the three holes. A worn Fuel Line Grommet will cause fuel to leak from the tank. When replacing the Grommet it is advisable to replace the fuel lines at the the same time.

$10.19
In Stock
Air Filter
Part #A226001410
This Genuine OEM air filter is a critical component designed to protect your engine by preventing dirt, dust, and other small particles from entering the carburetor and causing internal damage. Sold individually, this high-quality filter features a double-layer construction that enhances filtration efficiency and ensures optimal airflow. ...Read moreOver time, filters can become clogged with debris, restricting air intake and reducing engine performance. For best results, this type of filter should be replaced—not cleaned—once it becomes dirty. Regular replacement helps maintain engine health and ensures reliable operation of your outdoor power equipment.
Read less

$8.52
In Stock
Trimmer Trimer Purge Bulb
Part #P005003120
This Primer Bulb is a clear, plastic, individually sold part with an Outer Diameter of 0.720 inches (18.30 mm) and a Height of 0.674 inches (17.12 mm). With Flange: 0.842" (21.40 mm). This part is rated as Easy to install by customers, and attaches to the primer pump assembly.
If the part shows signs of breakage, such as cracks appearin...Read moreg due to the bulb drying out, or fatigue, then it must be replaced. Refer to your owners manual/model number to ensure you are choosing the correct part.
Read less

$7.73
In Stock
Fuel Filter
Part #A369000480
This OEM Fuel Filter is a silver and white, steel/felt, part measuring about 1.25 inches in length and 3/4 inch wide. It can be installed with pliers and is rated as Easy to install by customers.
This part attaches inside the fuel tank to clean the fuel of debris, and should be replaced during regular maintenance, check your manual for ...Read morerecommended replacement time. If the filter is leaking or it has a blockage preventing fuel flow, then it should be replaced. If the engine sounds like it is not getting enough fuel, then remove the filter and check it for blockage.
Read less

$6.40
In Stock
Trimmer Fuel Return Tube
Part #13201056330
The fuel return tube or fuel return line, as it is also known, delivers fuel back to the tank from the primer bulb. This is a genuine OEM part from the manufacturer, and it is yellow in color and sold individually. Its overall dimensions are 3x6x90mm. Over time, or due to over-tightening, cracks may appear in your fuel return tube, causin...Read moreg fuel to leak. You will know it is time to replace this part if you notice these symptoms.
This is an easy repair, according to our customers, and does not require any special tools. The new part will simply attach to the primer bulb and fuel tank.
Read less

$10.97
In Stock
Leaf Blower Fuel Tank Vent
Part #A356000031
This a a genuine OEM replacement check valve for your small engine. It is also known as a fuel tank vent. You may need to replace this part if you are noticing debris or dirty oil in the reservoir. Make sure the engine is cool before you begin this repair, and remove the wire and boot from the spark plug to prevent the engine from starting up.

$6.06
In Stock
Trimmer Clip
Part #13201309820
This genuine fuel clip is a silver, metal, individually sold part. It can be installed with pliers and is rated as Easy to install by customers.
This part attaches to the fuel filter to secure the fuel line ot the fuel filter. If broken, likely due to fatigue, there may be a fuel leak. If damaged or missing, the part should be replaced. ...Read moreRefer to your owners manual or model number to ensure you are choosing the correct part.
Read less

$6.40
In Stock
Trimmer Flange Nut
Part #43301903933
This is a genuine OEM replacement part, it is sold individually. It is used in various places on the models shown below.. It is mainly use to secure parts such as Guide Bar Covers, Sprocket Guards etc.

$6.40
In Stock
Intake Gasket
Part #V103001360
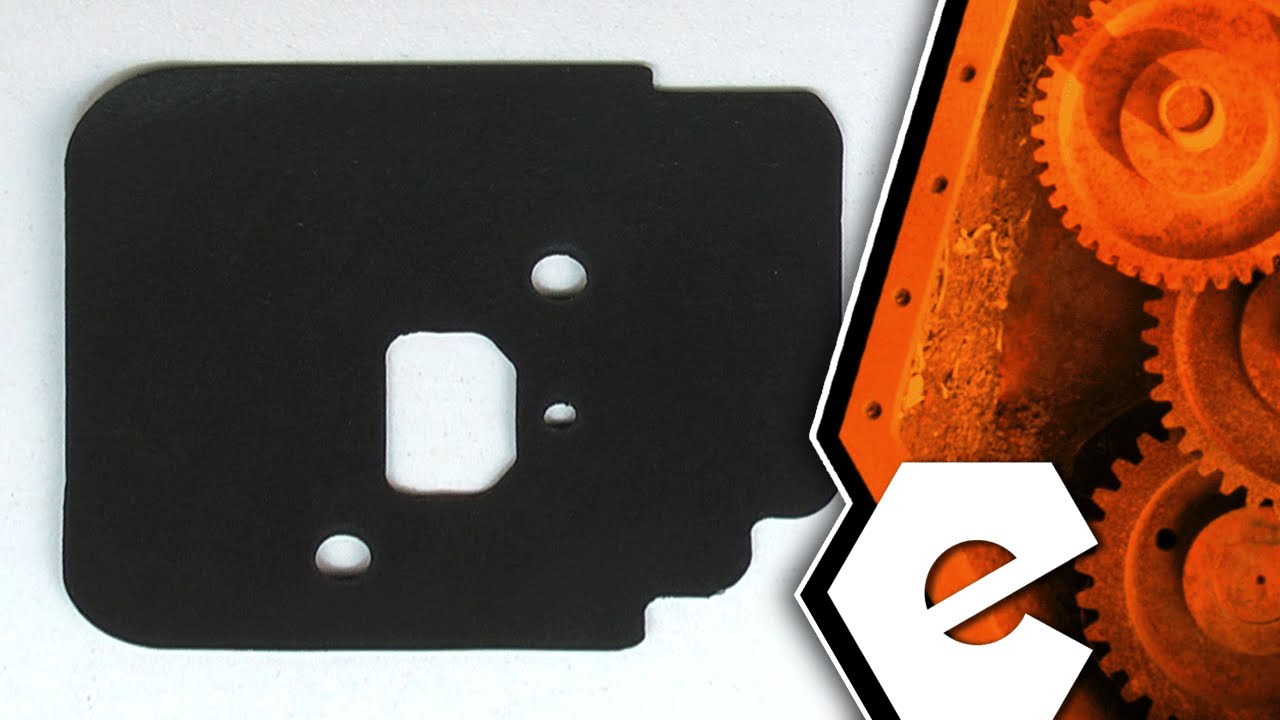
This is a genuine manufacturer approved replacement part designed for use with edgers and trimmers. The purpose of this part is to act as a seal for the insulator. This item is made out of compound material and it is sold individually. To complete this repair you would need a screwdriver.

$24.15
In Stock
Carburetor Repair Kit
Part #P005001670
This is an authentic manufacturer-sourced replacement part which is specially designed for use with Echo and Shindaiwa handheld lawn and garden equipment. Gaskets are generally utilized to provide a tight seal between connected parts, over time the material may wear out and even begin to crack eventually requiring a replacement. This high...Read more-quality kit is sold individually, keep in mind it includes all the necessary components to repair your carburetor. Please make sure to refer to the appropriate diagrams of your model for the correct location and application of these components. NOTE: Here is the link to our article on How to Rebuild a Two-Cycle Engine Carburetor
Read less

$6.40
In Stock
Spark Arrester Screen
Part #14586240630
Also referred to as a Spark Arrester, this Spark Arrester Screen is an authentic OEM replacement part that is not part of a kit or assembly. It is made of metal and sold individually. The purpose of this screen is to prevent flammable debris from entering the engine and becomes worn through regular use. If the screen is clogged, remove th...Read moree screen from the muffler, hold it with pliers, and use a torch to burn off the debris before reinstalling the screen.
This part needs to be replaced when it becomes damaged or worn. When the screen is malfunctioning, you may notice debris exiting through the muffler. To complete this repair, you will need a screwdriver and pliers. This screen is located within the muffler; refer to your owner's manual for the exact location on your model.
Customers rated this repair as Easy.
Read less

$15.84
In Stock
Air Cleaner Case
Part #P021012870
This an OEM replacement part designed for use with Echo Trimmers/Brushcutters. This is the base that connects to the carburetor. It is made out of plastic and it is sold individually. Please note the cover and filter are both sold separately. To replace this item you would need a Wrench. • Remove the air cleaner cover and the element ...Read more • Remove the bolts that secure the case • Separate the carburetor gasket • Secure the new case with the gasket using the bolts • Place the element and secure it with the cover
Read less
Watch our pros, then fix it yourself.

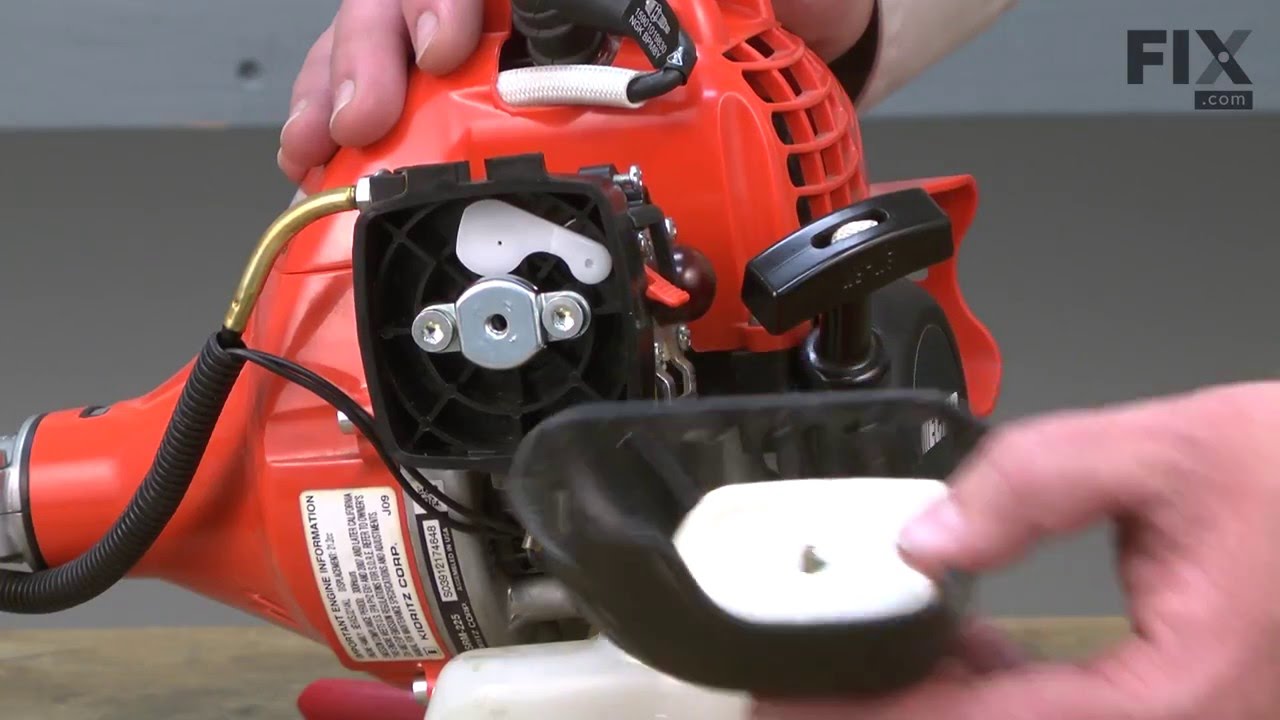
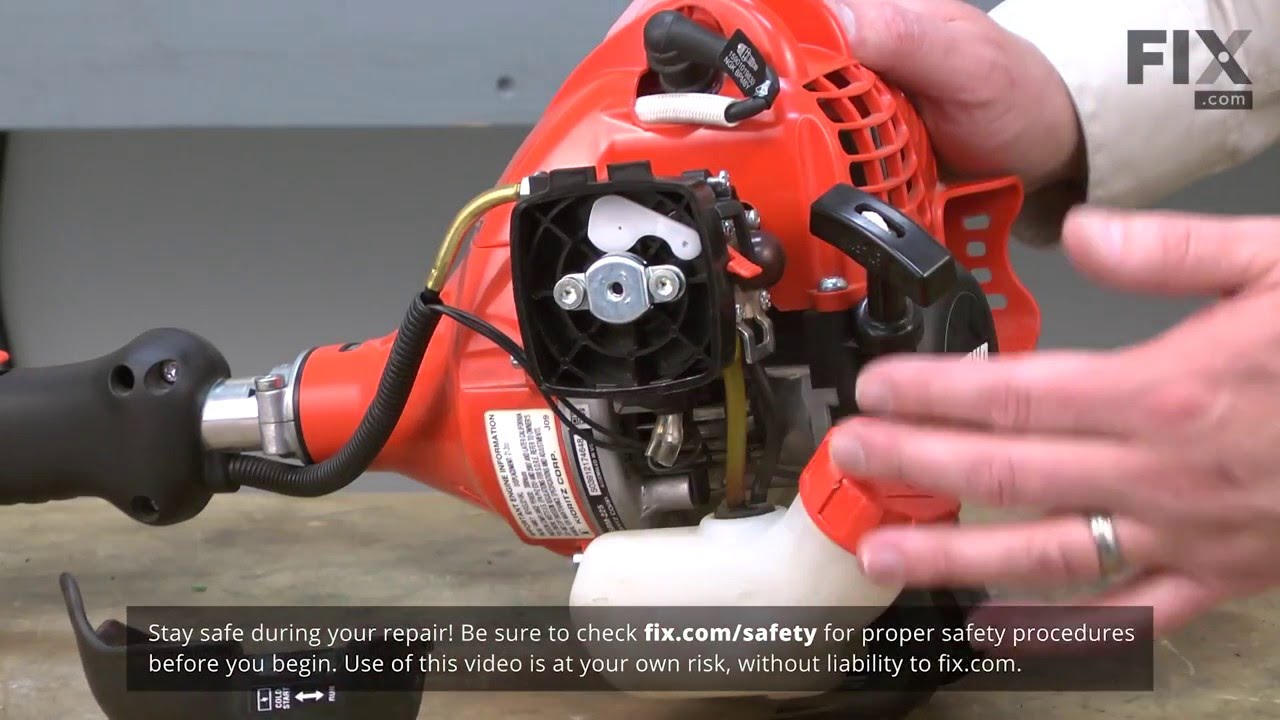
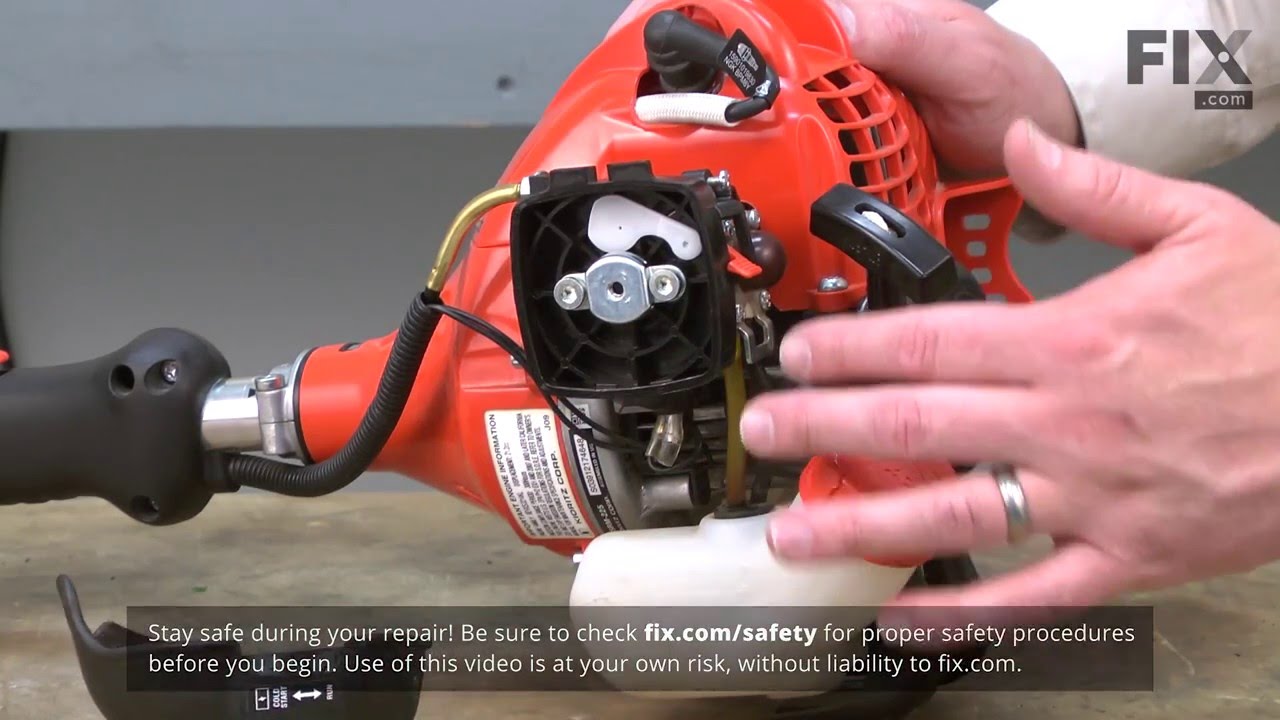
See how others fixed this model. Time, tools, difficulty, and steps that lead to victory!
View More