EasyApplianceParts is now PartSelect! We've merged our sites to provide a better shopping experience for you.   Full Details
✖

Find Parts

Parts Departments

Top Model Types

Top Brands

Repair Help

Expert Repair Videos

Keep typing for more specific results...

PGS968SER1SS General Electric Range - Overview

Diagrams for PGS968SER1SS

See every part. Know exactly what you need.

Enter a part description. DIY Heroes keep it simple, eg. "belt" or "pump".

Search filter:
Clear Filter
Your search term must have 3 or more characters.
Flat Style Oven Igniter Kit – Part Number: WB13K21
$59.47
In Stock
Flat Style Oven Igniter Kit
★★★★★
★★★★★
(126)
Part #WB13K21
The flat style oven igniter kit comes with a mounting bracket and a wire connector with a plug. The igniter kit is used to light the oven burner. If you notice that your oven will not heat up properly, the igniter kit may need to be replaced. This flat style gas oven igniter has a body length of 3-3/4 inches. When completing this repair, the connector plug might need to be removed and spliced to the range wiring using porcelain wire nuts. Before you begin this repair, be sure to disconnect the power source from the oven, and shut off the gas supply.
Door Bumper - Black – Part Number: WB2K15
$17.19
In Stock
Top Electrode Mounting Clip – Part Number: WB01K10112
$19.93
In Stock
Top Electrode Mounting Clip
Part #WB01K10112
This Genuine OEM GE Electrode Clip is a precision-engineered component designed for use across a wide range of gas ranges. Constructed from durable metal, the clip plays a critical role in securing the electrode top within the rangetop and bracket assembly, ensuring stable and reliable ignition performance. Sold individually, this replacement part is ideal for routine maintenance or repair. For ease of installation, a pair of pliers is often recommended to assist with proper placement. Trust in genuine GE parts to maintain the safety and efficiency of your appliance.
Ignitor Mounting Screw – Part Number: WB1X1293
$16.05
In Stock
Range Screw – Part Number: WB1K5062
$16.05
On Order
Range Screw
Part #WB1K5062
Range Leg Leveler – Part Number: WB02K10182
$17.28
In Stock
Cooktop Mounting Screw – Part Number: WB01K10008
No Longer Available
Cooktop Mounting Screw
★★★★★
★★★★★
(1)
Part #WB01K10008
This is a replacement cooktop mounting screw, used to secure the burner. If you are missing that screw on your range, this is the part to replace it. This screw is about a half an inch in length and is sold individually. It is an OEM part sourced directly from the manufacturer.
Range Temperature Sensor – Part Number: WB20K10015
$56.36
In Stock
Mounting Screw – Part Number: WB1X5364
$16.05
Special Order
Mounting Screw
★★★★★
★★★★★
(1)
Part #WB1X5364
This screw is less than 1/2 inch in length. It is sold individually.
Economic Nut – Part Number: WB01K10037
$16.09
In Stock
Economic Nut
Part #WB01K10037
This economic nut is a manufacturer-approved replacement part for your oven range. The nut can become worn down or stripped over time and need replacing. Make sure to disconnect power to the unit and wait until it cools before beginning this repair.
SCREW – Part Number: WB1X536
$18.34
In Stock
SCREW
Part #WB1X536
IGNITER GLOWBAR – Part Number: WB13X25261
$78.18
In Stock

Common Symptoms of the PGS968SER1SS

How this model fails, and the parts that fix it.

Watch our pros, then fix it yourself.
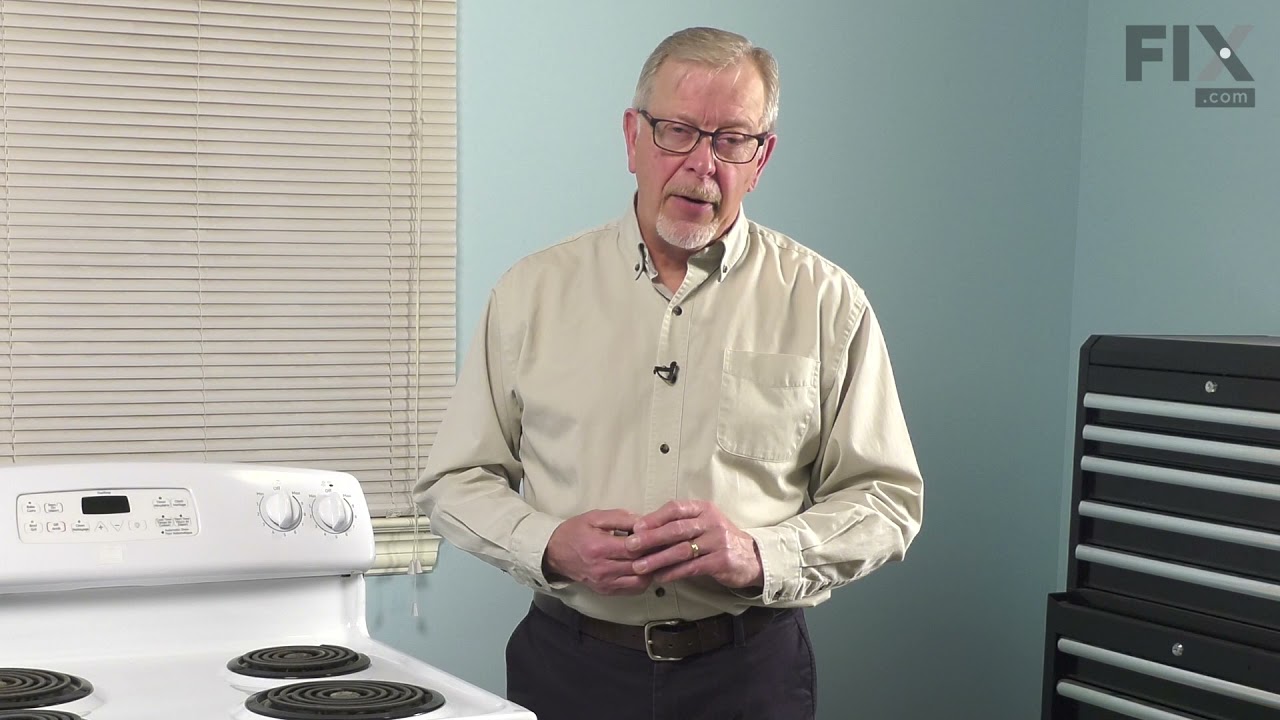
See how others fixed this model. Time, tools, difficulty, and steps that lead to victory! View More

Search repair tips from other customers using simple keywords like "replace", "fit", "remove", "inspect". DIY doesn't mean you have to do it alone!

Search filter:
Clear Filter
Your search term must have 3 or more characters.
The igniter glowed, but never got hot enough to ignite the propane, so I did smell propane.
678 of 734 people found this instruction helpful.
  • Sidney from Marysville, CA
  • Really Easy
  • 30 - 60 mins
  • Nutdriver
First, I removed the two screws that held the heat shield in place. Second, I removed the one screw that held a small wire covering. That covering kept the wires inside the back wall of the range. Third, I removed the two screws that held the Igniter Kit, and unplugged it from the back of the range. I then carefully put the new ignite r in, and reassembled everything in reverse order. It only took about 30 minutes to do the repair, and 30 minutes of cleaning and wiping of the broiler area. (It is amazing what you see when you take things apart). I should have been wiping things up over the past few months. Overall, a very easy repair. I ordered the part at 12:30 in the afternoon, and FedEx delivered it the next morning at 11:30, all for the regular shipping price of $6.95. VERY HAPPY.....
Was this helpful?
Thank you for voting!
oven would not light or keep temp.
450 of 468 people found this instruction helpful.
  • zack from corning, CA
  • Really Easy
  • 15 - 30 mins
  • Nutdriver, Screw drivers, Socket set, Wrench set
first I thought it was a faulty gas valve, so I pulled it out, started researching for a replacement part, found your site and started research. I discovered thhat the igniter was the culprit, that info. saved me about a week of time and a 100 bucks, so I installed the gas safety valve back in the oven, patience is the word for the day, you cross thread this and you are done! any way ordered ignighter and it shipped to my house in about 4 days, New York to Calif. had it installed in about 15 minutes fired off the oven and ...IT worked hurray...10-9-2010,
Was this helpful?
Thank you for voting!
Oven wouldn't heat. This degraded over several weeks.
310 of 411 people found this instruction helpful.
  • Durwood from Suffield, CT
  • Easy
  • 15 - 30 mins
  • Nutdriver, Screw drivers
1. Pulled the 110V power plug. It was not necessary to turn off the gas; just be careful not to stretch or pinch the flexhose behind the stove.
2. Removed the oven door by opening a couple of inches then lifting upward.
3. Removed the warming drawer by pulling out to the stop, then pushing the small levers on the side of the t rack to release.
4. Removed two flathead screws at the back of the oven to free up the oven bottom panel.
5. Removed the bottom panel by lifting up the pack until the front edge clears the overhang.
6. Removed the two screws on the side that hold the igniter to the burner tube. Be sure not to let the screws drop into the gaps in the oven floor. Note the position of the bent tab with the holes to ease aligning the new part.
7. Reached through the warming drawer to release the plug by squeezing the tabs on the end.
8. Pulled the plug up through the gap in the oven floor (where the wires went through) and connected it to the other connector.
9. Ran the new wire down through the oven floor.
10. Aligned the new igniter and tightened them. Had trouble getting the screws started so I used a toothpick to align one hole while starting the other screw.
11. Replaced the oven bottom panel. It needed a little jockeying to get the screws and holes aligned.
12. Replaced the door.
13. Replaced the oven drawer.

This turned out to be a good time to clean all those dusty places that don't get cleaned that often.
Was this helpful?
Thank you for voting!