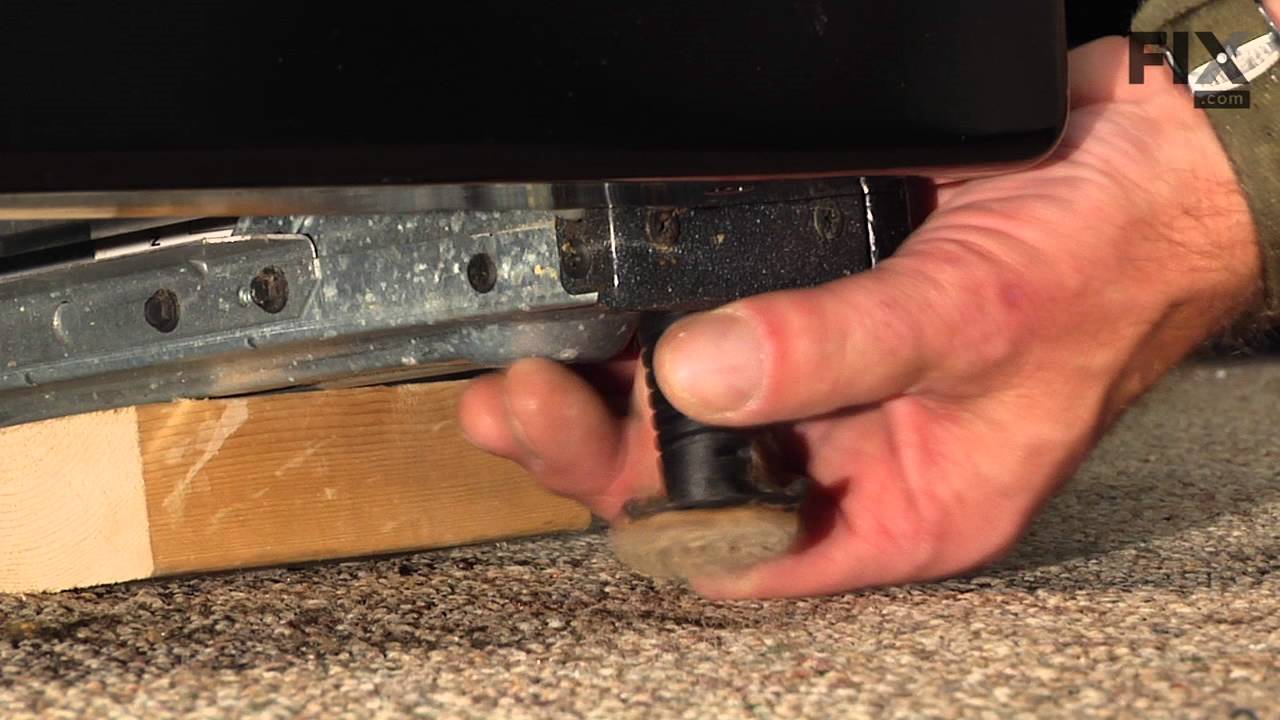
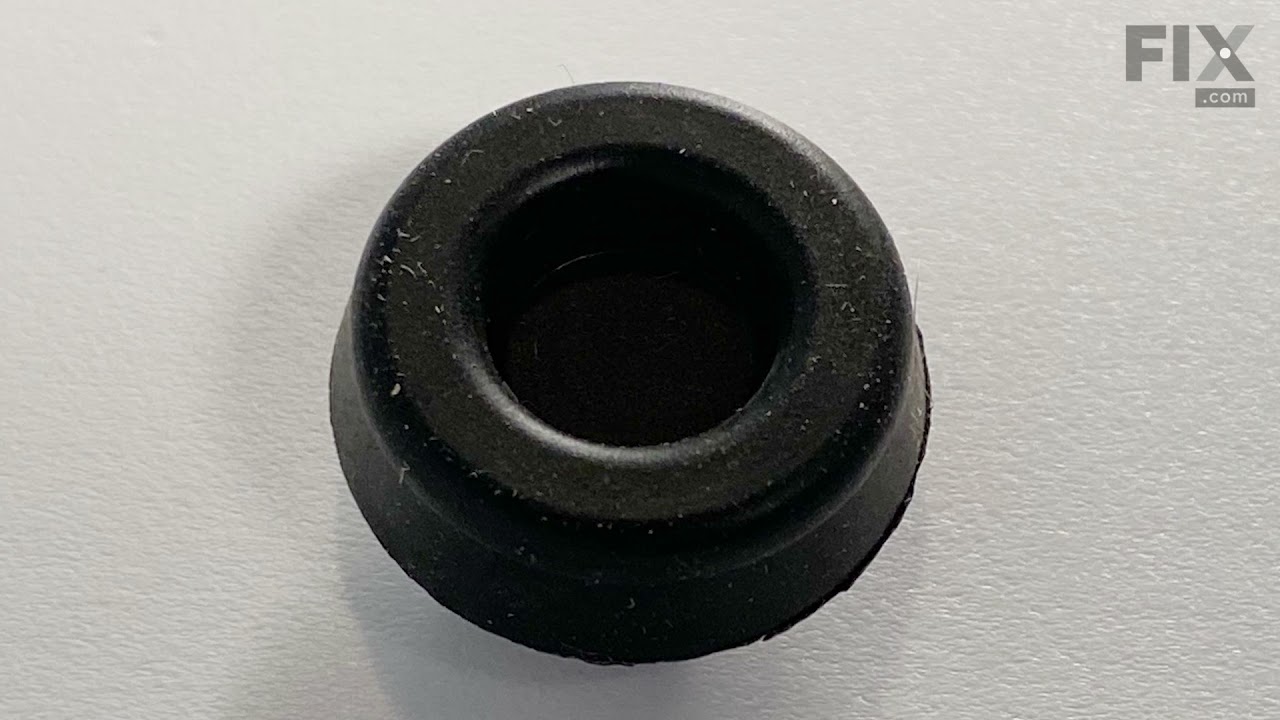
The Grate Foot is a black rubber part which attaches underneath the grate in order to protect your stovetop from being scratched, which it does by cushioning the grate on your gas range. If this part appears visibly broken or no longer holds in place, which can happen to these feet over time, then it should be replaced. Check your model n...Read moreumber and user manual to see if this part is right for you. Because this part is sold individually, make sure to order the quantity that you require. We generally recommend checking all of the grate feet on your appliance and replacing them at the same time, since it is an inexpensive part and they tend to wear out at around the same rate. Spares are good to have in the event of future failures. Before beginning this repair, ensure that the surface is cool to the touch. Simply pull the worn or cracked foot out and install the new grate foot. This process should not require any tools or accessories.
The temperature sensor, also known as the oven temperature sensor assembly is usually found in the back of the oven. The function of the oven temperature sensor assembly is to measure the temperature inside your oven while it is on and send the temperature back up to the electronic control, which adjusts as necessary. If your oven is havi...Read moreng difficulty achieving warmer temperatures and/or keeping warmer temperatures up, you may want to test your temperature sensor. Before you make this repair remember to unplug your range from the power source, and turn off the gas shut off valve.
The top burner spark electrode, also known as a range surface burner igniter, is designed for use in your gas range. The function of this part is to provide the spark that lights the surface burner. If your gas range will not start, or if the igniter glows but will not light, you may need to replace the top burner spark electrode. This pa...Read morert is sold individually. This product is white in color and measures approximately 1-1/2-inches in length by 1/2-inch in width. Be sure to disconnect the gas supply to the range before you begin this repair. This is an OEM part sourced directly from the manufacturer.
This genuine GE drawer support is an original replacement part sourced from the manufacturer and is designed for use with electric ranges. Made of durable plastic, it attaches to the rear of the drawer and provides stable support by securing the rear side in place. This part includes the necessary mounting screw for installation and is so...Read moreld individually. It’s a simple yet essential component for maintaining smooth drawer operation and proper alignment.
This burner cap is for your gas range, and acts as a cover for the burner head. It is black in color and just over 3 inches in diameter. If your old burner cap is damaged or missing, this is the part that will replace it. This is an OEM part sourced directly from the manufacturer and is sold individually.
This is a replacement burner cap for your gas range or cooktop. The burner cap is found on the burner head, and prevents debris from getting into the head when it is not in use. The cap is black in color and is sold individually. It is a little more than 4 inches in diameter. To replace the burner cap, simply remove the damaged cap, and r...Read moreeplace it with the new one. No tools are required for this repair. This is an OEM part from the manufacturer.
This is a burner cap for your gas range. The cap acts as a cover for the burner head. If your old burner cap is damaged or missing, this is the part that will replace it. The cap is black in color and about 3 and a half inches in diameter. This is a quality OEM part sourced directly from the manufacturer. This cap is sold individually.
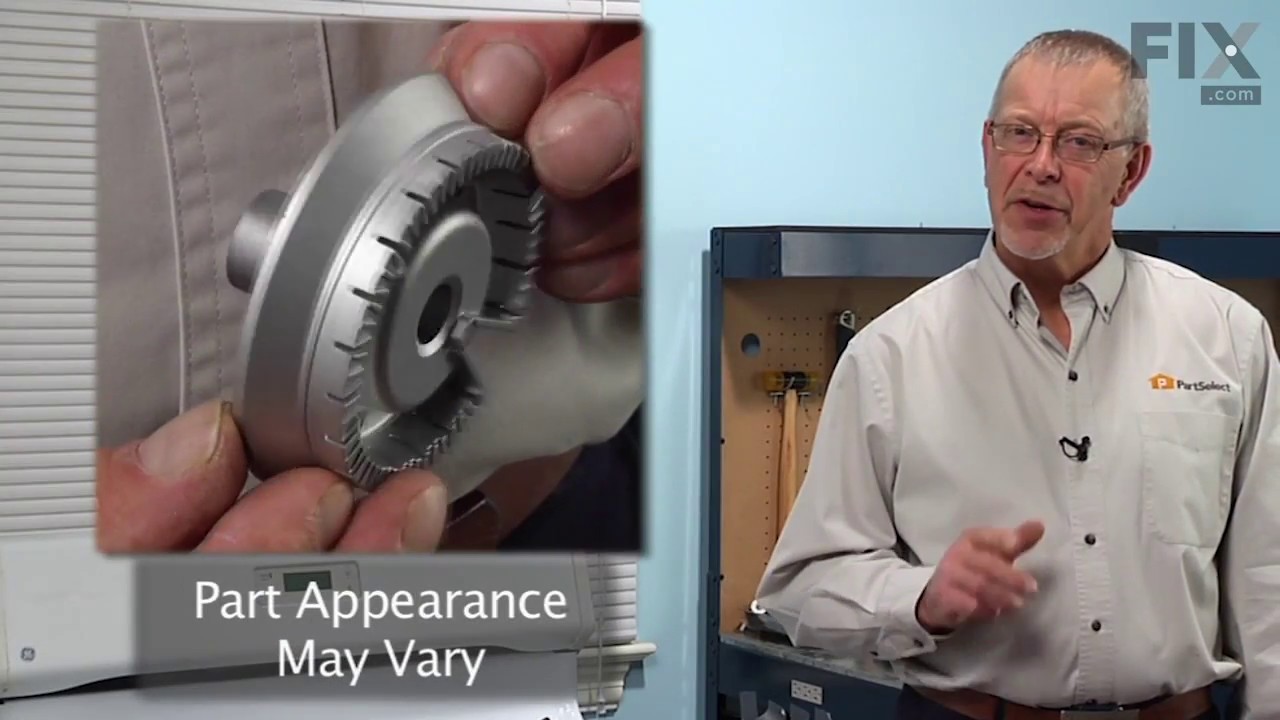
This burner head, or surface burner, is used in ranges and ovens. The burner sends gas through the holes and slots to create an equal flame across the cooking area. If the gas igniter glows but will not light up, or there are heating inconsistencies, replacing the burner head could be the solution to your problem. No tools are required fo...Read morer this installation. To change the burner, first lift the grate and take the burner cap off. Next, lift the burner away from the cooktop. To set the new burner in place correctly, check the locating tab that fits into the V-shaped notch and make sure the igniter fits into the cut-out. Refer to the diagram provided by the manufacturer for further instructions.
This is a burner cap for your gas range. The cap is black in color and about 3 inches in diameter. The cap acts as a cover for the burner head. If your old burner cap is damaged or missing, this is the part that will replace it. This is a quality OEM part sourced directly from the manufacturer. This cap is sold individually.
This large surface burner head is designed for use with gas cooktops and ranges, delivering consistent heat output for everyday cooking. Rated at 12,000 BTUs, it distributes gas evenly through precision-engineered slots or holes to create a stable flame. Made of metal with a silver finish, the burner head measures approximately 3.5 inches...Read more in diameter and sits beneath the burner cap. It is a direct replacement for worn or malfunctioning burner heads and helps restore efficient performance. For safety, always shut off the gas supply and unplug the appliance before installation. Compatibility should be confirmed with your specific model prior to replacement.
This genuine small burner is an original replacement part from GE, designed for use with a wide range of gas ranges. Positioned between the rangetop and bracket assembly and the burner cap, it plays a key role in generating the flame needed for cooking. No tools are required for installation, making it a quick and convenient replacement. ...Read moreThe burner is sold individually, and users should consult their appliance manual for proper installation and safety guidelines.
Ask our experts a question about this model and we'll get back to you as soon as possible!
We may have answered a similar question already! Search questions and answers left by others using simple keywords like "fit", "broken", "easy", or "quality" to find questions that match.
Search filter:
Clear Filter
Your search term must have 3 or more characters.
Sort by:
Prev
1
Next
Sorry, we couldn't find any existing answers that matched.Try using some different or simpler keywords, or submit your new question by using the "Ask a Question" button above!
STEVE - For model number PGS908SEP3SS
September 20, 2022
Oven door locked and no power to control panel. Power plug is good.
Hello Steve, Thank you for your inquiry. The controls may be locked, try holding the 9 and 0 buttons together to see if that unlocks the control panel. Also if you haven't already done so, try unplugging the stove for 10 minutes and then plugging it back in to see if that resets the control board. If not, check the wiring connections to the control board and touchpad for any visible damage or loose connections. Try unplugging the wire connector from the keypad to the control board and rubbing with an eraser to see if that allows the touchpad to be detected. If that does not work, then you may need a new control board. We hope this helps and if you would like to place an order for the board, our customer service is open 7 days a week to call and place an order.
The oven no longer holds accurate temps, it may be 50 degrees above or below setpoint.
Hello Edward, thank you for getting in touch. We have concluded that the issue is with the temperature sensor, part number PS10059162. We would recommend replacing it to fix the issue. We hope this solves your problem!
See how others fixed this model. Time, tools, difficulty, and steps that lead to victory!View More
Search repair tips from other customers using simple keywords like "replace", "fit", "remove", "inspect". DIY doesn't mean you have to do it alone!
Search filter:
Clear Filter
Your search term must have 3 or more characters.
Oven would go in to a F2 Error
148 of 226 peoplefound this instruction helpful.
Peter from stamford, CT
Really Easy
15 - 30 mins
Nutdriver
Removed six 1/4" hex nuts on rear of oven. Then through front/inside removed a single 1/4" hex nut to actually remove sensor. Unplug sensor connector, remove. Reversed steps, push oven back in place and plugged in. Tested oven function.
Was this helpful?
Thank you for voting!
Oven wouldn't heat
91 of 95 peoplefound this instruction helpful.
Robert from Canton, GA
A Bit Difficult
1- 2 hours
Nutdriver
After removing the door and the lower pan cover, I removed 4 screws holding down the flame spreader. Once the flame spreader was off, I was looking at the two screws that hold on the igniter assembly. For some reason, these seemed to be the worst part of the repair. One screw broke off at the head as soon as I tried to loosen it. The
... Read moreother was apparently stripped during the initial installation. Due to lack of space to fit the dremel tool in the area, it took quite some time to remove the second screw. Once I finally got those removed, it was a piece of cake. The assembly easily pulled out approximately 4 inches to disconnect the plug. The new plug was easy to insert and push back in the cavity behind the oven. I had extra sheet metal screws, so the installation of the new assembly took less than 10 minutes. As I said, the worst part was the stripped screw and lack of space to get the proper tool to remove it.
Read less
Was this helpful?
Thank you for voting!
Oven wouldn't work, broiler, stovetop would
80 of 83 peoplefound this instruction helpful.
Brian from Vergennes, VT
Difficult
1- 2 hours
Socket set
LIke the other posters, this should have been an easy fix. From internet research my official self-diagnosis was that either the ignitor didn't work or there was a problem with a temperature sensor or control module. At $70 for the part vs. $230 to get a Sears repair main out here (in two weeks time?!), I rolled the dice and decided to o
... Read morerder the part.
Taking the door off of the oven took a bit of figuring out (back to the internet), but once you know how it's very easy - 10 seconds.
After you take off the door, you then take out what I would call a heat shield that goes across the entire bottom of the oven (no tools needed) and then remove the 'heat spreader' with a socket set. That came off easy as well. Total time maybe 5 minutes.
Then the fun started. One of the two screws that connects the igniter sheared off. Luckily it sheared in a way that it didn't hold the ignitor any more, and the other screw maintained its integrity so in the end I could re-attach the ignitor. Ignitor off in less than 5 minutes.
All the repair guides say that you just unplug the ignitor from the quick disconnect plug and replace it with the new one. Sounds great but I couldn't get to the quick disconnect - the wires wouldn't pull far enough out to reveal the quick disconnect. I could see it and feel it with a finger in the hole, but either the wires weren't long enough or it was caught on something (felt like the former). I tried pulling harder, but got to a point where I felt I was going to break something and so I stopped.
I then started looking at how I could get the back of the oven off or another way to get access to that quick disconnect. Long story short - you can't do it through the front of the oven, you have to pull the entire oven out and go through a hatch in the back of the oven. Once I had figured that out everything was ok, but it took me 2 days of poking around for 10 minutes here, going to the internet there, and back and forth to decide I couldn't get to it from the front and how exactly to pull the oven out (turns out the type with the controls on the front hangs down from the counter itself and doesn't slide out easy - it takes some elbow grease to actually do it.).
In the end I wasn't confident I could get it back in by myself if I slide it completely out, so I pulled it part-way and then climbed on the counter and then into the small space I had created behind the stove.
Everything said and done I spent a couple hours messing with this. It turns out that the wires for both ignitors were routed around each other incorrectly and when I reconnected the new ignitor correctly I could pull the ignitor through the front of the oven like you're supposed to do. Glad it's fixed, but nothing is ever as easy as it should be...



 My Orders