



 My Orders




PCS968DR3BB General Electric Range - Overview
Diagrams for PCS968DR3BB
See every part. Know exactly what you need.


Enter a part description. DIY Heroes keep it simple, eg. "belt" or "pump".
Search filter:
Clear Filter
Your search term must have 3 or more characters.

$87.78
In Stock
BROIL ELEMENT
Part #WB30X46986
This broil element is designed for wall ovens and plays a critical role in achieving high-temperature cooking during broil cycles. Positioned at the top of the oven cavity, it delivers intense, direct heat for broiling meats, vegetables, and other dishes. A malfunctioning element may result in the oven failing to reach proper broil temper...Read moreatures, uneven cooking, or complete loss of broil function. Constructed from heat-resistant materials for durability and performance, this replacement part restores optimal cooking capability. Before installation, always disconnect power to the appliance and verify compatibility with your specific oven model.
Read less

$64.55
In Stock
Meat Probe Thermistor
Part #WB20T10024
This probe is used to check the internal temperature of the meat to ensure proper temperature is reached. Also known as a Meat Probe.

$140.74
In Stock
Temperature Sensor Kit
Part #WB23X5340
This kit includes the sensor as well as the connectors. NOTE This sensor is 2" long.

$15.00
In Stock
Rubber Hinge Bumper
Part #WB02K10112
The rubber bumper sits between the burner and the range itself to ensure the burners do not scrape the stove top. This OEM replacement bumper is sourced directly from the manufacturer, and is sold individually.

No Longer Available

$18.34
In Stock
SCREW
Part #WB1X536

$14.28
Special Order

$20.65
In Stock

$74.79
In Stock

$18.59
Special Order
NUT
Part #WB02T10017

$18.22
In Stock
SCREW 8-22 PL 1HX 71
Part #WB01K10012

$18.22
In Stock
SCR 8-18 AB IHW 3/8 SN
Part #WB01K10042
Common Symptoms of the PCS968DR3BB
How this model fails, and the parts that fix it.
Element will not heat
Fixed by
these parts
these parts


Show All
Little to no heat when broiling
Fixed by
these parts
these parts
Show All
Little to no heat when baking
Fixed by
these parts
these parts

Show All
Oven not heating evenly
Fixed by
these parts
these parts
Show All
Oven is too hot
Fixed by
these parts
these parts
Show All
Touchpad does not respond
Fixed by
these parts
these parts

Show All
Will not program
Fixed by
these parts
these parts

Show All
Watch our pros, then fix it yourself.

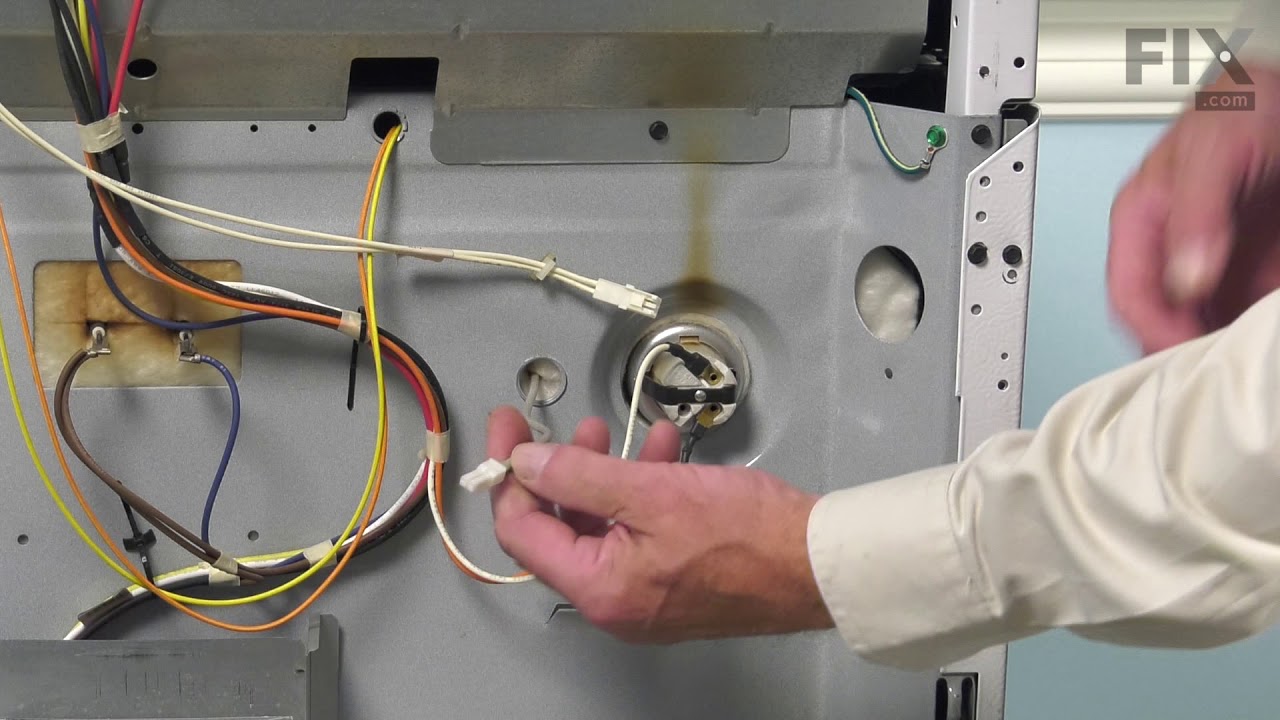
See how others fixed this model. Time, tools, difficulty, and steps that lead to victory!
View More