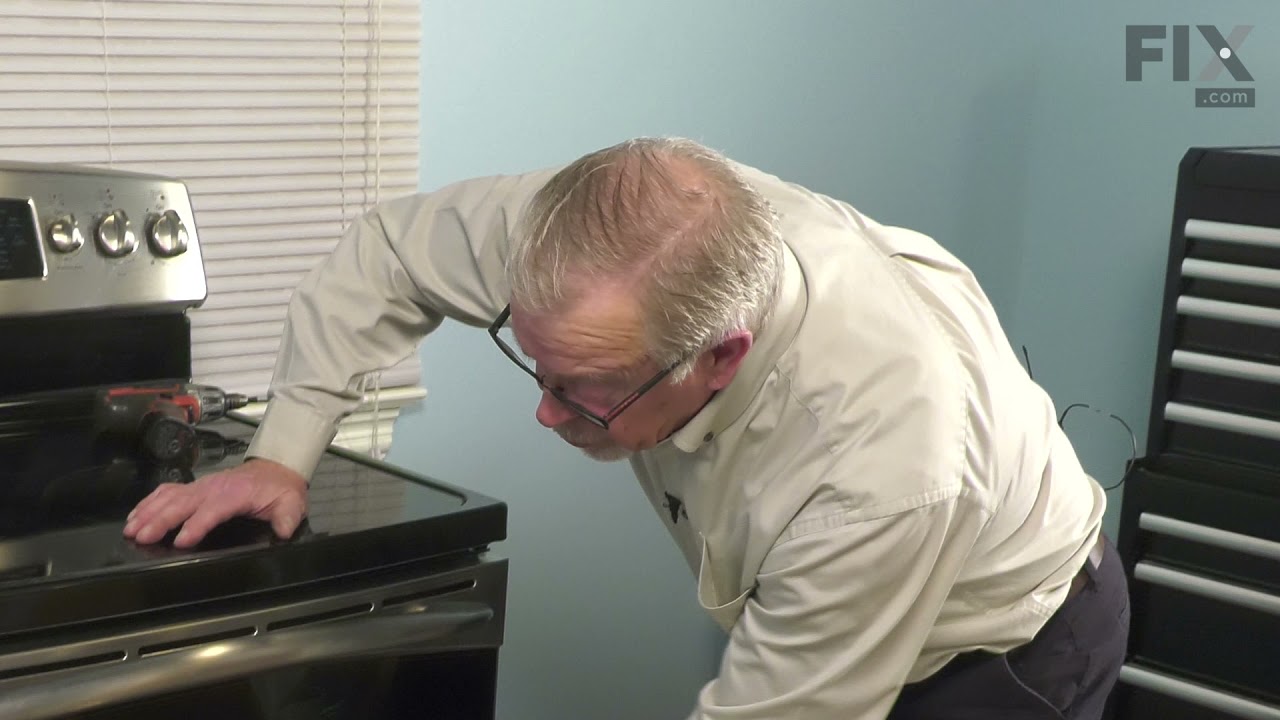
The temperature sensor, also known as the oven temperature sensor assembly is usually found in the back of the oven. The function of the oven temperature sensor assembly is to measure the temperature inside your oven while it is on and send the temperature back up to the electronic control, which adjusts as necessary. If your oven is havi...Read moreng difficulty achieving warmer temperatures and/or keeping warmer temperatures up, you may want to test your temperature sensor. Before you make this repair remember to unplug your range from the power source, and turn off the gas shut off valve.
This part provides a way of connecting individual electrical wires and offers protection of the device from electrical surges (voltages and/or currents).
This part is a replacement screw for your oven. It is made of black metal and is sold individually. This screw is approximately 1/4 inch in diameter and about 1/2 inch in length. It is designed to connect the different parts of your oven door. This part is an authentic OEM part sourced directly from the manufacturer.
The rubber bumper sits between the burner and the range itself to ensure the burners do not scrape the stove top. This OEM replacement bumper is sourced directly from the manufacturer, and is sold individually.
This economic nut is a manufacturer-approved replacement part for your oven range. The nut can become worn down or stripped over time and need replacing. Make sure to disconnect power to the unit and wait until it cools before beginning this repair.
Ask our experts a question about this model and we'll get back to you as soon as possible!
We may have answered a similar question already! Search questions and answers left by others using simple keywords like "fit", "broken", "easy", or "quality" to find questions that match.
Search filter:
Clear Filter
Your search term must have 3 or more characters.
Sort by:
Prev
1
Next
Sorry, we couldn't find any existing answers that matched.Try using some different or simpler keywords, or submit your new question by using the "Ask a Question" button above!
Ivana - For model number PCB980SF3SS
February 17, 2023
My range cooktop has a "hot surface" indicator light for each burner as well as a control on/off knob. The tri - ring element isn't turning on. Where can I order/purchase a new tri-element?
Hello Ivana, thank you for your questions. We sell the Tri Element on our site as PS10066596. We hope to hear from you soon.
My stove elements do not turn on regardless of which switch i turn on, i assume it's not the elements or switches because it wouldn't happen to all of them at the same time. Would the control board cause this i would like to order the part just want to make sure.
Hello Miro, thank you for your question. The control board regulates the oven, it doesn't affect the top burners. It sounds like an issue with the burner switch and harness assembly. Unfortunately, that part is showing as being discontinued and is no longer available.
Was this helpful?
Thank you for voting!
Prev
1
Next
✖
Ask a Question
Ask our experts a question on this model and we'll respond as soon as we can.
See how others fixed this model. Time, tools, difficulty, and steps that lead to victory!View More
Search repair tips from other customers using simple keywords like "replace", "fit", "remove", "inspect". DIY doesn't mean you have to do it alone!
Search filter:
Clear Filter
Your search term must have 3 or more characters.
Oven would go in to a F2 Error
148 of 226 peoplefound this instruction helpful.
Peter from stamford, CT
Really Easy
15 - 30 mins
Nutdriver
Removed six 1/4" hex nuts on rear of oven. Then through front/inside removed a single 1/4" hex nut to actually remove sensor. Unplug sensor connector, remove. Reversed steps, push oven back in place and plugged in. Tested oven function.
Was this helpful?
Thank you for voting!
terminal block melted
56 of 77 peoplefound this instruction helpful.
jonathan from willow springs, IL
Easy
Less than 15 mins
Nutdriver, Screw drivers
The existing terminal block on my Ge oven/Range had melted due to a loose wire causing sparking and starting the plastic casing of the terminal block on fire and melting it, Part select made the part easy to find and had it at my house in 2 days. All I had to do was remove six screws to take the back sheet metal cover off of the oven. U
... Read morenscrew the terminal connections remove two mounting screws that held the terminal on to the oven body. This was a little trickier than it should have been because the melted plastic had reformed making it very hard to access the mounting screws. i then mounted the new piece and plugged the oven in, it took 15 minutes and was very easy. definitely saved me at-least a $100 for the service call i would have made if finding the part wasn't so convenient
Read less
Was this helpful?
Thank you for voting!
Oven wouldn't preheat above 300 degrees
54 of 95 peoplefound this instruction helpful.
Gerald from Cape Canaveral, FL
Really Easy
15 - 30 mins
Nutdriver
Unplugged appliance and removed 5 screws on back of stove/oven and removed plate. Disconnected the sensor and unscrewed it on the inside of the oven. Pulled the cord through and replaced with new sensor. Replaced all parts and plugged in the appliance and tested. Worked great.



 My Orders