



 My Orders




PCB969DP2BB General Electric Range - Overview
Diagrams for PCB969DP2BB
See every part. Know exactly what you need.


Enter a part description. DIY Heroes keep it simple, eg. "belt" or "pump".
Search filter:
Clear Filter
Your search term must have 3 or more characters.

$30.53
In Stock
Temperature Sensor
Part #WB21X22134
The temperature sensor, also known as the oven temperature sensor assembly is usually found in the back of the oven. The function of the oven temperature sensor assembly is to measure the temperature inside your oven while it is on and send the temperature back up to the electronic control, which adjusts as necessary. If your oven is havi...Read moreng difficulty achieving warmer temperatures and/or keeping warmer temperatures up, you may want to test your temperature sensor. Before you make this repair remember to unplug your range from the power source, and turn off the gas shut off valve.
Read less

$55.21
In Stock
Range Oven Door Gasket
Part #WB04T10086
The oven door gasket creates a seal between the oven door and the opening of the oven to prevent heat from escaping when the oven is closed.

$64.55
In Stock
Meat Probe Thermistor
Part #WB20T10024
This probe is used to check the internal temperature of the meat to ensure proper temperature is reached. Also known as a Meat Probe.

$25.26
In Stock

$16.05
In Stock

$48.35
In Stock
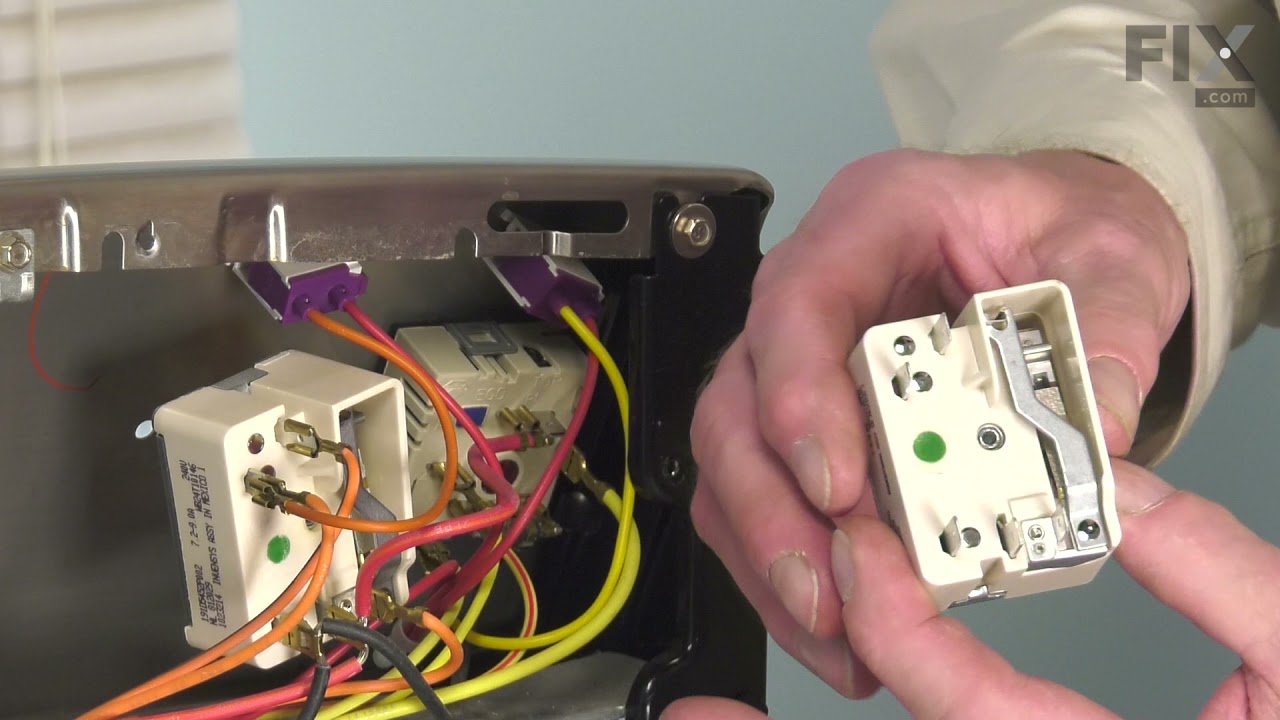
Surface Burner Switch - 240V
Part #WB24T10146
This part is the replacement surface burner switch or element control switch for your range or cooktop. The burner switch turns the surface element on and off and controls the amount of heat the element produces. If you are unable to start your heating element, or if the temperature is unpredictable, you may have a damaged surface burner ...Read moreswitch. Be sure to disconnect your range from the power source or shut off the circuit breaker before repairing this part. It is sold individually and is an OEM part sourced directly from the manufacturer.
Read less

$188.75
In Stock
Triple Haliant Element - 12 Inch
Part #WB30T10126
This replacement haliant surface element is designed for use with flat-top ranges and cooktops, positioned beneath the glass surface to supply consistent heat to the cooking area. Measuring approximately 12 inches in diameter, it provides reliable performance for a variety of cooking tasks. If the burner fails to light when activated, the...Read more surface element may be faulty and require replacement. Installation involves disconnecting power to the appliance, removing the screws securing the cooktop, lifting the glass surface, and replacing the element by disconnecting the wires and securing the new unit in place. This component is sold individually and is compatible with select models of electric ranges and cooktops.
Read less

$149.06
In Stock
Window Pack Assembly
Part #WB56T10105
The GE Oven Door Window Pack Assembly is a genuine OEM part that fits select GE ranges and ovens. It includes a heat-resistant inner glass panel, frame, and seals, providing insulation and clear visibility into the oven cavity. Common issues like cracked glass or heat loss can indicate the need for a replacement. Ensure the oven is cool to the touch and wear gloves for safe installation.

$105.26
In Stock

$64.77
In Stock
Terminal Block Kit
Part #WB17T10011
This part provides a way of connecting individual electrical wires and offers protection of the device from electrical surges (voltages and/or currents).

$16.05
In Stock

$32.64
In Stock
Halogen Lamp - 35 Watt
Part #WB08T10023
This halogen lamp bulb is a genuine OEM replacement part for your oven. If the light has burned out in your oven, replace it with this part. This is a 35 watt bulb. Replacing this bulb is fairly easy but will require pulling the oven out from the wall. Make sure to shut off power to the unit before beginning this repair.
Common Symptoms of the PCB969DP2BB
How this model fails, and the parts that fix it.
Element will not heat
Fixed by
these parts
these parts


Show All
Little to no heat when baking
Fixed by
these parts
these parts
Show All
Oven not heating evenly
Fixed by
these parts
these parts

Show All
Oven is too hot
Fixed by
these parts
these parts
Show All
Will Not Start
Fixed by
these parts
these parts

Show All
Little to no heat when broiling
Fixed by
these parts
these parts
Show All
Will not program
Fixed by
these parts
these parts

Show All
Watch our pros, then fix it yourself.
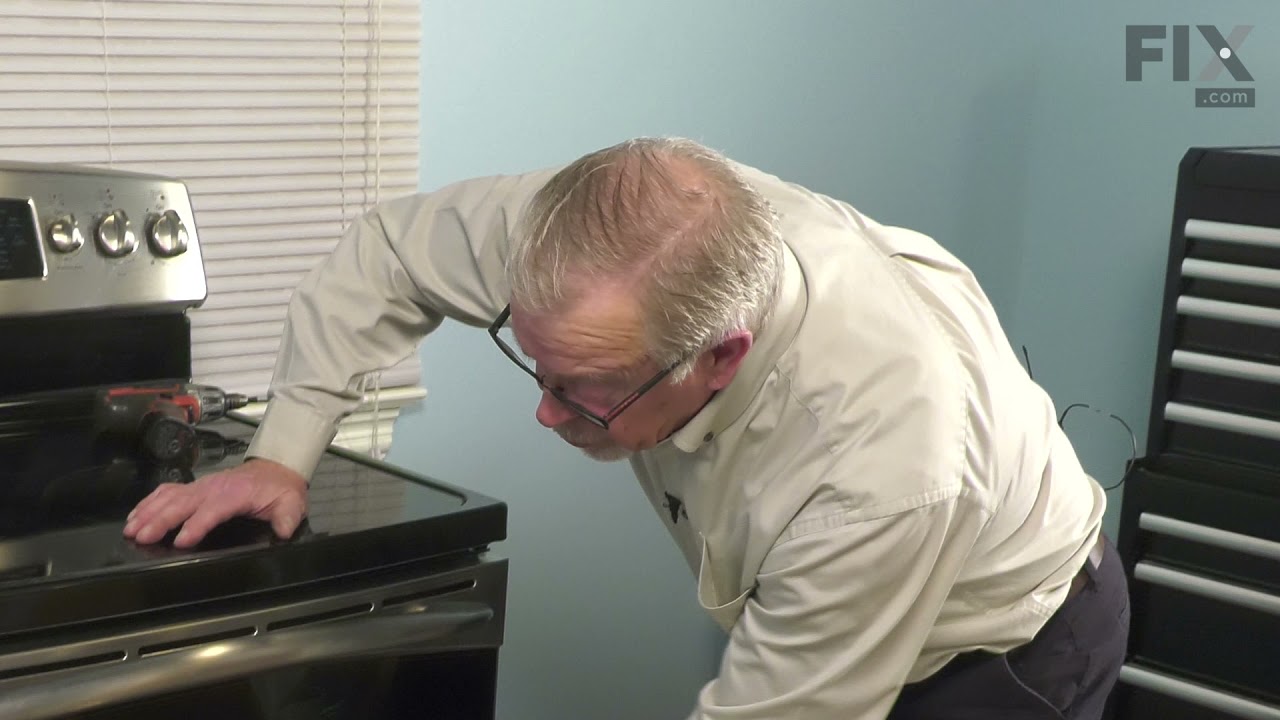

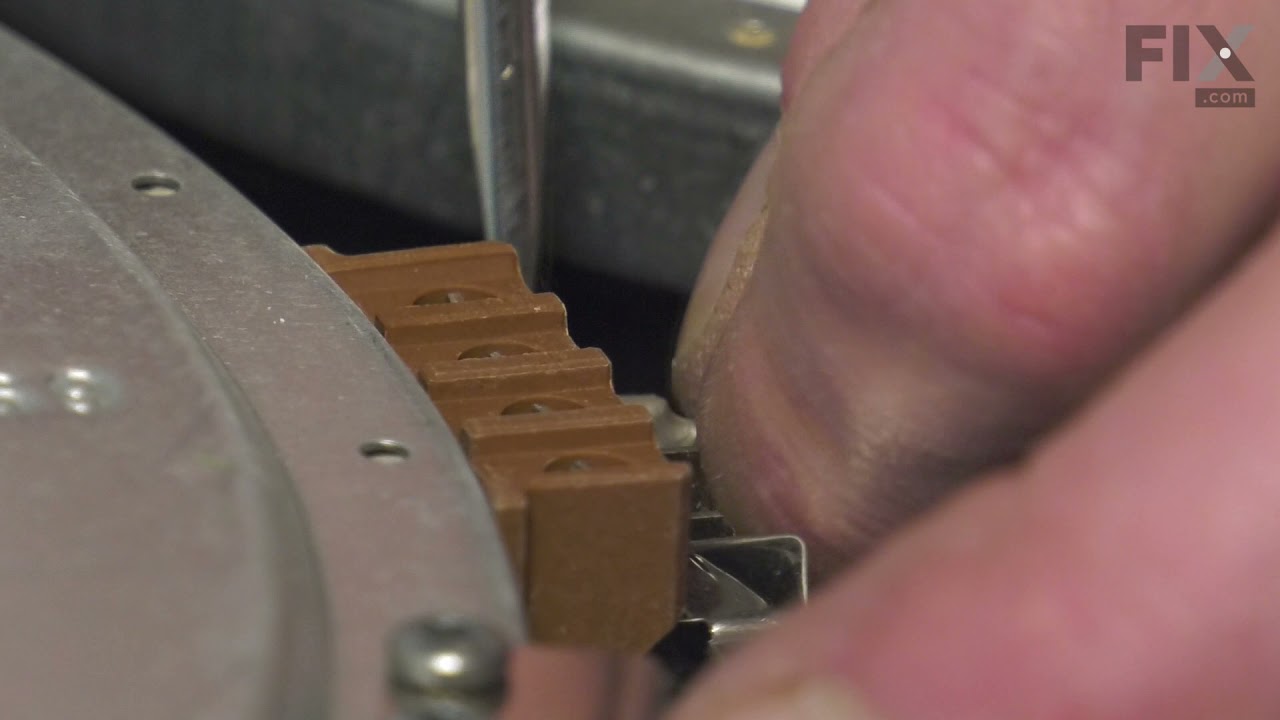
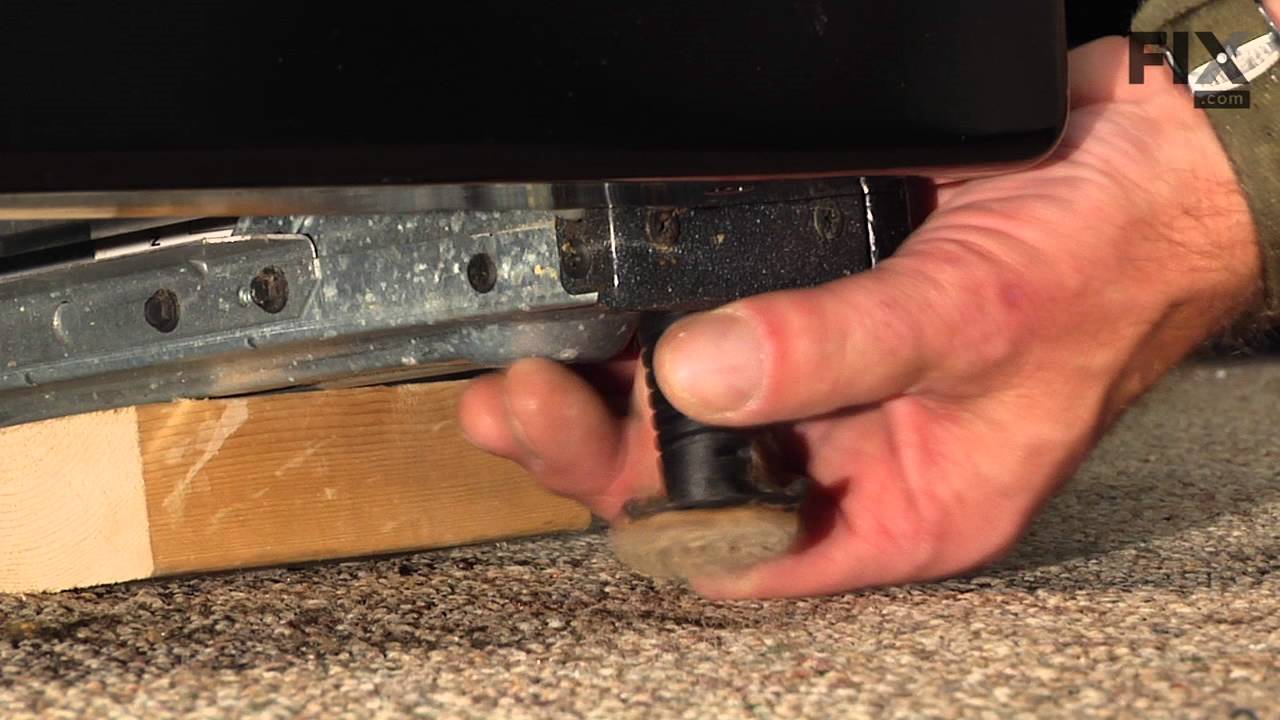


See how others fixed this model. Time, tools, difficulty, and steps that lead to victory!
View More