



 My Orders




PCB900DP1WW General Electric Range - Overview
Diagrams for PCB900DP1WW
See every part. Know exactly what you need.


Enter a part description. DIY Heroes keep it simple, eg. "belt" or "pump".
Search filter:
Clear Filter
Your search term must have 3 or more characters.

$81.83
In Stock
Bake Element - Push On Terminals - 240V
Part #WB44T10011
The bake element in your oven provides the cooking heat. This part can be found at the bottom of your oven, and attaches to the power source on the back wall. It has two terminals that fit into the power source receptacle. This part is made of metal, and is approximately 20 inches in length and 18 inches in width. This product is sold ind...Read moreividually. Many of our customers have rated this repair as easy. To complete this repair, simply lift the old element up and out of your oven, and replace it with the new one. Be sure to disconnect power from the oven before you begin this repair.
Read less

$30.53
In Stock
Temperature Sensor
Part #WB21X22134
The temperature sensor, also known as the oven temperature sensor assembly is usually found in the back of the oven. The function of the oven temperature sensor assembly is to measure the temperature inside your oven while it is on and send the temperature back up to the electronic control, which adjusts as necessary. If your oven is havi...Read moreng difficulty achieving warmer temperatures and/or keeping warmer temperatures up, you may want to test your temperature sensor. Before you make this repair remember to unplug your range from the power source, and turn off the gas shut off valve.
Read less

$21.95
In Stock
Light Bulb - 40W
Part #40A15
This 40-Watt light bulb is sold individually.
It is specially designed to withstand extreme temperatures, so this bulb is compatible with a variety of appliance types including refrigerators, ranges, microwaves, and dryers. It features a frosted glass bulb with a standard metal socket base, which allows you to easily unscrew the burnt-out light and twist the new bulb into place.

$112.60
In Stock
Dual Radiant Element - 9 Inch
Part #WB30T10133
This 9-inch dual radiant element is a genuine replacement component designed for use in electric ranges and cooktops. Positioned beneath the main glass cooktop surface, it provides the high, consistent heat required for cooking. As the larger of the two element sizes, it accommodates larger cookware and supports versatile cooking needs. I...Read moref the element fails to heat or heats unevenly, replacement is necessary to restore proper function. This part is sold individually and is engineered for durability and compatibility with a range of models. Always disconnect the appliance from the power source before beginning installation to ensure safety.
Read less

$166.42
In Stock
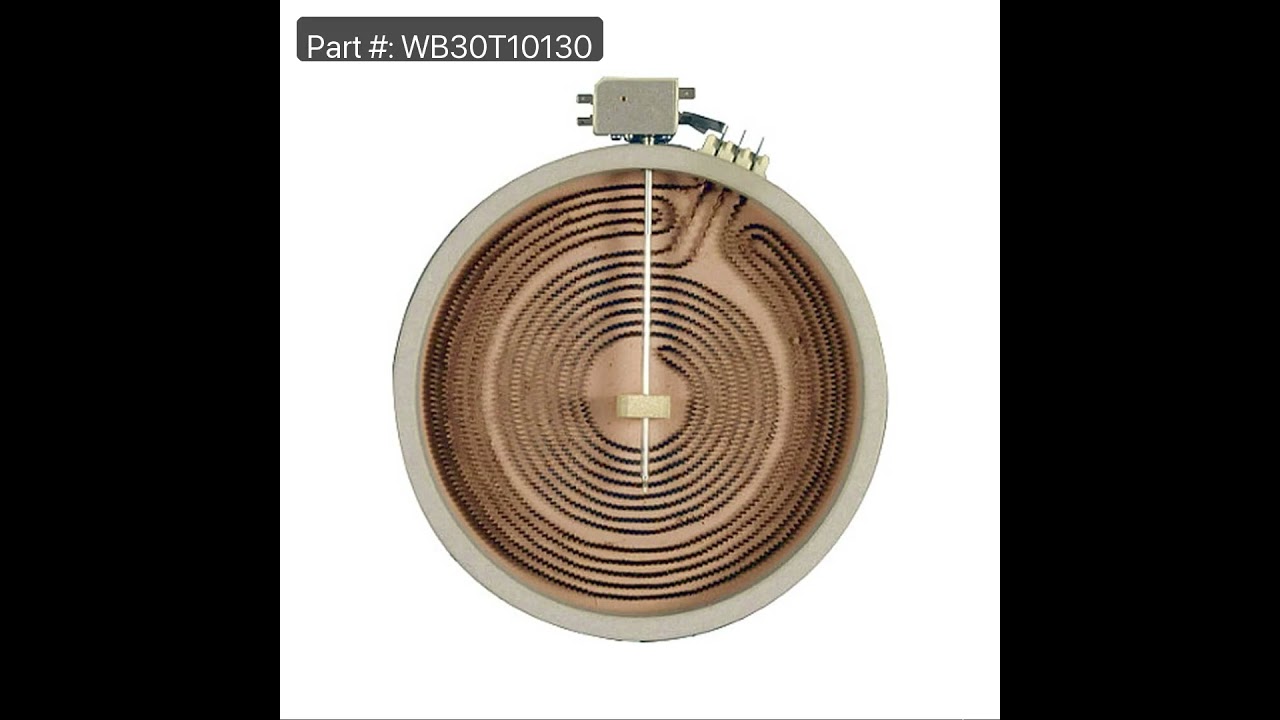
Haliant Element - 12 Inch
Part #WB30T10130
This dual radiant surface heating element is a genuine replacement component designed for select GE electric flat-top ranges, stoves, and cooktops. Commonly referred to as a "haliant" element, it features an integrated 12-inch and 9-inch heating zone, allowing for flexible cooking options based on pan size. Constructed from a durable nick...Read moreel-chromium alloy, it delivers consistent heat output and long-lasting performance. With a standard wattage of 1950 watts—though some replacements may offer up to 3000 watts—this element ensures efficient heat transfer to the glass cooking surface. Replacing a worn or malfunctioning element can restore proper heating and improve overall cooking performance. Compatibility should be verified using your appliance’s model number prior to installation.
Read less

$55.21
In Stock
Range Oven Door Gasket
Part #WB04T10086
The oven door gasket creates a seal between the oven door and the opening of the oven to prevent heat from escaping when the oven is closed.

$25.26
In Stock

$16.47
In Stock
RECEPTACLE PUSH-IN
Part #WB08T10026
This part is the replacement light socket for your oven. The oven light socket provides power to the light, and at the same time holds the light bulb in place.

$16.05
In Stock

$26.39
In Stock
Light Cover
Part #WB36X192
This light bulb lens covers the interior light bulb in an oven, range, or stove. No tools are necessary to replace this part. Simply slide off the wire bracket to remove the existing light bulb lens. Disconnect power to your appliance before this repair. It is recommended to check the light bulb while the lens cover is removed in case it ...Read moreneeds to be replaced. Be sure to remove all broken glass, if applicable, before installing new lens. This part is sourced directly from the genuine manufacturer, and is sold individually.
Read less

$149.06
In Stock
Window Pack Assembly
Part #WB56T10105
The GE Oven Door Window Pack Assembly is a genuine OEM part that fits select GE ranges and ovens. It includes a heat-resistant inner glass panel, frame, and seals, providing insulation and clear visibility into the oven cavity. Common issues like cracked glass or heat loss can indicate the need for a replacement. Ensure the oven is cool to the touch and wear gloves for safe installation.

$105.26
In Stock
Common Symptoms of the PCB900DP1WW
How this model fails, and the parts that fix it.
Element will not heat
Fixed by
these parts
these parts


Show All
Little to no heat when baking
Fixed by
these parts
these parts

Show All
Oven not heating evenly
Fixed by
these parts
these parts

Show All
Oven is too hot
Fixed by
these parts
these parts
Show All
Will Not Start
Fixed by
these parts
these parts

Show All
Little to no heat when broiling
Fixed by
these parts
these parts
Show All
Watch our pros, then fix it yourself.
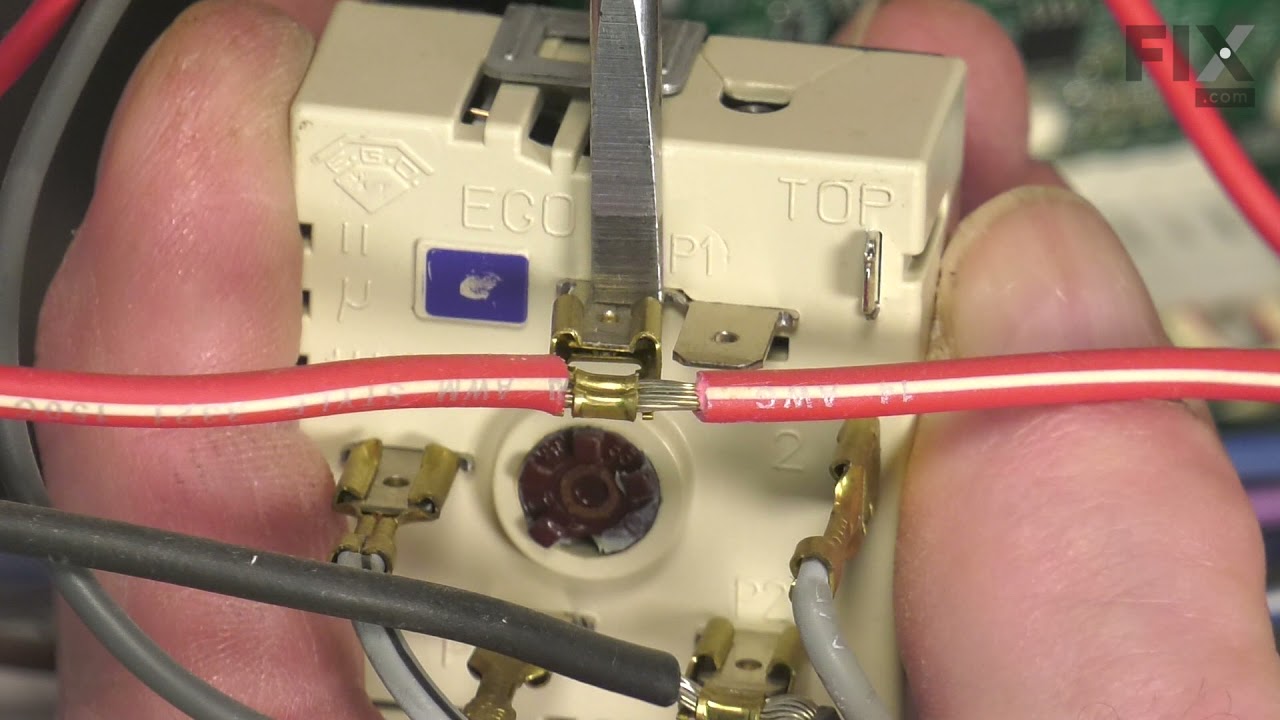


See how others fixed this model. Time, tools, difficulty, and steps that lead to victory!
View More