The bake element is located on the bottom of the oven. If your oven will not heat properly it may be due to a faulty or damaged baking element. If you can see that the element has been separated or blistered, you should replace the part immediately. If there is no visible damage, turn the oven on and check to see if the element heats even...Read morely. If the element is not heating evenly, or if it is not heating at all, it will need to be replaced. This element is 19 inches wide x 19 inches long, and has male spade push on terminals.
Loose or worn burner knobs can make heat settings hard to read and control. This five-piece kit gives each surface burner a firm grip and matching stainless steel look. First check the control stems and make sure each burner turns off correctly. Match the knob opening, markings, and position to the complete range model. Turn all controls ...Read moreto Off and unplug the appliance before replacement. Line up each knob with its stem, press it on evenly, and check that the pointer shows the correct setting. Stop using any burner that will not shut off.
This 40-Watt light bulb is sold individually.
It is specially designed to withstand extreme temperatures, so this bulb is compatible with a variety of appliance types including refrigerators, ranges, microwaves, and dryers. It features a frosted glass bulb with a standard metal socket base, which allows you to easily unscrew the burnt-out light and twist the new bulb into place.
The top burner spark electrode, also known as a range surface burner igniter, is designed for use in your gas range. The function of this part is to provide the spark that lights the surface burner. If your gas range will not start, or if the igniter glows but will not light, you may need to replace the top burner spark electrode. This pa...Read morert is sold individually. This product is white in color and measures approximately 1-1/2-inches in length by 1/2-inch in width. Be sure to disconnect the gas supply to the range before you begin this repair. This is an OEM part sourced directly from the manufacturer.
The oven rack is sold individually. It is chrome in color and measures approximately 24 inches wide by 17-1/2 inches deep. The rack is used to hold cookware in the oven and slides back and forth for easy access. Racks can become rough and discolored over time and may need to be replaced, or perhaps you just need extra storage space in the...Read more oven! This repair is extremely simple and does not require any tools. Before you begin, ensure that the rack edges are straight and have not warped from shipment. Once the oven door is open, the stop end goes in first and it simply slides into place.
This burner cap is for your gas range, and acts as a cover for the burner head. It is black in color and just over 3 inches in diameter. If your old burner cap is damaged or missing, this is the part that will replace it. This is an OEM part sourced directly from the manufacturer and is sold individually.
This is a replacement burner cap for your gas range or cooktop. The burner cap is found on the burner head, and prevents debris from getting into the head when it is not in use. The cap is black in color and is sold individually. It is a little more than 4 inches in diameter. To replace the burner cap, simply remove the damaged cap, and r...Read moreeplace it with the new one. No tools are required for this repair. This is an OEM part from the manufacturer.
This is a burner cap for your gas range. The cap acts as a cover for the burner head. If your old burner cap is damaged or missing, this is the part that will replace it. The cap is black in color and about 3 and a half inches in diameter. This is a quality OEM part sourced directly from the manufacturer. This cap is sold individually.
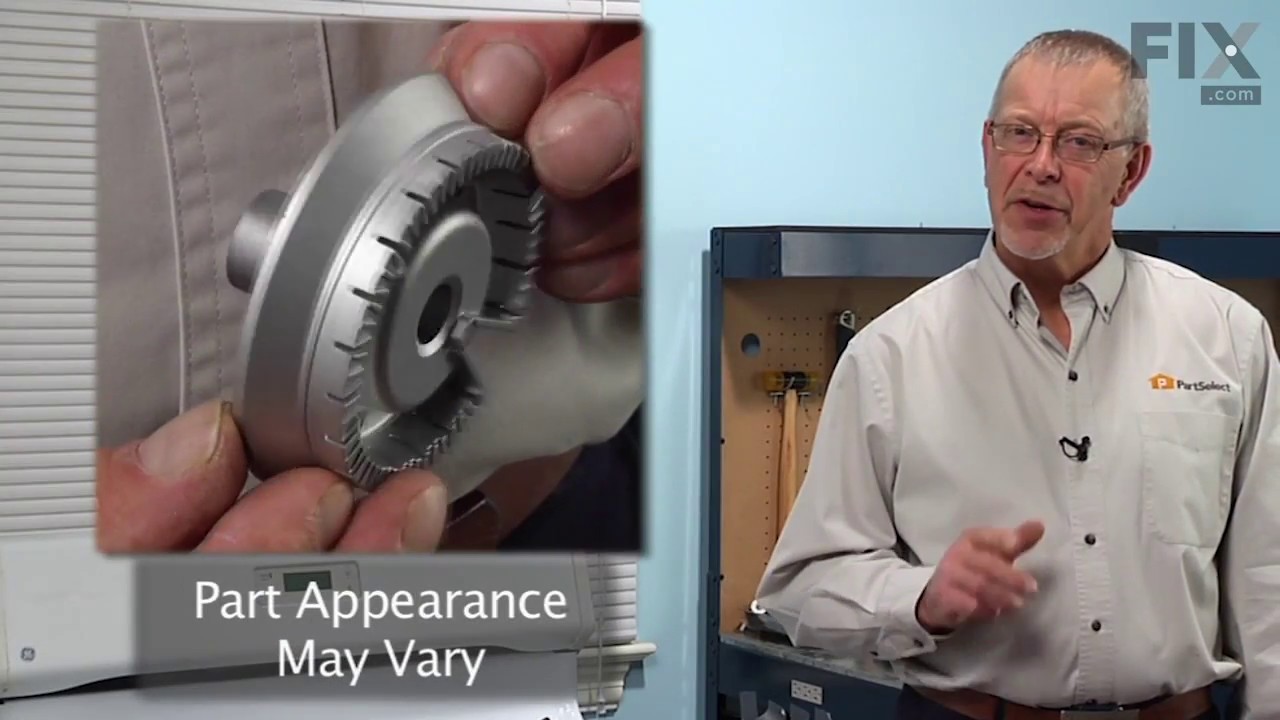
This burner head, or surface burner, is used in ranges and ovens. The burner sends gas through the holes and slots to create an equal flame across the cooking area. If the gas igniter glows but will not light up, or there are heating inconsistencies, replacing the burner head could be the solution to your problem. No tools are required fo...Read morer this installation. To change the burner, first lift the grate and take the burner cap off. Next, lift the burner away from the cooktop. To set the new burner in place correctly, check the locating tab that fits into the V-shaped notch and make sure the igniter fits into the cut-out. Refer to the diagram provided by the manufacturer for further instructions.
This is a burner cap for your gas range. The cap is black in color and about 3 inches in diameter. The cap acts as a cover for the burner head. If your old burner cap is damaged or missing, this is the part that will replace it. This is a quality OEM part sourced directly from the manufacturer. This cap is sold individually.
This large surface burner head is designed for use with gas cooktops and ranges, delivering consistent heat output for everyday cooking. Rated at 12,000 BTUs, it distributes gas evenly through precision-engineered slots or holes to create a stable flame. Made of metal with a silver finish, the burner head measures approximately 3.5 inches...Read more in diameter and sits beneath the burner cap. It is a direct replacement for worn or malfunctioning burner heads and helps restore efficient performance. For safety, always shut off the gas supply and unplug the appliance before installation. Compatibility should be confirmed with your specific model prior to replacement.
This broil element is designed for wall ovens and plays a critical role in achieving high-temperature cooking during broil cycles. Positioned at the top of the oven cavity, it delivers intense, direct heat for broiling meats, vegetables, and other dishes. A malfunctioning element may result in the oven failing to reach proper broil temper...Read moreatures, uneven cooking, or complete loss of broil function. Constructed from heat-resistant materials for durability and performance, this replacement part restores optimal cooking capability. Before installation, always disconnect power to the appliance and verify compatibility with your specific oven model.
Ask our experts a question about this model and we'll get back to you as soon as possible!
We may have answered a similar question already! Search questions and answers left by others using simple keywords like "fit", "broken", "easy", or "quality" to find questions that match.
Search filter:
Clear Filter
Your search term must have 3 or more characters.
Sort by:
Prev
1
Next
Sorry, we couldn't find any existing answers that matched.Try using some different or simpler keywords, or submit your new question by using the "Ask a Question" button above!
Judy - For model number P2B918SEM3SS
August 31, 2022
I need the knob for the lower oven. I ordered the kit of 5 knobs but none fit the lower oven control
Hello Judy, Thank you for contacting us. We have researched the model you have provided and have found the part you are looking for is PartSelect Number PS3486483. Thank you for your inquiry, good luck with this repair!
I’m looking for a part that fits behind the oven door in the lower portion. It’s a strip of rubber or a gasket.
Hi Chet, thank you for reaching out. We have researched your model number and found that the part you are looking for is the lower door gasket, part number PS1020232. If you require assistance to place an order, please contact customer service. We hope that helps!
Top broil element not heating up
Is there a reset for this or does it need replacing if not heating up
Hello Candace, thank you for your inquiry. If the broil element of your model is not working, then we would recommend replacing it to solve the problem. The compatible broil element for your model is part number PS17626201. We hope this helps!
See how others fixed this model. Time, tools, difficulty, and steps that lead to victory!View More
Search repair tips from other customers using simple keywords like "replace", "fit", "remove", "inspect". DIY doesn't mean you have to do it alone!
Search filter:
Clear Filter
Your search term must have 3 or more characters.
Lower bake Element would not heat.
230 of 263 peoplefound this instruction helpful.
Ronald from Nassau, NY
Really Easy
Less than 15 mins
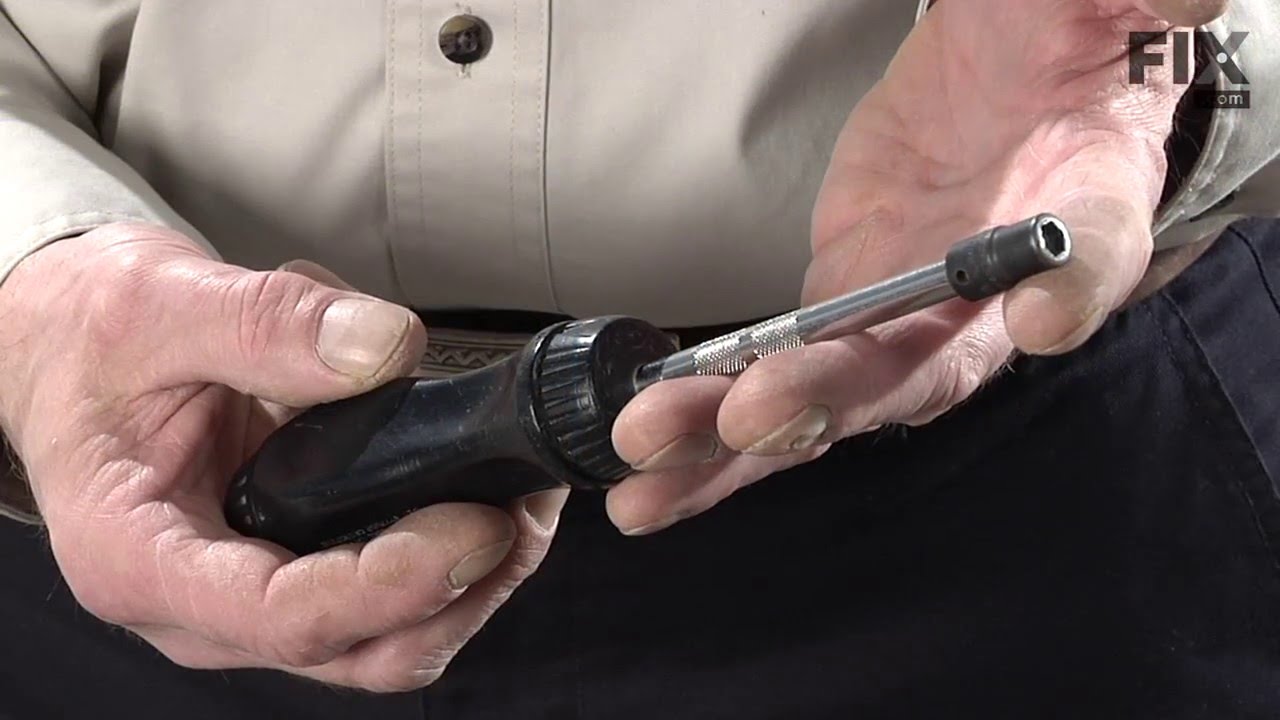
Nutdriver, Pliers
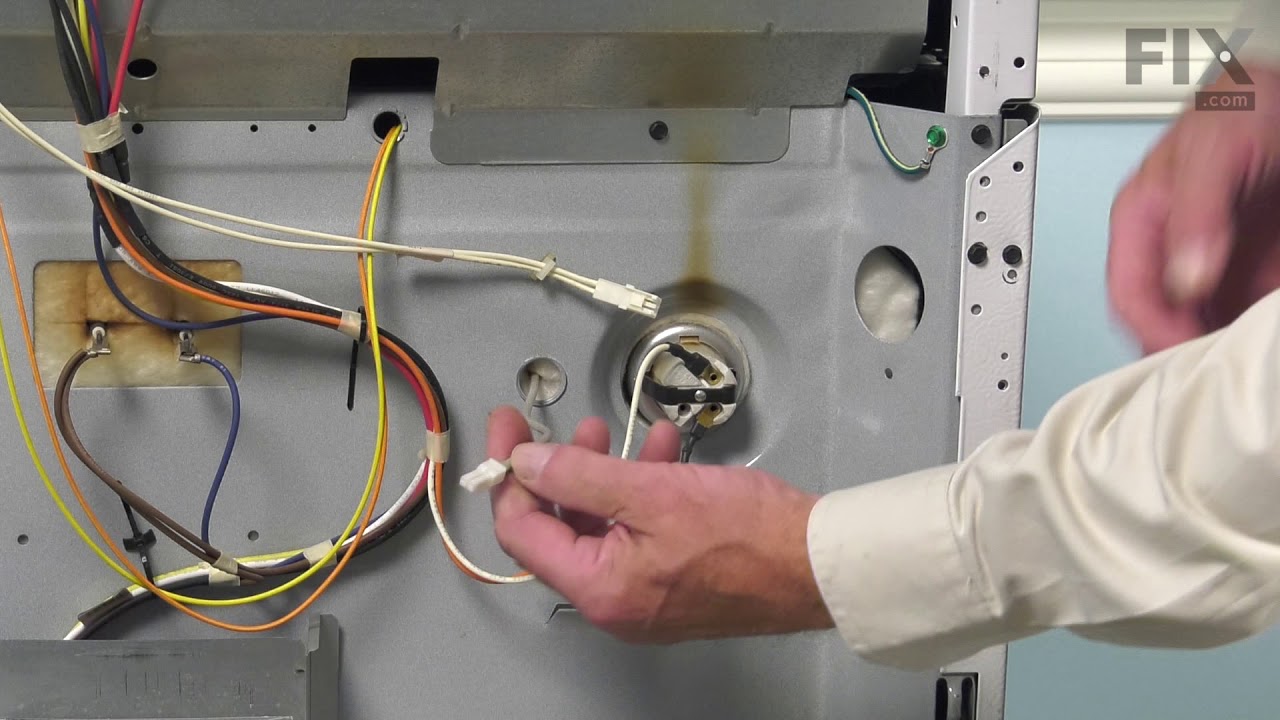
First I slid the stove out and unpluged it, then removed two screws,slid out element, disconected two wires, slid new element in to place, pluged two wires in ,put into place and installed two screws, pluged stove back in, and turned on to try. Works perfect.
Was this helpful?
Thank you for voting!
Cracked Burner Knob Stem
138 of 183 peoplefound this instruction helpful.
Michael from Oakland, CA
Really Easy
Less than 15 mins
One of my plastic burner knobs cracked. I ordered a replacement knob using the correct part number, but apparently the style of that part has changed slightly over the past four years. My new knob did not match the existing knobs. I ended up buying more new knobs so they all match.
Was this helpful?
Thank you for voting!
Broken heating element
75 of 93 peoplefound this instruction helpful.
Paul from anna, TX
Really Easy
15 - 30 mins
Nutdriver, Pliers
1)Turn off power to stove 2)remove 2 bolts holding heating element 3)pull element out of the back of the oven about 8" so that the wire connects is visable 4)pull wire clips off of heating element and remove element from the oven 5)put wire clips on the new heating element 6)push new heating element back into the
... Read moreholes in the back of the oven 7)screw botls back into the oven holding the heating element in place 8)Turn power back on



 My Orders