


 My Orders




P1311105W (ESUF15JW) Amana Freezer - Overview

Enter a part description. DIY Heroes keep it simple, eg. "belt" or "pump".
Search filter:
Clear Filter
Your search term must have 3 or more characters.

$30.53
In Stock

$13.95
In Stock
Light Bulb - 120V 25W
Part #WPA3073101
This light bulb is a 120 volt, 25 watt incandescent appliance light bulb with a small base screw-in that fits in a variety of appliances such as microwaves, refrigerators, freezers, cooktops, or stoves. Its purpose is to light up the appliance when the door is open. This is a genuine OEM part. You may need to replace the light bulb if the...Read more existing bulb is burnt out or broken. This light bulb is sold individually and is a common wear part, it is recommended to order a spare.
Read less

$7.47
In Stock

$7.47
In Stock

$174.72
In Stock
Freezer Door Gasket (White)
Part #WP4-81049-001
This white door gasket is used to make an air-tight seal for the cabinet when the door is closed.

$8.55
In Stock

$7.47
In Stock

$7.47
In Stock

$17.15
Special Order
Refrigerator Leveler
Part #W11117769
This is an OEM part that is made of metal and sold individually. The leveling leg is generally used with refrigerators, dryers, freezers, ranges, cooktops, and microwaves. The leveling leg is meant to keep your appliance steady and level to the floor. If you notice your appliance is uneven to the floor it may need to have the leveling leg...Read more replaced. You will notice that the bottom of the leveling leg has a smooth surface to ensure moving your appliance does not require as much effort. This part screws into a pre-drilled hole underneath the appliance.
Read less

$7.47
In Stock

No Longer Available

$170.43
On Order
Freezer Door Gasket
Part #WP4357099
The door gasket is used on vertical freezers. Screws are no longer included with this product. The gasket creates a tight closure around the opening of the door to ensure that outside air does not enter the freezer, causing it to warm up. If you notice that your freezer is not closing properly, is not maintaining the proper temperature, o...Read morer there is frost build up, it could be due to the breakdown of the door gasket. It is white in color. This is an easy repair that should not take longer than 60 minutes and only requires a nutdriver to fix.
Read less
Common Symptoms of the P1311105W
How this model fails, and the parts that fix it.
Light not working
Fixed by
these parts
these parts

Show All
Frost buildup
Fixed by
these parts
these parts


Show All
Noisy
Fixed by
these parts
these parts

Show All
Watch our pros, then fix it yourself.

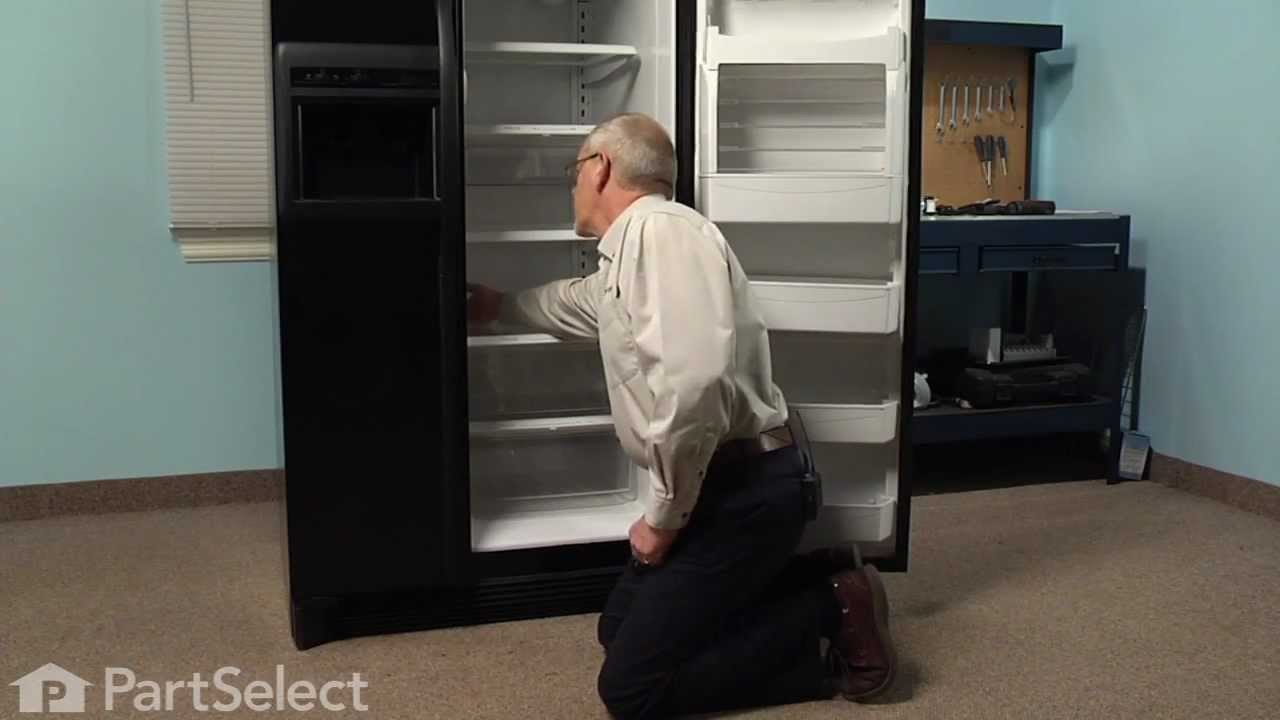
See how others fixed this model. Time, tools, difficulty, and steps that lead to victory!
View More