EasyApplianceParts is now PartSelect! We've merged our sites to provide a better shopping experience for you.   Full Details

Find Parts

Parts Departments

Top Model Types

Top Brands

Repair Help

Expert Repair Videos

Keep typing for more specific results...

NWXR473EV2WW Hotpoint Dryer - Overview

Diagrams for NWXR473EV2WW

See every part. Know exactly what you need.

Enter a part description. DIY Heroes keep it simple, eg. "belt" or "pump".

Search filter:
Clear Filter
Your search term must have 3 or more characters.
DRYER FRONT BEARING WHITE 2PK – Part Number: WE03X37318
$17.15
In Stock
DRYER FRONT BEARING WHITE 2PK
★★★★★
★★★★★
(166)
Part #WE03X37318
This authentic, white Drum Bearing Slide, also known as the bearing drum slide, glide, or pad, is a plastic, easy-to-install part for your dryer. It replaces the dryer's front drum slide to allow for easier movement. You'll know if this part is an issue if your dryer is unable to tumble properly or is very noisy. Damage can come from regular use. The part attaches to the outermost side of the bearing. Check both slides for signs of wear, because they often wear at the same rate, and should be replaced at the same time; there are 2 of these particular slides per dryer. This part is sold individually, so you'll need to purchase multiple parts if replacing both at the same time.
Door Switch – Part Number: WE4M415
$39.46
In Stock
Door Switch
★★★★★
★★★★★
(8)
Part #WE4M415
A door switch is a simple on/off mechanism that prohibits the dryer from operating when the door is open.
Heating Element and Housing – Part Number: WE11M23
$142.49
In Stock
Heating Element and Housing
★★★★★
★★★★★
(10)
Part #WE11M23
Note: The insulators on the housing are NOT sold separately.
Terminal Block and Grounding Strap – Part Number: WE4M325
$41.84
In Stock
Terminal Block and Grounding Strap
★★★★★
★★★★★
(3)
Part #WE4M325
This part is connected to the rear bulkhead of the dryer with screws. It provides a way of connecting individual electrical wires and offers protection of the device from electrical surges (voltages and/or currents).
Refrigerator Plug Door Rvsbl – Part Number: WR01X21159
$16.05
In Stock
Cycling Thermostat – Part Number: WE4M216
$88.65
In Stock
Cycling Thermostat
Part #WE4M216
This thermostat is located on the blower wheel.
Dryer Term Block Cover – Part Number: WE1M1102
$27.56
In Stock
Screw – Part Number: WD02X10057
$16.05
In Stock
Screw
Part #WD02X10057
This screw is sold individually. Size: 10-16x1/2
SCREW – Part Number: WE1M280
$18.22
Special Order
SCREW
Part #WE1M280
Rear Bracket Screw – Part Number: WE1M468
$38.15
In Stock
Rear Bracket Screw
Part #WE1M468
OUTER DOOR White – Part Number: WE10X20468
No Longer Available
CERAMIC INSULATOR – Part Number: WE1M452
$15.00
In Stock
CERAMIC INSULATOR
Part #WE1M452

Manuals & Care Guides for NWXR473EV2WW

Click to download

Common Symptoms of the NWXR473EV2WW

How this model fails, and the parts that fix it.

Watch our pros, then fix it yourself.
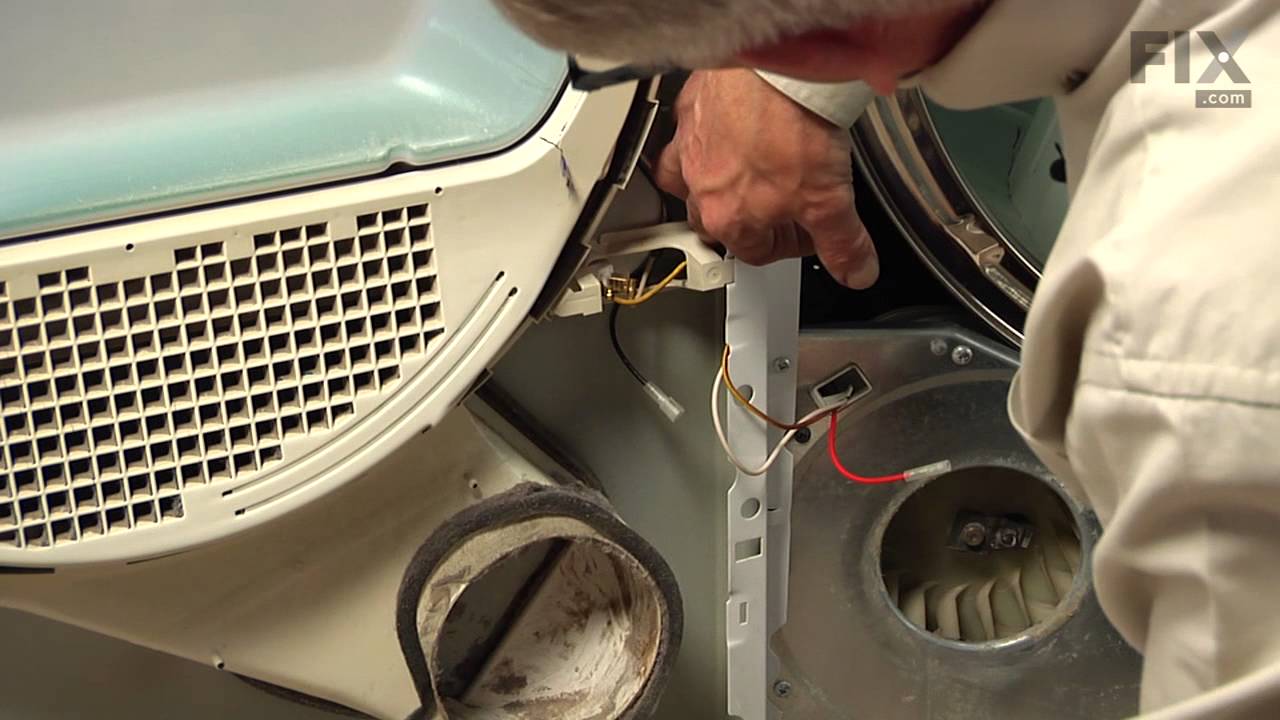
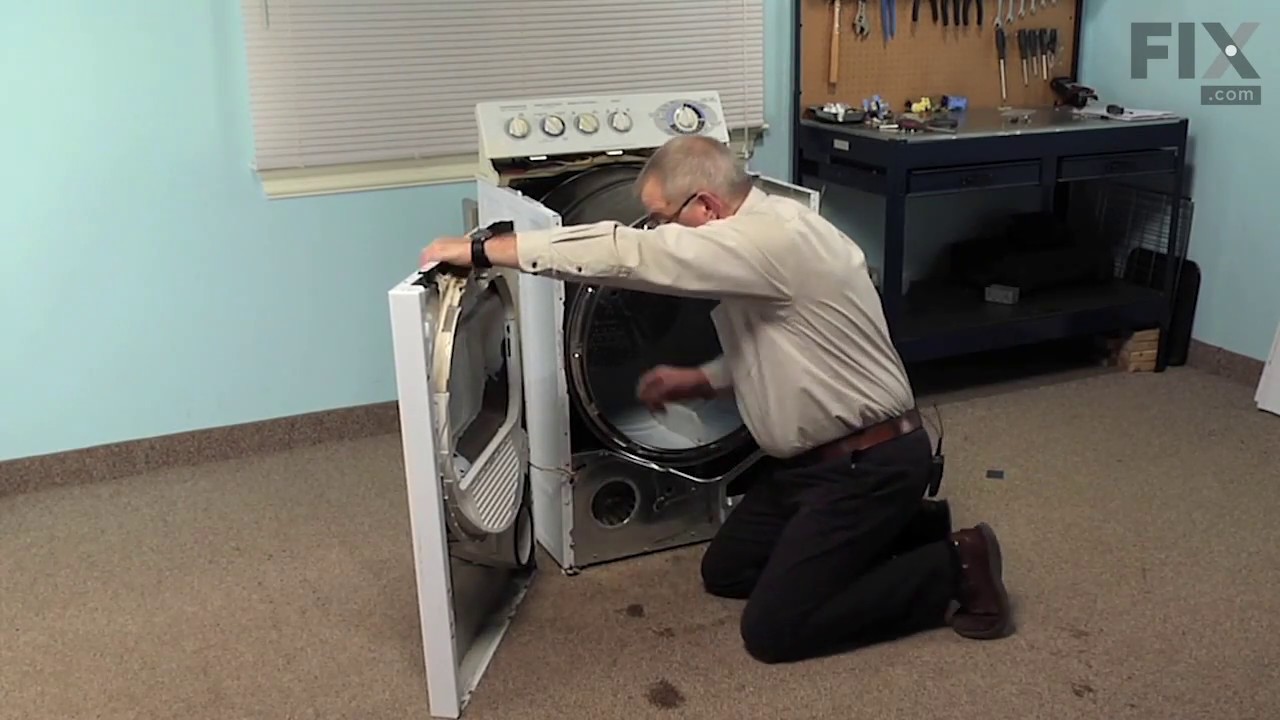
See how others fixed this model. Time, tools, difficulty, and steps that lead to victory! View More

Search repair tips from other customers using simple keywords like "replace", "fit", "remove", "inspect". DIY doesn't mean you have to do it alone!

Search filter:
Clear Filter
Your search term must have 3 or more characters.
Heater element went out
189 of 225 people found this instruction helpful.
  • Brian from Clinton, MO
  • Easy
  • 15 - 30 mins
  • Screw drivers
First of all, unplug the dryer. I removed the two screws on the front of the cabinet to remove the top. I then took out the screws to remove the dial panel. Release the belt for the drum through the access hole in the rear of the dryer. Remove the front cover and pull the drum assembly out.

Remove the element disc from the rear of the housing, take note of the the wireing placement. Replace disc and reverse order of disassembly.

This job was easy for me as I am a tinkerer by nature. The hardest part of the whole job was waiting on the part, which by the way was ordered on a Sunday evening and I had the replacement in my hands and back in the dryer running by 1:00 PM on the following Tuesday!

I book marked this website and WILL refer it to others who simply need a repair, not a costly new appliance!
Was this helpful?
Thank you for voting!
Dryer would not start
92 of 140 people found this instruction helpful.
  • Joshua from Dallas, TX
  • A Bit Difficult
  • 1- 2 hours
  • Pliers, Screw drivers, Socket set
The end repair was very simple and took minimal effort. The time and difficulty was all in the testing. I disassembled the dryer and removed the drum and then hard wired each thermo-fuse to determine where the fault was. After test all of those I was stumped. When I opened the door the light would not come on so I assumed it was a pow er fault closer to the source. However after all of my testing I couldn't find anything wrong. I then removed the light bulb and realized it was burned out which led me to the door switch being the fault. I removed the switch and soldered the three wire together and the dryer started right up! All I had to do was order a new $15 part, unsolder the wires and plug them in. Would have been so much simpler if that light bulb hadn't of been burned out causing me to over think my diagnosis. This was my first major appliance repair and I did it with only the help of the parts diagram provided on the website.
Was this helpful?
Thank you for voting!
dryer wasn't getting hot
62 of 89 people found this instruction helpful.
  • edward from Sunnyvale, CA
  • A Bit Difficult
  • 1- 2 hours
  • Screw drivers
1. removed two screws to take off top.
2. removed two screws to take off front.
3. Took belt off pulley and removed drum.
4. inspected old heating element at back of dryer - saw broken wire
5. replaced heating element (round w/ heating coil)
6. Re-assembled dryer

Helpful hints:
1. mark down or take pictures of all wires before removal - easy to mix them up
2. when you re-attach drum-belt, it should be taught. Comes straight down wall around metal pulley and then forms an "S" as it wraps around plastic pulley on way up. To re-attach, stick both arms into dryer - one to pull plastic-pulley and other to attach belt.
Was this helpful?
Thank you for voting!