


 My Orders




NWSR483EB2WW Hotpoint Dryer - Overview
Diagrams for NWSR483EB2WW
See every part. Know exactly what you need.


Enter a part description. DIY Heroes keep it simple, eg. "belt" or "pump".
Search filter:
Clear Filter
Your search term must have 3 or more characters.

$17.15
In Stock
DRYER FRONT BEARING WHITE 2PK
Part #WE03X37318
This authentic, white Drum Bearing Slide, also known as the bearing drum slide, glide, or pad, is a plastic, easy-to-install part for your dryer. It replaces the dryer's front drum slide to allow for easier movement. You'll know if this part is an issue if your dryer is unable to tumble properly or is very noisy. Damage can come from reg...Read moreular use. The part attaches to the outermost side of the bearing. Check both slides for signs of wear, because they often wear at the same rate, and should be replaced at the same time; there are 2 of these particular slides per dryer. This part is sold individually, so you'll need to purchase multiple parts if replacing both at the same time.
Read less

$27.36
In Stock
Rotary Start Switch
Part #WE4M519
This replacement start switch is a genuine OEM part for your dryer. If your dryer will not start or shut off, you may need to replace this part. For this repair you will need a number 2 Phillips screwdriver and a pair of needle nose pliers. Disconnect power to the dryer before beginning this repair.

$34.98
In Stock

$30.53
In Stock
Drum Bearing Sleeve
Part #WE1M462
This rear drum bearing sleeve is a critical support component located at the back of the dryer drum, designed to reduce friction and ensure smooth rotation during operation. As the drum spins, the sleeve helps maintain alignment and stability, contributing to efficient drying and quiet performance. A worn or damaged sleeve can lead to sym...Read moreptoms such as squeaking, grinding noises, excessive drum movement, or heat loss. This genuine OEM replacement is compatible with select GE and Hotpoint models and restores proper drum support. Installation typically involves accessing the rear panel, removing the drum, and replacing the sleeve to restore optimal function.
Read less

$39.46
In Stock
Door Switch
Part #WE4M415
A door switch is a simple on/off mechanism that prohibits the dryer from operating when the door is open.

$17.28
In Stock
Retainer O-Ring
Part #WE1M461
This authentic OEM rear bearing O-ring is designed for use with GE dryers. It helps secure the drum rear bearing onto the drum shaft, playing a key role in maintaining smooth and quiet dryer operation. A common sign that this part may need replacement is increased noise during the drying cycle. This O-ring is sold individually.
To replac...Read moree the O-ring, you’ll need a Phillips screwdriver, a square-head screwdriver, a small flat-blade screwdriver, and needle-nose pliers. Always consult your dryer’s manual or parts diagram to ensure proper installation and compatibility.
Read less

$142.49
In Stock
Heating Element and Housing
Part #WE11M23
Note: The insulators on the housing are NOT sold separately.

$41.84
In Stock
Terminal Block and Grounding Strap
Part #WE4M325
This part is connected to the rear bulkhead of the dryer with screws. It provides a way of connecting individual electrical wires and offers protection of the device from electrical surges (voltages and/or currents).

No Longer Available
Knob and Clip
Part #WH01X10141
This knob and clip assembly is a manufacturer-approved replacement part for your dryer. This timer knob sets the correct time on your dryer. If the shaft becomes damaged, the timer may no longer work. Replacing it is an easy procedure and requires no tools. Pull off the existing timer knob, and slide the new one onto the shaft, making sure to line up the shaft with the knob correctly.

$43.16
In Stock
Timer Resistor
Part #WE4M255

$88.65
In Stock

$27.56
In Stock
Manuals & Care Guides for NWSR483EB2WW
Click to downloadCommon Symptoms of the NWSR483EB2WW
How this model fails, and the parts that fix it.
Noisy
Fixed by
these parts
these parts


Show All
Marks left on clothes
Fixed by
these parts
these parts
Show All
Won’t Start
Fixed by
these parts
these parts


Show All
Door won’t close
Fixed by
these parts
these parts

Show All
Not Heating
Fixed by
these parts
these parts

Show All
Will Not Start
Fixed by
these parts
these parts
Show All
Drum Not Spinning
Fixed by
these parts
these parts
Show All
Watch our pros, then fix it yourself.

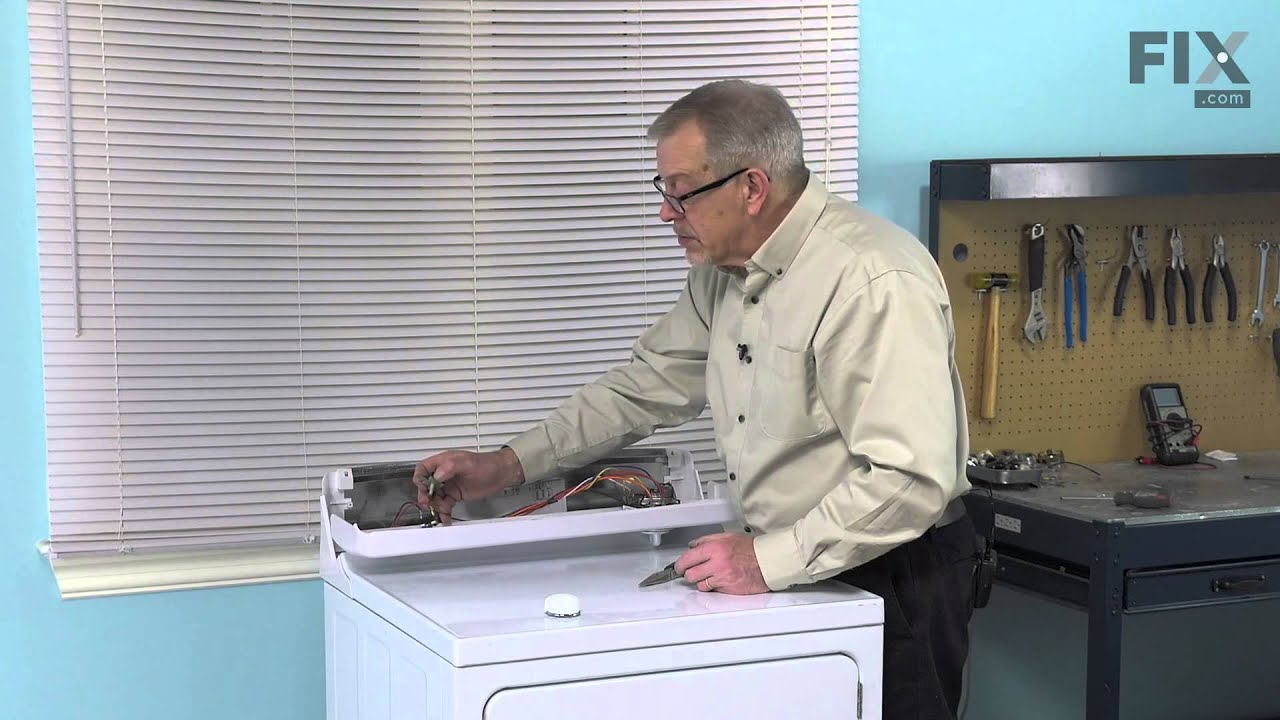
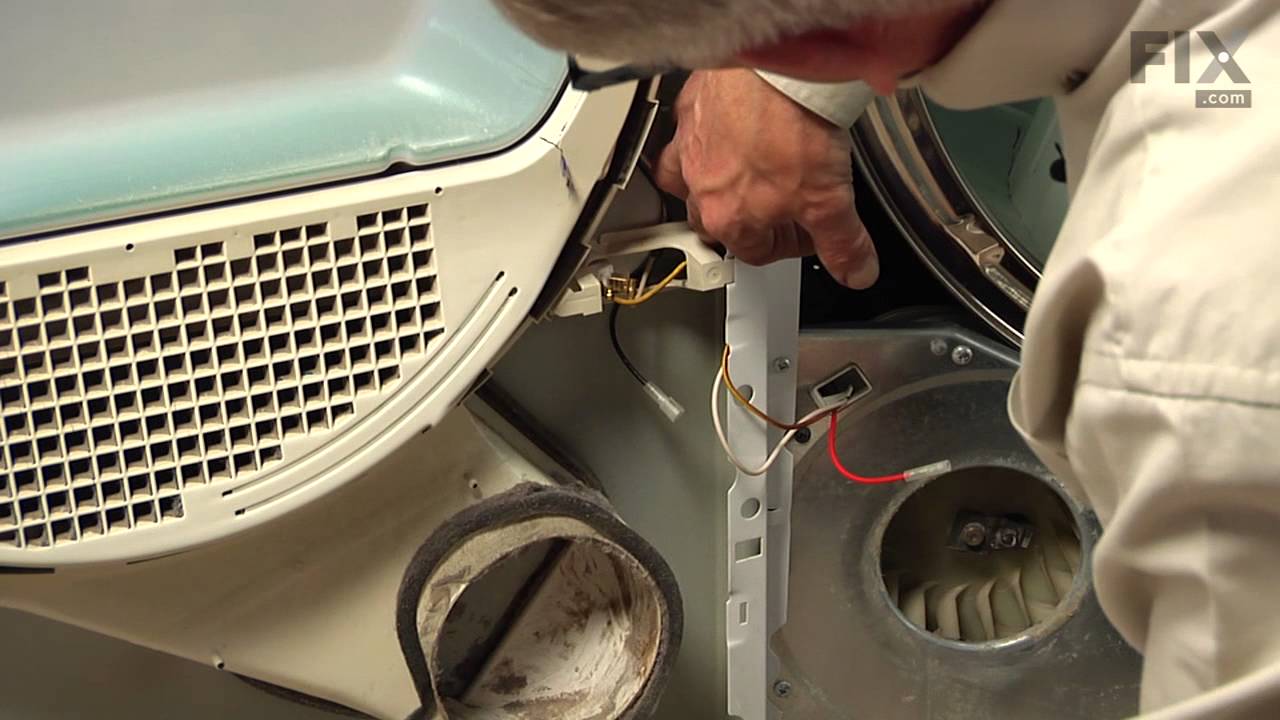
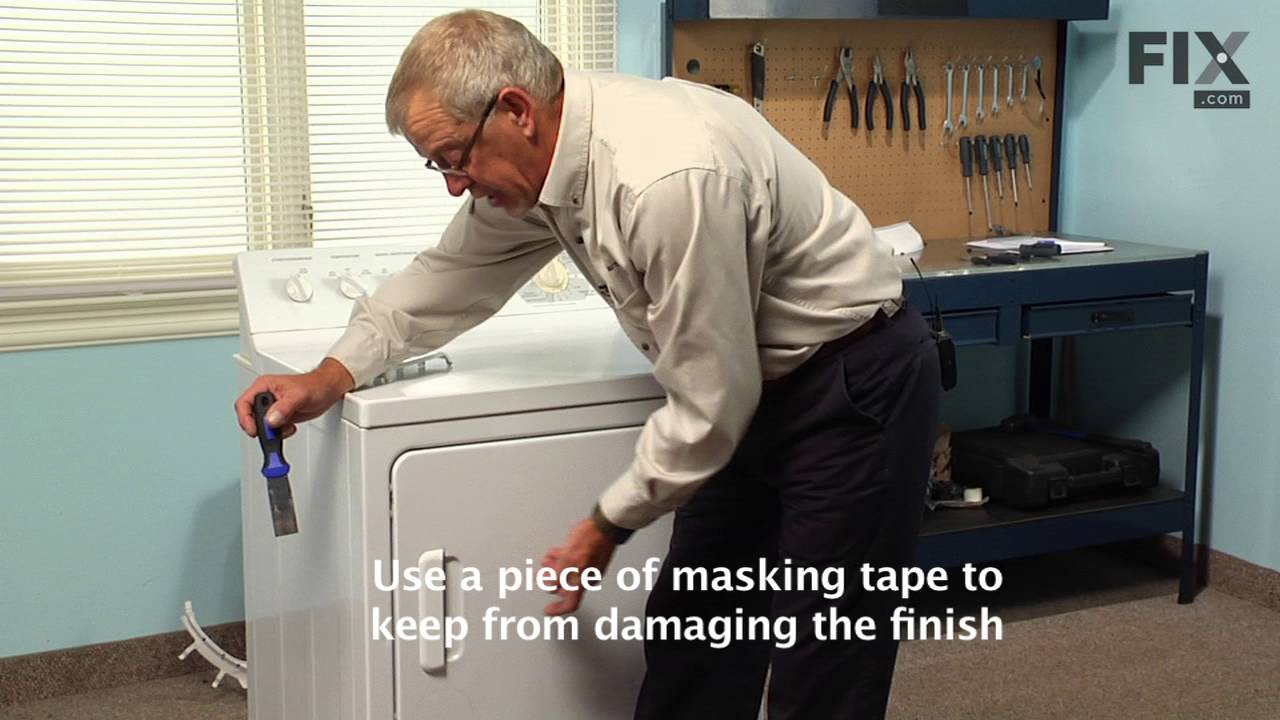
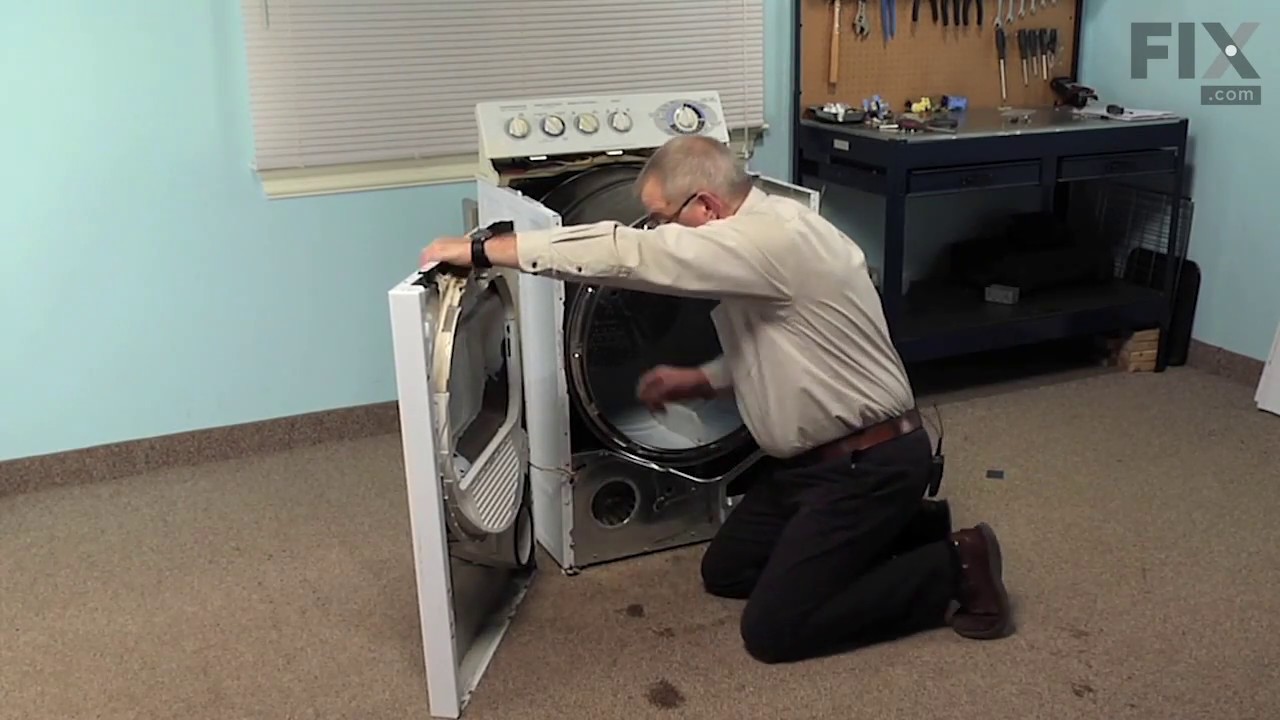
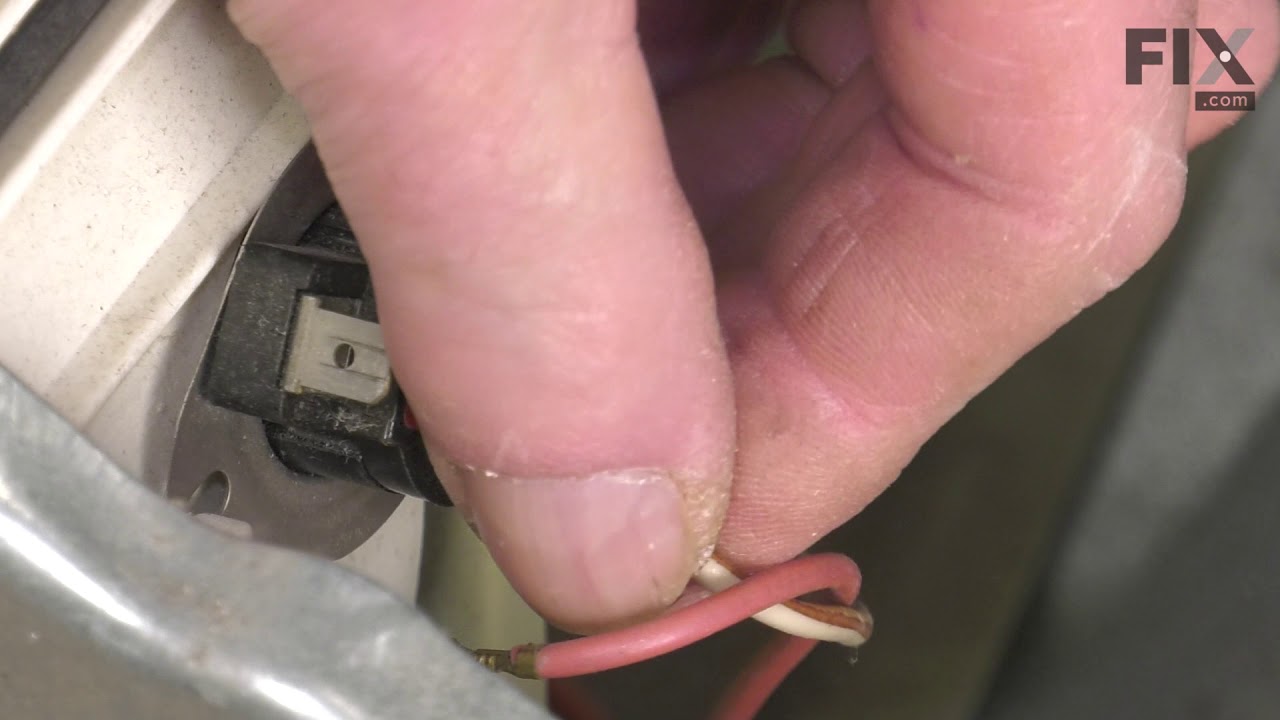
See how others fixed this model. Time, tools, difficulty, and steps that lead to victory!
View More