


 My Orders




NVL333GB4CC Hotpoint Dryer - Overview
Diagrams for NVL333GB4CC
See every part. Know exactly what you need.


Enter a part description. DIY Heroes keep it simple, eg. "belt" or "pump".
Search filter:
Clear Filter
Your search term must have 3 or more characters.

$74.75
In Stock
Rotary Start Switch
Part #WE4X881
This part is used to start the dryer once you have selected a setting on the timer.

$32.37
In Stock
Lower Front Felt Seal with Adhesive
Part #5303937183
The lower front felt seal with adhesive, also known as a drum felt seal, is used in dyers and allows the drum to easily glide on the front panel. For this repair project, you will need the following tools: #2 Phillips screw driver, #2 square head screw driver, putty knife, and wire bush. If your dryer will not tumble, or makes a squeaking...Read more noise when running, replacing this part could solve the problem. Remember to unplug your appliance from the power source for safety before you begin this installation project. Refer to the manual provided by the manufacturer for further installation instructions.
Read less

$83.16
In Stock

No Longer Available

$123.59
Special Order
Rear Bearing Kit
Part #WE25X10001
This kit comes with the rear bearing, shaft support, lubricant and other items required for the installation.

$73.68
In Stock
Drum Glide
Part #WE03X10007
Sold individually. There are some dryers that require 2 per dryer. They attach to the outer-most sides of the bearing.

$101.29
Special Order
Rear Bearing Shaft Support
Part #WE13X10011

No Longer Available

No Longer Available

No Longer Available

No Longer Available
Gas Valve Coil Kit
Part #WE04X10020
This dryer solenoid kit comes with both the 2 and 3 wire coil valves.

No Longer Available
Lint Filter
Part #WE18X10002
Common Symptoms of the NVL333GB4CC
How this model fails, and the parts that fix it.
Noisy
Fixed by
these parts
these parts


Show All
Marks left on clothes
Fixed by
these parts
these parts
Show All
Won’t Start
Fixed by
these parts
these parts

Show All
Watch our pros, then fix it yourself.
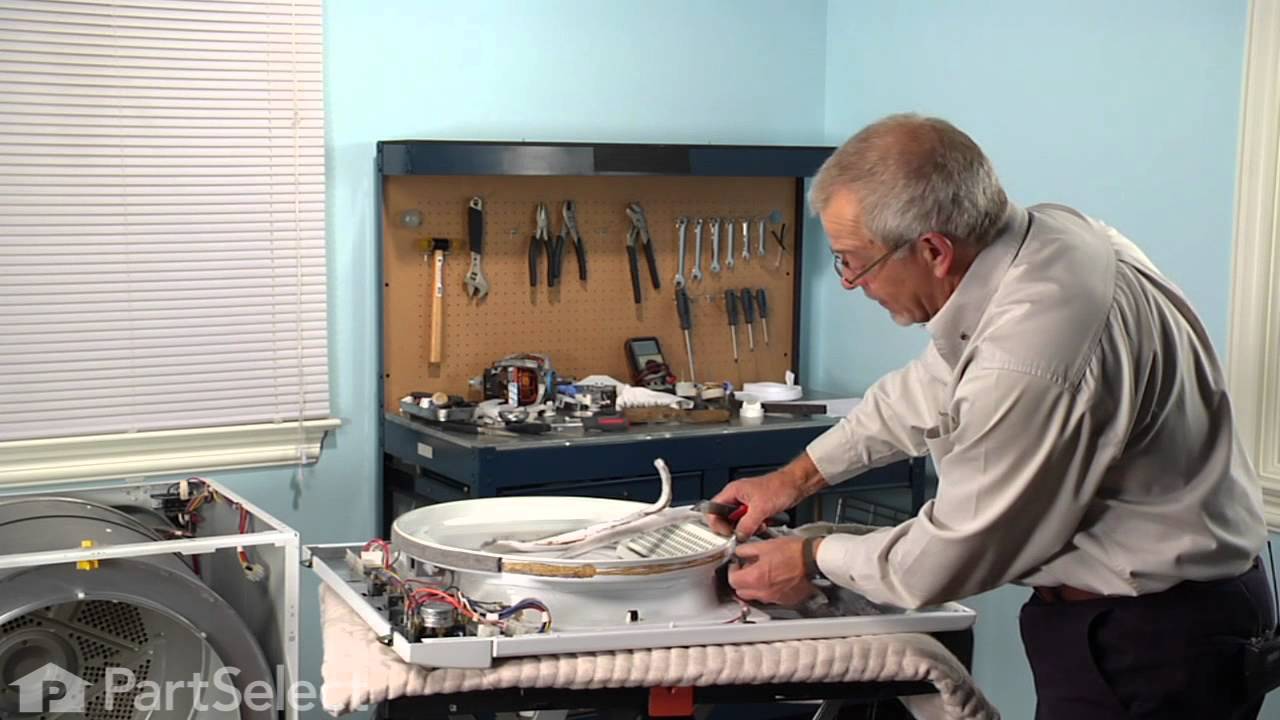
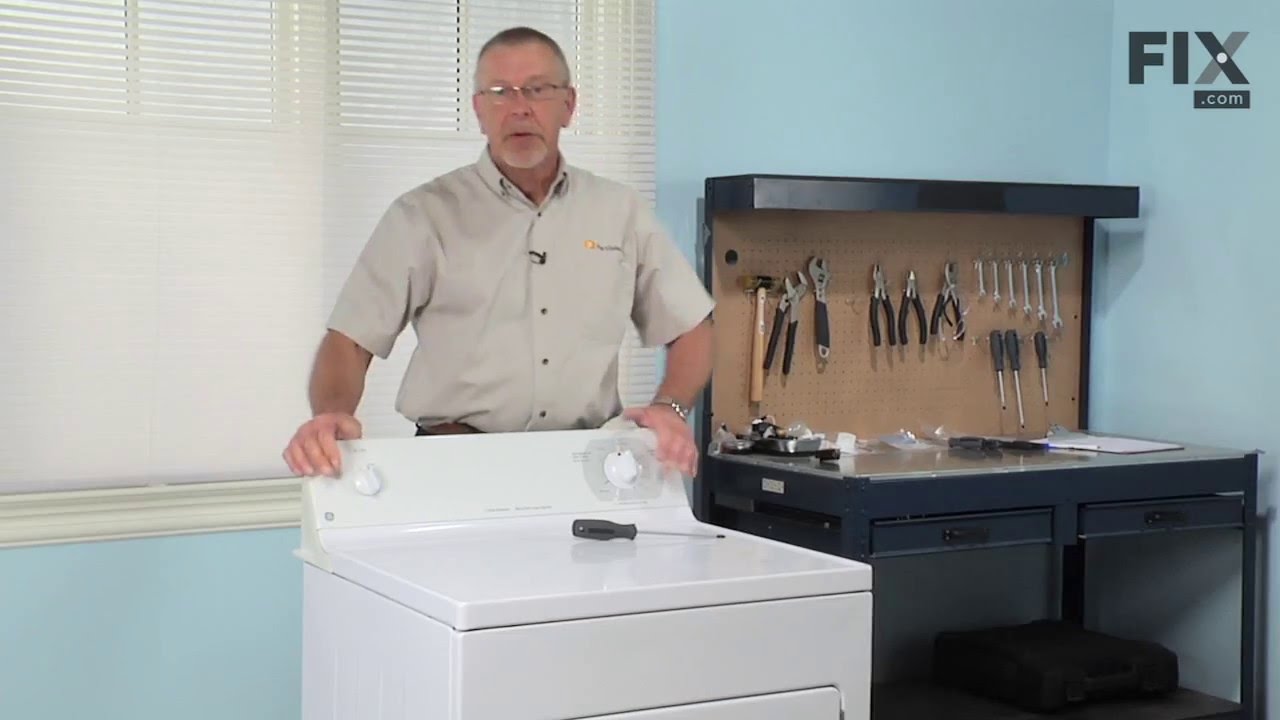

See how others fixed this model. Time, tools, difficulty, and steps that lead to victory!
View More
Search repair tips from other customers using simple keywords like "replace", "fit", "remove", "inspect". DIY doesn't mean you have to do it alone!
Search filter:
Clear Filter
Your search term must have 3 or more characters.
Loud rhythmic squeaking
47 of 58 people
found this instruction helpful.
About a year ago I had to replace the front sliders. I had thought at the time that I should replace the belt and check the rear bearing, but I was in a hurry, and the wash was backing up, so I didn't do it. Oops. Within 6 months dryer started squeaking. Did I get around to pulling it out, and greasing rear bearing. Nope. Dbl oops.
... Read more
r />
Luckily on this model, everything is pretty basic, strong, and well made. The rear bearing after 9 years of constant use (5 person family)had simply run out of grease, and then worn into the plastic housing that holds the rear bearing. NOTE TO ALL -- probably too late if you're reading this -- but just grease your rear bearing by using a grease gun with high temp grease (car bearing grease works fine)through the small hole at back of dryer dead center of drum. It will take 5 min, and probably prevent the need for this repair, or delay it substantially.
Unplug dryer, turn off gas, and disconnect gas hose and duct hose. Inspect the latter two and consider repacing while you're at it. Move dryer to where you can get at front and back without cursing too much.
So...take a putty knife, and put a little masking tape around the blade if you're worried about scratching the finish on your dryer. If you're doing this repair, your dryer is probably at least as old as mine, and you can skip the tape and just bear with some small scratches.
Slide the putty knife into the groove between lid and front of dryer and pop up. (held by spring clips)
Now tip up lid and slide back, you may have to wrestle it a bit, or it may come off like a charm. Put it out of the way.
Take a sec to look at the interior wiring (you unplugged the dryer, right?) If you see any worn or raw spots, take some electrical tape and fix. Should be fine though. Take a vacuum and suck up any extraneous lint, dirt etc.
Tip dryer up slightly and block with wood or a brick. There are two screws at bottom -- undo these. IF they're missing, no worries, they're not critical. Put dryer back down.
Get a trouble light or a good lamp and shine ti wher you can see interior of dryer. There are two screws, one on each side on the INSIDE of the dryer, connecting the side panels to the front. Undo those. Put them in a little baggie and mark them "interior fr screws." I know, you're thinking "I can just remember them." But trust me, this way, you can't lose them or screw up. Now use the putty knife to pop the front panel off the sides. Do this gently, and don't yank the front way back, as the drum will drop. Oh, on mine there was a yellow plastic doohicky in the middle at top. Take that off too (one tiny screw) put the screw back in part way and stick the doohicky in the baggie.
OK, so the front panel should now be loose. It is still on a couple of little tabs at the bottom, which you prefer not to bend. So lift the front slightly and then back it out, while you (or preferably a helper) holds the drum so you can let it down gently. The front is attached to all sorts of wiring. You don't need to disconnect ANYTHING. THe front should be able to be moved away to the right like a door. Rest this up against something so as to not strain the wiring. On the front of the door are the felt and plastic sliders. If they look beat up or worn, replace them now -- or like me, you can do the job twice... That part is super simple...
Now, got back of dryer, there is a vent at back bottom. Remove three (or less) screws) and remove little door. Probably substantial lint here. Vacuum like crazy. The belt comes down around the drive pulley, and then up and over the idler pulley (to keep tension on belt. IF this feels loose/easy to move, replace the belt. In fact, if the belt is over 5 years old, replace the belt. (or when it breaks, you get to open everything again). Just unhook the spring and the idler will be loose and you can remove the belt off the pulleys -- it's now just around the drum. Slide the idler pulley off the stem
Luckily on this model, everything is pretty basic, strong, and well made. The rear bearing after 9 years of constant use (5 person family)had simply run out of grease, and then worn into the plastic housing that holds the rear bearing. NOTE TO ALL -- probably too late if you're reading this -- but just grease your rear bearing by using a grease gun with high temp grease (car bearing grease works fine)through the small hole at back of dryer dead center of drum. It will take 5 min, and probably prevent the need for this repair, or delay it substantially.
Unplug dryer, turn off gas, and disconnect gas hose and duct hose. Inspect the latter two and consider repacing while you're at it. Move dryer to where you can get at front and back without cursing too much.
So...take a putty knife, and put a little masking tape around the blade if you're worried about scratching the finish on your dryer. If you're doing this repair, your dryer is probably at least as old as mine, and you can skip the tape and just bear with some small scratches.
Slide the putty knife into the groove between lid and front of dryer and pop up. (held by spring clips)
Now tip up lid and slide back, you may have to wrestle it a bit, or it may come off like a charm. Put it out of the way.
Take a sec to look at the interior wiring (you unplugged the dryer, right?) If you see any worn or raw spots, take some electrical tape and fix. Should be fine though. Take a vacuum and suck up any extraneous lint, dirt etc.
Tip dryer up slightly and block with wood or a brick. There are two screws at bottom -- undo these. IF they're missing, no worries, they're not critical. Put dryer back down.
Get a trouble light or a good lamp and shine ti wher you can see interior of dryer. There are two screws, one on each side on the INSIDE of the dryer, connecting the side panels to the front. Undo those. Put them in a little baggie and mark them "interior fr screws." I know, you're thinking "I can just remember them." But trust me, this way, you can't lose them or screw up. Now use the putty knife to pop the front panel off the sides. Do this gently, and don't yank the front way back, as the drum will drop. Oh, on mine there was a yellow plastic doohicky in the middle at top. Take that off too (one tiny screw) put the screw back in part way and stick the doohicky in the baggie.
OK, so the front panel should now be loose. It is still on a couple of little tabs at the bottom, which you prefer not to bend. So lift the front slightly and then back it out, while you (or preferably a helper) holds the drum so you can let it down gently. The front is attached to all sorts of wiring. You don't need to disconnect ANYTHING. THe front should be able to be moved away to the right like a door. Rest this up against something so as to not strain the wiring. On the front of the door are the felt and plastic sliders. If they look beat up or worn, replace them now -- or like me, you can do the job twice... That part is super simple...
Now, got back of dryer, there is a vent at back bottom. Remove three (or less) screws) and remove little door. Probably substantial lint here. Vacuum like crazy. The belt comes down around the drive pulley, and then up and over the idler pulley (to keep tension on belt. IF this feels loose/easy to move, replace the belt. In fact, if the belt is over 5 years old, replace the belt. (or when it breaks, you get to open everything again). Just unhook the spring and the idler will be loose and you can remove the belt off the pulleys -- it's now just around the drum. Slide the idler pulley off the stem
Read less
Other Parts Used:
Was this helpful?
Thank you for voting!