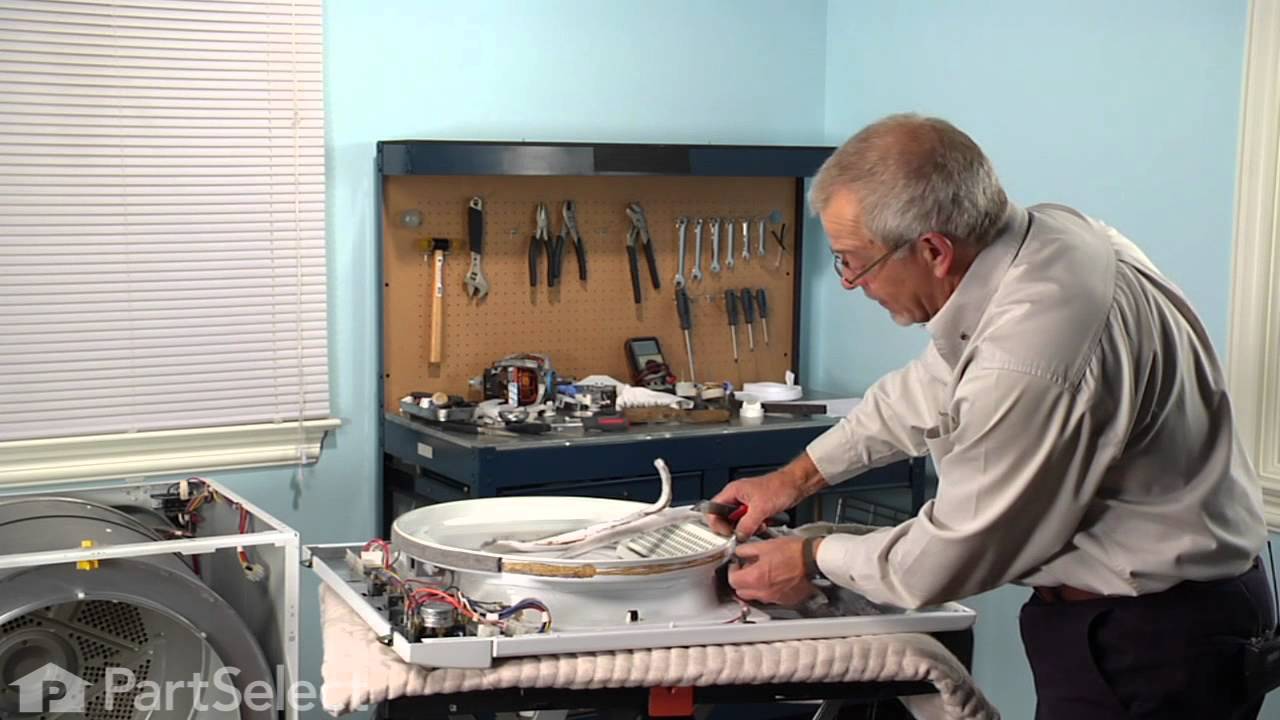
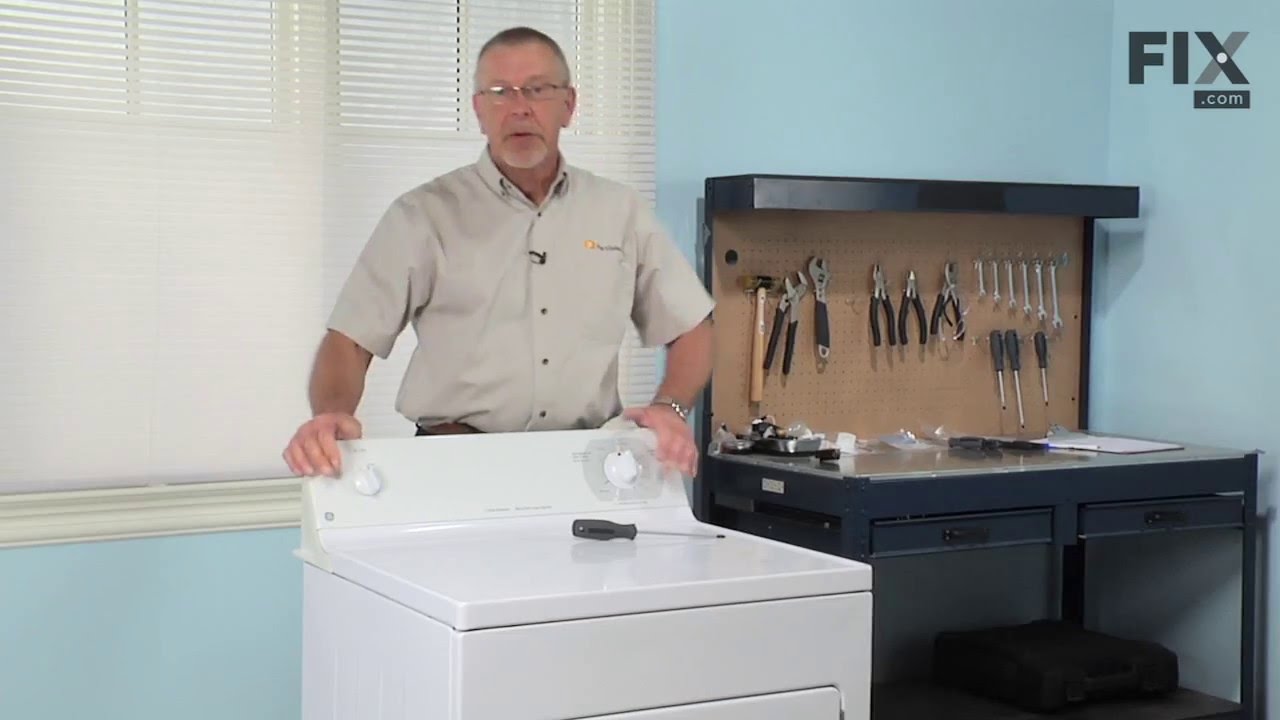
The lower front felt seal with adhesive, also known as a drum felt seal, is used in dyers and allows the drum to easily glide on the front panel. For this repair project, you will need the following tools: #2 Phillips screw driver, #2 square head screw driver, putty knife, and wire bush. If your dryer will not tumble, or makes a squeaking...Read more noise when running, replacing this part could solve the problem. Remember to unplug your appliance from the power source for safety before you begin this installation project. Refer to the manual provided by the manufacturer for further installation instructions.
This hi-limit thermostat acts as a safety mechanism that keeps the dryer from overheating. With this thermostat, a dryer's heating element will cut out if the internal temperature reaches 260 degrees Fahrenheit. The element will kick back in when the temperature drops to 190 degrees Fahrenheit - the differential of 70 degrees.
This thermostat controls the internal drying temperature.
Cycling themostats continually cycle the heating element off and on to maintain a constant inner temperature. This particular cycling thermostat has a limit of 140 degrees Fahrenheit and a differential of 10 degrees. Meaning that with this thermostat, the heating element will cut ...Read moreout at 140 degrees and cycle back on once the internal temperature drops by 10 degrees.
Ask our experts a question about this model and we'll get back to you as soon as possible!
We may have answered a similar question already! Search questions and answers left by others using simple keywords like "fit", "broken", "easy", or "quality" to find questions that match.
Search filter:
Clear Filter
Your search term must have 3 or more characters.
Sort by:
Prev
1
Next
Sorry, we couldn't find any existing answers that matched.Try using some different or simpler keywords, or submit your new question by using the "Ask a Question" button above!
Chris - For model number NVL333EB1WW
April 9, 2024
Reaching inside the drum, at the top, I feel a 3”x2” opening. Buttons apparently get caught and ripped off because of it. What is the purpose of that opening and can I get whatever small panel or cover to replace what is missing? Thanks
Hi Chris, thank you for reaching out. There is only one part at the top of the tub that is the drum baffle, part number PS267511. But it is 16x3 inches. We hope this is what you were looking for!
See how others fixed this model. Time, tools, difficulty, and steps that lead to victory!View More
Search repair tips from other customers using simple keywords like "replace", "fit", "remove", "inspect". DIY doesn't mean you have to do it alone!
Search filter:
Clear Filter
Your search term must have 3 or more characters.
Broken Knob Post
123 of 144 peoplefound this instruction helpful.
Jaren from Lemoore, CA
A Bit Difficult
15 - 30 mins
Pliers, Screw drivers
First I unplugged the dryer, then I removed the access panel on the back of the control panel. I removed the wires from the back of the switch...Here is where I messed up. I removed the switch prior to ordering the part, the bad part is the way I removed the part. When you get the new part in you will be able to see how it will be mounted
... Read more to the control panel. I had no idea, so I did what was necessary to remove it. Needless to say, I bent the hell out of the hole that the switch mounts in. In turn, the installation of the new switch did not go as easily as I would have liked. After straightening out some metal and drowning the thing in epoxy, the new switch is installed. I hooked the wires back up on the back of the switch, plug in the dryer, and dry some clothes. Standing victorious over the dryer with beer in hand, not only did I accomplish the mission but I learned my lesson... destructive removal = BAD!
Read less
Was this helpful?
Thank you for voting!
No Heat!
77 of 109 peoplefound this instruction helpful.
Kristian from Jackson, WY
Easy
15 - 30 mins
Screw drivers
Unplug power. Take the top off. Take front off, unplug the two wire connections. Undo belt from back access. Pull up on drum and remove. Unscrew 4 screws that hold on the element housing, remove. Reverse steps to put back together.
Was this helpful?
Thank you for voting!
Loud rhythmic squeaking
47 of 58 peoplefound this instruction helpful.
Mark from San Diego, CA
Easy
30 - 60 mins
Nutdriver, Screw drivers, Wrench (Adjustable)
About a year ago I had to replace the front sliders. I had thought at the time that I should replace the belt and check the rear bearing, but I was in a hurry, and the wash was backing up, so I didn't do it. Oops. Within 6 months dryer started squeaking. Did I get around to pulling it out, and greasing rear bearing. Nope. Dbl oops.
... Read morer /> Luckily on this model, everything is pretty basic, strong, and well made. The rear bearing after 9 years of constant use (5 person family)had simply run out of grease, and then worn into the plastic housing that holds the rear bearing. NOTE TO ALL -- probably too late if you're reading this -- but just grease your rear bearing by using a grease gun with high temp grease (car bearing grease works fine)through the small hole at back of dryer dead center of drum. It will take 5 min, and probably prevent the need for this repair, or delay it substantially.
Unplug dryer, turn off gas, and disconnect gas hose and duct hose. Inspect the latter two and consider repacing while you're at it. Move dryer to where you can get at front and back without cursing too much.
So...take a putty knife, and put a little masking tape around the blade if you're worried about scratching the finish on your dryer. If you're doing this repair, your dryer is probably at least as old as mine, and you can skip the tape and just bear with some small scratches.
Slide the putty knife into the groove between lid and front of dryer and pop up. (held by spring clips)
Now tip up lid and slide back, you may have to wrestle it a bit, or it may come off like a charm. Put it out of the way.
Take a sec to look at the interior wiring (you unplugged the dryer, right?) If you see any worn or raw spots, take some electrical tape and fix. Should be fine though. Take a vacuum and suck up any extraneous lint, dirt etc.
Tip dryer up slightly and block with wood or a brick. There are two screws at bottom -- undo these. IF they're missing, no worries, they're not critical. Put dryer back down.
Get a trouble light or a good lamp and shine ti wher you can see interior of dryer. There are two screws, one on each side on the INSIDE of the dryer, connecting the side panels to the front. Undo those. Put them in a little baggie and mark them "interior fr screws." I know, you're thinking "I can just remember them." But trust me, this way, you can't lose them or screw up. Now use the putty knife to pop the front panel off the sides. Do this gently, and don't yank the front way back, as the drum will drop. Oh, on mine there was a yellow plastic doohicky in the middle at top. Take that off too (one tiny screw) put the screw back in part way and stick the doohicky in the baggie.
OK, so the front panel should now be loose. It is still on a couple of little tabs at the bottom, which you prefer not to bend. So lift the front slightly and then back it out, while you (or preferably a helper) holds the drum so you can let it down gently. The front is attached to all sorts of wiring. You don't need to disconnect ANYTHING. THe front should be able to be moved away to the right like a door. Rest this up against something so as to not strain the wiring. On the front of the door are the felt and plastic sliders. If they look beat up or worn, replace them now -- or like me, you can do the job twice... That part is super simple...
Now, got back of dryer, there is a vent at back bottom. Remove three (or less) screws) and remove little door. Probably substantial lint here. Vacuum like crazy. The belt comes down around the drive pulley, and then up and over the idler pulley (to keep tension on belt. IF this feels loose/easy to move, replace the belt. In fact, if the belt is over 5 years old, replace the belt. (or when it breaks, you get to open everything again). Just unhook the spring and the idler will be loose and you can remove the belt off the pulleys -- it's now just around the drum. Slide the idler pulley off the stem



 My Orders