


 My Orders




NGW6H2GKLW Norge Wall Oven - Overview
Diagrams for NGW6H2GKLW
See every part. Know exactly what you need.


Enter a part description. DIY Heroes keep it simple, eg. "belt" or "pump".
Search filter:
Clear Filter
Your search term must have 3 or more characters.

$50.56
In Stock
Flat Style Oven Igniter Kit
Part #12400035
The flat style oven igniter kit is used in gas ovens and ranges. It is what provides the heat needed to open the gas valve, and it ignites fuel for the burner assembly. This part can be used for both bake and broil elements, and it can replace both short and long igniters. However, it cannot replace round style oven igniters. If your igni...Read moreter glows for 90 seconds or more without igniting the burner, this means it is too weak to open the valve. The element in your igniter may have shorted it and it might not glow at all, or it might only glow orange or red. It needs to glow white hot; if it cannot get hot enough the gas will not be released from the safety valve and it will be impossible to light the burner in your oven. This kit includes the igniter, ceramic wire nuts, an insulation pad, a metal bracket, a variety of plug ends, and an instruction sheet. The body length is 3 3/4 inches, and the element inside is approximately 1 1/2 inches. This replacement part has an amperage range of 3.3 to 3.6. The element inside this igniter is extremely fragile, do not touch it. Before you start repairing your oven or range, make sure you have unplugged it and shut off the gas supply.
Read less

$12.85
In Stock
Single Door Strike
Part #WP71002097
This door strike is less than an inch long. It is all white in color and it is made entirely of plastic. The door strike fits on the inside of your range and is the locking mechanism that latches to the door to ensure the oven door stays closed. Because the door strike is made of plastic, constant use can result in the part breaking, or g...Read moreetting damaged. If you find that your oven door will not stay closed, or that your oven will not preheat properly, it may be because your door strike has been damaged and is not keeping the door closed.
Read less

$7.47
In Stock

$49.50
In Stock
2 Piece Broiler Pan
Part #4396923
This broiler pan and roasting rack set is designed to help reduce mess while cooking by allowing grease to drain away from food. Its durable porcelain-coated construction stands up to high temperatures and makes cleanup simple. With approximate dimensions of 16 3/4 inches long, 12 3/4 inches wide, and 1 3/4 inches high, it offers a convenient size for everyday broiling and roasting.

$75.13
In Stock
Spark Module - Surface Burners
Part #12001596
This part may differ in appearance, but functions same as original part. : This part sends enough current to the igniter to create a spark to the bottom of the burner cap.

No Longer Available
Clock Knob
Part #WP7711P466-60
This clock knob is just under an inch long. It is black in color and is made of plastic. There is a chrome disc of decoration on its top.

$7.47
Special Order

$8.55
In Stock

$8.55
In Stock

No Longer Available

$11.77
In Stock
Range Nut Snap
Part #WP7103P114-60
This is an OEM part sourced directly from the manufacturer. This snap nut is round, and is made of black plastic. It is approximately half an inch in diameter. This snap nut should snap into place, rather than being screwed in. This product is designed for use in the door of your range/stove/oven. Many of our customers have rated this repair as easy. This part is sold individually.

No Longer Available
Door Handle Spacer Kit
Part #12001735
This door handle spacer assembly contains two screws and two spacers.
Common Symptoms of the NGW6H2GKLW
How this model fails, and the parts that fix it.
Gas igniter glows, but will not light
Fixed by
these parts
these parts


Show All
Will Not Start
Fixed by
these parts
these parts
Show All
Little to no heat when baking
Fixed by
these parts
these parts
Show All
Element will not heat
Fixed by
these parts
these parts
Show All
Oven not heating evenly
Fixed by
these parts
these parts
Show All
Gas smell
Fixed by
these parts
these parts
Show All
Little to no heat when broiling
Fixed by
these parts
these parts
Show All
Door won’t close
Fixed by
these parts
these parts

Show All
Oven is too hot
Fixed by
these parts
these parts

Show All
Watch our pros, then fix it yourself.
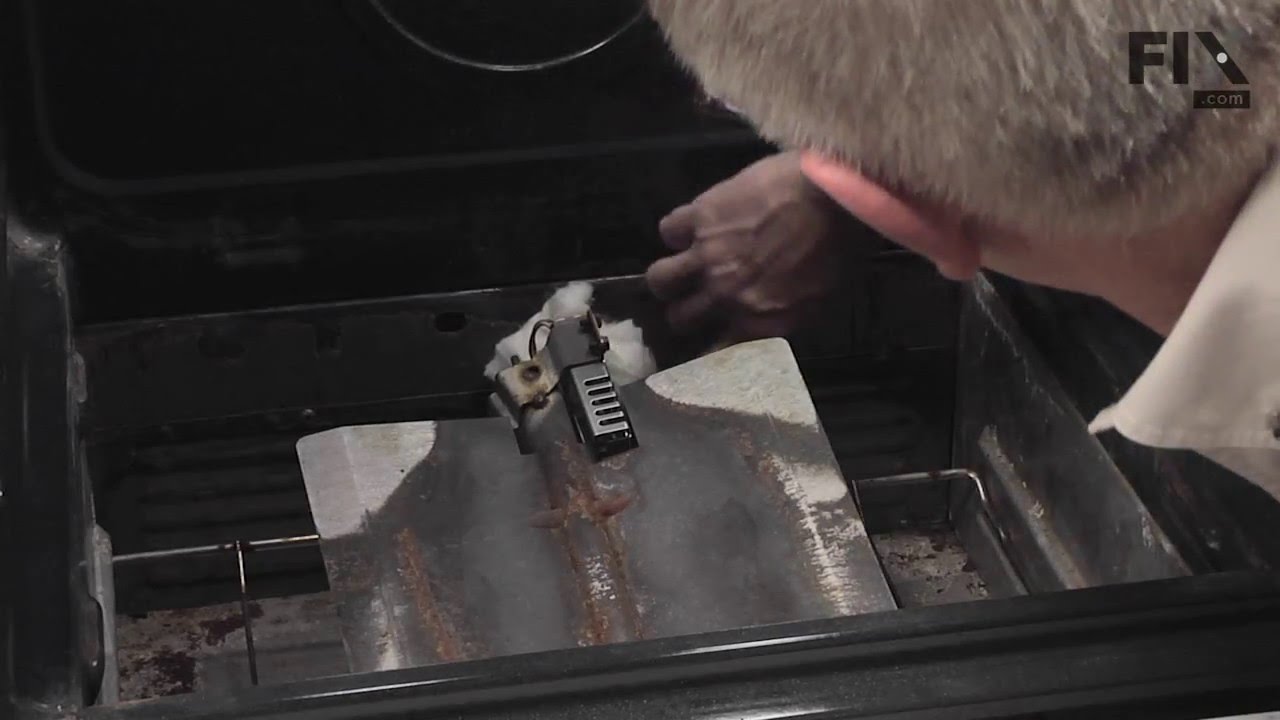

See how others fixed this model. Time, tools, difficulty, and steps that lead to victory!
View More