This is a range temperature sensor, used to detect the interior temperature of your oven when it is baking or cooking. If you notice your oven is baking unevenly or at inconsistent temperatures, will not start or has too little or too much heat, it is likely that the temperature sensor is bad, or defective. This temperature sensor feature...Read mores a 3.9-inch-long probe, 3.2-inch-long wire harness, and 1.7-inch-wide support bracket. Replacing this sensor is fairly simple but will require a screwdriver, wrench and drill with the appropriate Philips-head bit. Disconnect your range from the wall outlet and pull it out from the wall. Removing your range door is not necessary, but will make removing the sensor that much easier. You will now locate your temperature sensor, which will likely be near the heating element at the top/bottom of the oven. Remove any securing screws holding the heating element and/or sensor in place. At the rear of the range, disconnect and remove the rear panel to gain access to the electronics of the range. Disengage the sensor and its locking tabs, and may also require you to disconnect the terminals for the heating element if your temperature sensor is fastened to it. Remove the sensor and heating element (if necessary). If the sensor is connected to the heating element, use a wrench to unfasten it. Now you install the new temperature sensor and reassemble your oven, ensuring that wire terminals are connected correctly.
This is a high limit thermostat designed for microwaves, ranges and ovens. Made of plastic and metal, this thermostat is designed to open the electrical circuit for your appliance when it reaches a specific internal temperature. In some cases, high limit thermostats can become defective and if your appliance will not turn on, or has a spe...Read morecific error code, it must be replaced. This thermostat is a genuine OEM part that is sold as an individual part and can be replaced by disconnecting the appliance from the power, and accessing its panel, usually located near the bottom of your range, or wherever the heating element is located. Reference your user manual for exact location and replacement instructions.
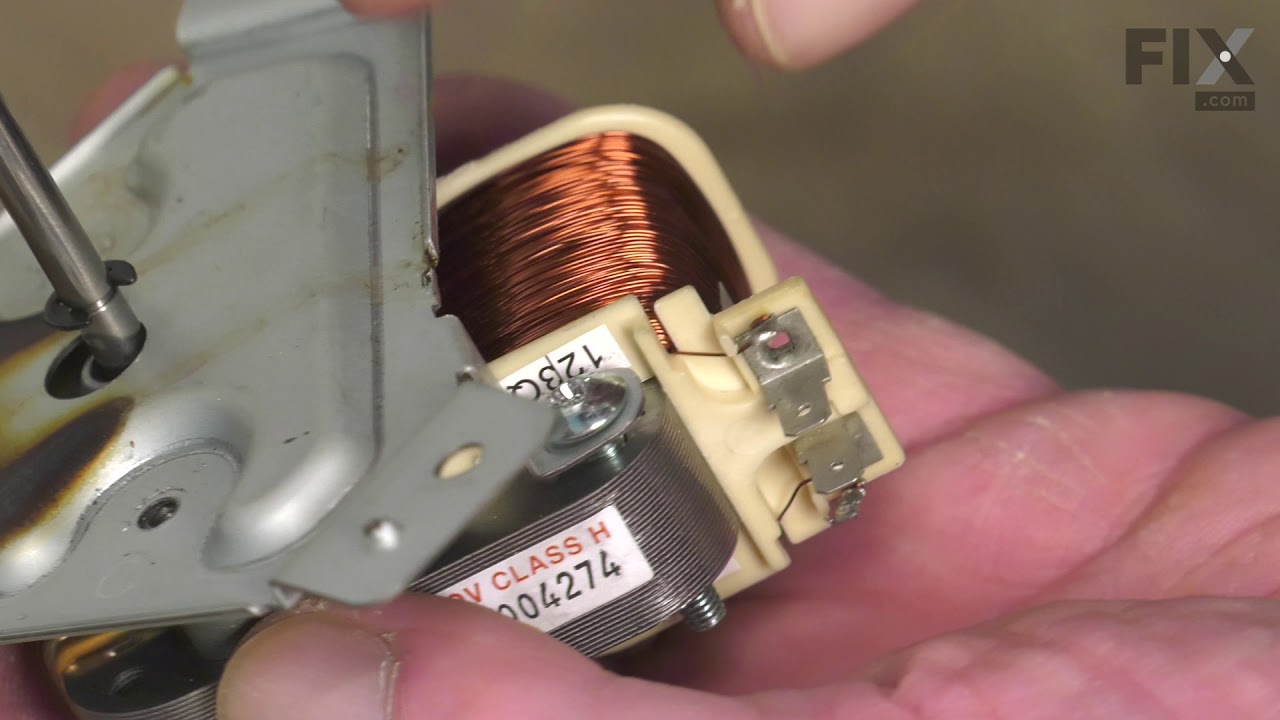
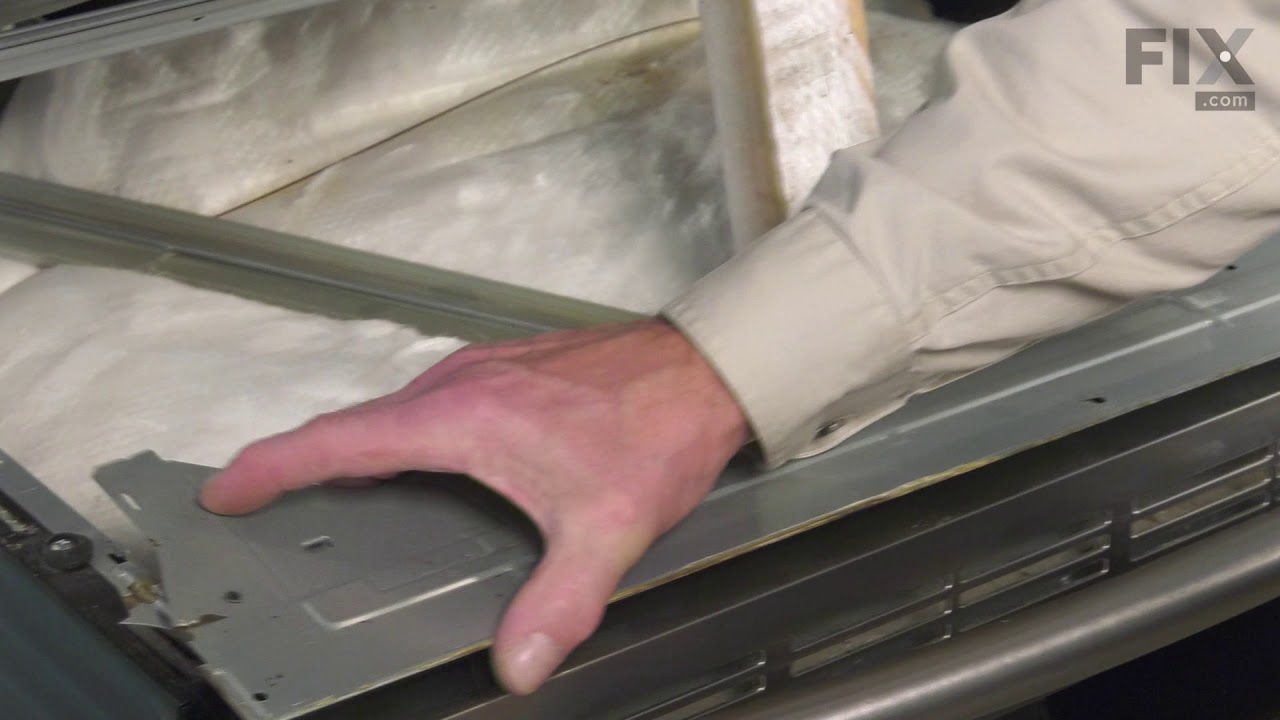
This convection fan motor assembly is designed to circulate hot air throughout the oven cavity, promoting even heat distribution for more consistent baking and roasting results. By keeping air moving during convection cooking, it helps eliminate hot spots and improves overall cooking performance. Replacement is often needed if the oven fa...Read moren becomes loud, stops spinning, or causes uneven cooking temperatures. Supplied as a complete motor and fan assembly, this component offers a reliable solution for restoring quiet operation and efficient convection airflow when the original fan motor is worn or damaged.
This rubber cushion is supplied by the original manufacturer and has a shaft approximately 1 inch long. The cushion acts as a layer of protection between the oven door and oven frame/cavity. It prevents heat from escaping and protects the oven door and frame from abrasion and damage. If the rubber cushion becomes brittle or loses its elas...Read moreticity, you will likely notice heat escaping from the appliance, uneven cooking, as well as increased noise, and instability when opening or closing the door. Depending on your appliance model you may need to lift the top oven panel to access the cushion. Pull the faulty rubber cushion out from the oven frame and thoroughly clean the area where the new one will be placed to ensure a good seal. Press the new cushion into position and reassemble your oven to complete the repair.
Supply the lower heat needed for baking and roasting with this replacement oven bake element. Installed near the bottom of the oven, the element heats during the bake cycle and helps food cook evenly. A failed element may cause slow preheating, weak heat, uneven baking, or no heat at all. Cracks, blisters, burned areas, and breaks in the ...Read moremetal covering can also show that replacement is needed. Installation may require removing a rear panel and connecting electrical terminals. Switch off the circuit breaker, let the oven cool fully, and wear work gloves before beginning the repair.
This stainless steel wire rack is a sturdy platform for baking or roasting food, making sure heat circulates evenly. It measures approximately 7/16 inches by 24 3/4 inches and is usually found inside the oven. You can adjust its height using the multiple slots in the oven cavity to suit your cooking needs. Please keep in mind that this genuine OEM replacement part is sold individually.
This hexagon nut cap, also known as a nut cover cap, is a nylon-insulated cylindrical cap with left-hand threads and a 4mm thread size, for counterclockwise tightening. It is sourced from the original equipment manufacturer for use in ranges and microwave oven combos. The cap provides added security to prevent the hexagon nut that it rest...Read mores on from coming loose during operation and causing component instability. Over time it is normal for the hex nut cap to wear down, become damaged, or for its threads to become stripped. To replace a faulty nut cap, use a socket or wrench to unthread it from the hex nut. Place the new cap in its position and secure it in place to complete the repair. It is recommended to replace the fastener at the same time for extended durability.
Ask our experts a question about this model and we'll get back to you as soon as possible!
We may have answered a similar question already! Search questions and answers left by others using simple keywords like "fit", "broken", "easy", or "quality" to find questions that match.
Search filter:
Clear Filter
Your search term must have 3 or more characters.
Sort by:
Prev
1
Next
Sorry, we couldn't find any existing answers that matched.Try using some different or simpler keywords, or submit your new question by using the "Ask a Question" button above!
Alisha - For model number NE595R0ABSRAA
March 23, 2023
The cover that goes over the fan inside the oven- what size and type screws attach this cover to the back of the interior oven?
Hello Alisha, thank you for contacting us. The cover that goes over the fan is the motor cap, part number PS4241132, and the flange nut, part number PS4226726, is attached to this cover. The size of this spring is almost 1 x 1 x 1 inch. We hope this information helps!
I need to replace the far right knob and it's interior block. Knob snapped off in transit and the post that the knob attaches to snapped off. Need the interior electrical block.
Hi Melissa, thank you for contacting us. The parts you are looking for are the control knob, part number PS4241299, and the dual burner switch, part number PS4240806, since the shaft that the knob attaches to comes as a part of the switch. We hope this is helpful!
When turn on double burner big explosion all burner are working OK but indicator red light still on when all burner are off
Hello Oscar, thank you for reaching out. According to our research, the issue is with the dual surface element control switch, part number PS4240806. You may need to replace it to fix the issue. We hope this information helps!
I need to replace just the display unit. Is it still available.
Hi Danny, thank you for your inquiry. According to our research, the part you are looking for is the control panel, part number PS7796948. Glad to be of help!
See how others fixed this model. Time, tools, difficulty, and steps that lead to victory!View More
Search repair tips from other customers using simple keywords like "replace", "fit", "remove", "inspect". DIY doesn't mean you have to do it alone!
Search filter:
Clear Filter
Your search term must have 3 or more characters.
Oven would not heat consistently
40 of 69 peoplefound this instruction helpful.
Steven from CHEYENNE, WY
Easy
15 - 30 mins
Screw drivers
My barely 4 year old Samsung range/oven began not heating consistently. Even though it said 350, for example, we had to increase to 465 to get it to bake. Thought it was the temperature sensor. Ordered and installed new one easily. That didn't solve the problem. So, rather than throw more money at parts that may not have resolved the
... Read moreissue, I got a new Amana range. Samsung appliances go to my 'do not buy' list along with LG!
Read less
Was this helpful?
Thank you for voting!
oven will not come to desired temp setting
20 of 36 peoplefound this instruction helpful.
DAVID from BIRDSBORO, PA
Very Easy
15 - 30 mins
Screw drivers
ordered the temp sensor for a standard complaint, new sensor was the correct part ordered, however, once the old sensor was removed, I ohm'd the original and the new part. Both were 1080, checked wiring, checked gas burner, checked line voltage. Searched other part prices, found Samsung to be a not desirable product to own. This non repai
... Read morer was to help my neighbor who lives on a fixed income. Checked oven temp with the oven at 350 f setting, oven was 223 f. Set oven to 465 f and fount the oven at 353 f. I wanted to return the part but she insisted I install it anyway and found the oven doing the same thing. She did not want to throw more money at a 4 year old range. Will use it as it is but will buy a cheap oven temp gauge. Samsung sucks.
Read less
Was this helpful?
Thank you for voting!
Oven shut off during self clean cycle and door stayed locked.
23 of 51 peoplefound this instruction helpful.
Uwe from FORT COLLINS, CO
Very Easy
15 - 30 mins
Screw drivers
I took off the back cover after I looked at youtube similar problems. Then removed the little thermostat and un hooked the 2 wires. I looked up the part and after is was delivered couple days later I connected the 2 wies and after putting the back cover on the oven was back to normal. Was such an easy repair and the part was only $11.




 My Orders