


 My Orders




N3177XRA Norge Range - Overview
Diagrams for N3177XRA
See every part. Know exactly what you need.


Enter a part description. DIY Heroes keep it simple, eg. "belt" or "pump".
Search filter:
Clear Filter
Your search term must have 3 or more characters.

$19.54
In Stock
Light Bulb - 40W
Part #8009
This an authentic OEM 40-Watt replacement light bulb, used in a number of household appliances. It is specially designed to withstand extreme temperatures, which is why these replacement bulbs are most often used to light the inside of refrigerators and ranges. It features a standard socket base, which means you simply unscrew the burnt-o...Read moreut bulb and screw in the replacement. Depending on the appliance you may require a screwdriver or nut driver to access the light bulb. We recommend you wear work gloves while handling this replacement part. It is constructed of glass and metal and is sold individually. Depending on the appliance and location of the bulb within it, you may want to consider disconnecting power and using a flashlight for easier access to unscrewing and re-screwing in your bulb during this repair.
Read less

$50.56
In Stock
Flat Style Oven Igniter Kit
Part #12400035
The flat style oven igniter kit is used in gas ovens and ranges. It is what provides the heat needed to open the gas valve, and it ignites fuel for the burner assembly. This part can be used for both bake and broil elements, and it can replace both short and long igniters. However, it cannot replace round style oven igniters. If your igni...Read moreter glows for 90 seconds or more without igniting the burner, this means it is too weak to open the valve. The element in your igniter may have shorted it and it might not glow at all, or it might only glow orange or red. It needs to glow white hot; if it cannot get hot enough the gas will not be released from the safety valve and it will be impossible to light the burner in your oven. This kit includes the igniter, ceramic wire nuts, an insulation pad, a metal bracket, a variety of plug ends, and an instruction sheet. The body length is 3 3/4 inches, and the element inside is approximately 1 1/2 inches. This replacement part has an amperage range of 3.3 to 3.6. The element inside this igniter is extremely fragile, do not touch it. Before you start repairing your oven or range, make sure you have unplugged it and shut off the gas supply.
Read less

$67.82
In Stock
Burner Head Cap with Spark Electrode
Part #WP3412D024-09
The burner head cap with spark electrode directs the gas to the front and back burner heads and will equally distribute the gas across cooking areas. This part can help the following symptoms: if your oven will not start, element will not heat, the gas ignitor does not light, and/or gas spreads a smell. Make sure to rotate the burner asse...Read morembly clockwise to release the burner from the top. Please note: this part has been updated and the gasket seal is no longer required. Make sure to unplug the oven before installing this part and wear work gloves to protect your hands.
Read less

$21.45
In Stock
Screw
Part #W11233072
This is a multi-use and multi-appliance screw. It can be used on a microwave, refrigerator, range/oven, air conditioner, dehumidifier, washer, or dryer. The measurements of this screw are 8 x 1/2 inch. It has 6 threads. Refer to the manual provided by the manufacturer for further information on repair and accurate guidance. Remember to wear work gloves as a safety precaution.

$53.20
In Stock
Door Seal
Part #WP7212P043-60
This door seal is used for ranges and ovens. The seal prevents hot air escaping from the oven to maintain a certain temperature when baking. The clips sticking out of the seal help secure it to the range doors for the most effective performance. This seal is black in color and is made of rubber. If your oven is not heating evenly, has lit...Read moretle to no heat when baking, or is too hot, replacing the seal can solve the problem. The tools needed for this repair are needle nose pliers. Make sure the oven is cool before starting this installation project. Refer to the diagram provided by the manufacturer for further installation instructions.
Read less

$75.13
In Stock
Spark Module - Surface Burners
Part #12001596
This part may differ in appearance, but functions same as original part. : This part sends enough current to the igniter to create a spark to the bottom of the burner cap.

$7.47
Special Order

$8.55
In Stock

No Longer Available

$8.55
In Stock

$7.47
In Stock

No Longer Available
Common Symptoms of the N3177XRA
How this model fails, and the parts that fix it.
Gas igniter glows, but will not light
Fixed by
these parts
these parts


Show All
Will Not Start
Fixed by
these parts
these parts
Show All
Little to no heat when baking
Fixed by
these parts
these parts

Show All
Element will not heat
Fixed by
these parts
these parts
Show All
Oven not heating evenly
Fixed by
these parts
these parts
Show All
Gas smell
Fixed by
these parts
these parts

Show All
Little to no heat when broiling
Fixed by
these parts
these parts
Show All
Oven is too hot
Fixed by
these parts
these parts
Show All
Door won’t close
Fixed by
these parts
these parts
Show All
Watch our pros, then fix it yourself.

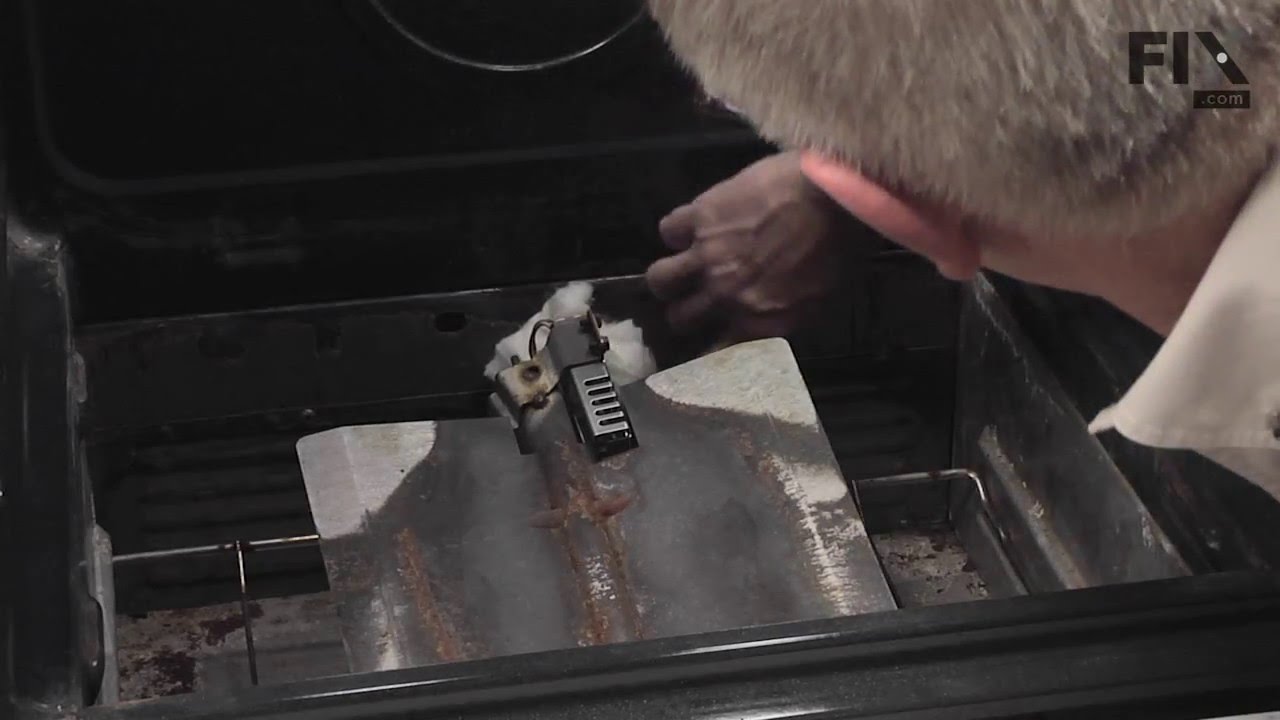
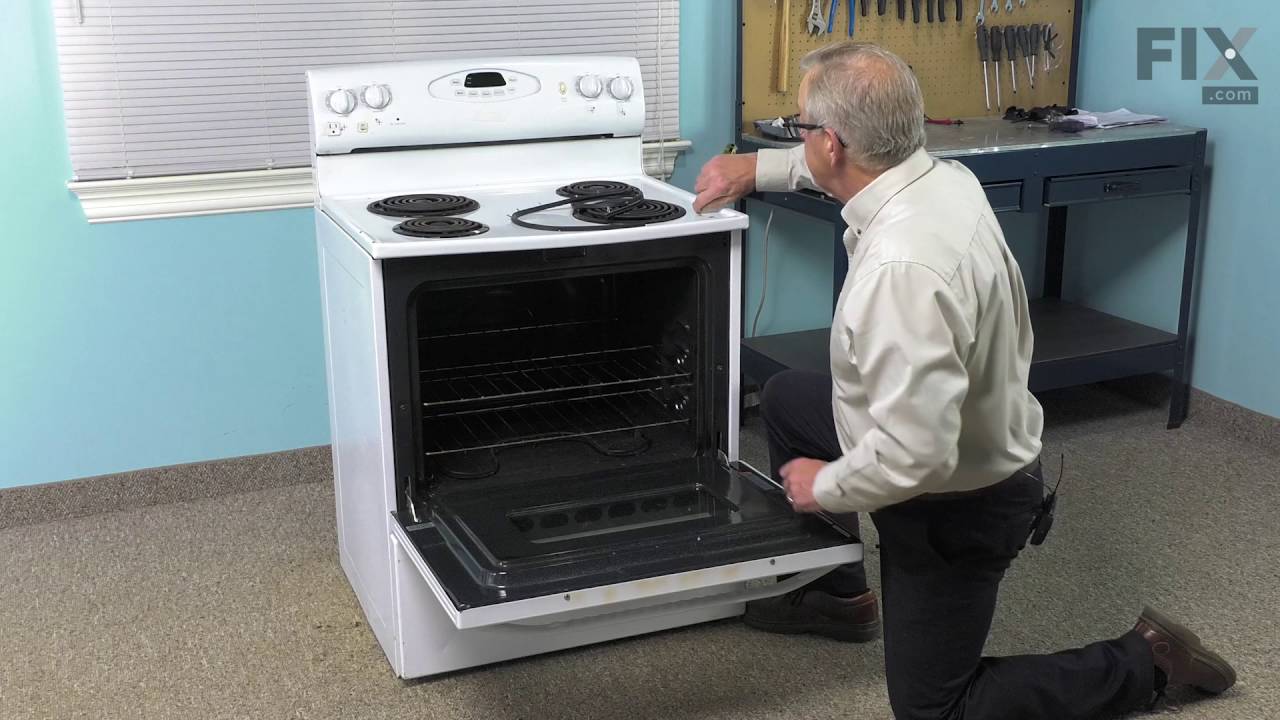
See how others fixed this model. Time, tools, difficulty, and steps that lead to victory!
View More