


 My Orders




N3120SPN Norge Range - Overview
Diagrams for N3120SPN
See every part. Know exactly what you need.


Enter a part description. DIY Heroes keep it simple, eg. "belt" or "pump".
Search filter:
Clear Filter
Your search term must have 3 or more characters.

$21.45
In Stock
Screw
Part #W11233072
This is a multi-use and multi-appliance screw. It can be used on a microwave, refrigerator, range/oven, air conditioner, dehumidifier, washer, or dryer. The measurements of this screw are 8 x 1/2 inch. It has 6 threads. Refer to the manual provided by the manufacturer for further information on repair and accurate guidance. Remember to wear work gloves as a safety precaution.

$36.85
In Stock
Valve Knob
Part #WP7711P135-60
This valve knob is also known as control knob, burn valve, and burner knob. It fits on your stovetop or range to control the heat of the surface burner. No tools are required for this repair, simply remove your old knob by lifting straight up and off, and replace with the new knob by aligning the D-shapes on the shaft and knob and pushing...Read more straight down. This part is made of plastic, and is black in color. This knob accepts a D-shaped shaft. It is sold individually, so consider checking other knobs in case they need to be replaced as well.
Read less

$7.47
In Stock

$53.20
In Stock
Door Seal
Part #WP7212P043-60
This door seal is used for ranges and ovens. The seal prevents hot air escaping from the oven to maintain a certain temperature when baking. The clips sticking out of the seal help secure it to the range doors for the most effective performance. This seal is black in color and is made of rubber. If your oven is not heating evenly, has lit...Read moretle to no heat when baking, or is too hot, replacing the seal can solve the problem. The tools needed for this repair are needle nose pliers. Make sure the oven is cool before starting this installation project. Refer to the diagram provided by the manufacturer for further installation instructions.
Read less

$23.60
In Stock
Thermostat Knob
Part #WP74002419
This is a thermostat knob, but you may know it as a surface burner knob. It is a part for the stovetop on your range. It gives you the ability to control the heat levels of the surface burner, located on the stovetop of the range. This knob is all black in color and accepts a D-shaped shaf.t It has a diameter of 2 inches.

$75.13
Special Order
Drip Pans - Kit of 4
Part #1430283
This set of four square chrome drip pans is designed to catch spills and protect the surface of select gas ranges and cooktops. Each pan measures just over 8 inches per side with a 3.5-inch center hole, providing a precise fit for the burner area. Constructed from chrome-plated metal, these OEM components offer durability and a polished a...Read moreppearance that complements most kitchen styles. By preventing food debris and liquids from reaching internal components, the drip pans help maintain appliance cleanliness and performance. Ideal for replacing worn or discolored pans, this kit is compatible with a variety of models and restores both function and aesthetics to your cooktop.
Read less

$8.55
In Stock

$8.55
In Stock

$7.47
In Stock

No Longer Available
GRATE BURNER
Part #W11400301
This square burner grate has sides measuring approximately nine inches. It is all black in color.

No Longer Available
Broiler Pan
Part #WP3401F075-19
This broil pan is fourteen inches wide, and almost sixteen inches long. It is made of black porcelain.

$54.24
On Order
Range Light Assembly
Part #WP7407P182-60
Enhance your kitchen appliance with the Whirlpool Light Assembly, designed for your oven range. This genuine OEM product is engineered to fit seamlessly with select Whirlpool, KitchenAid, Maytag, Jenn-Air, Amana, Inglis, and Magic Chef stoves, ovens, and ranges. The primary function of this device is to securely hold the oven light bulb, ...Read moredelivering power efficiently. Please disconnect the range or turn off the house circuit breaker before installation to ensure safety. Work gloves are recommended as an additional safety measure during installation. The modern and sleek design is not only a perfect fit for your oven but also enhances its overall aesthetic appeal.
Read less
Common Symptoms of the N3120SPN
How this model fails, and the parts that fix it.
Oven not heating evenly
Fixed by
these parts
these parts

Show All
Little to no heat when baking
Fixed by
these parts
these parts
Show All
Oven is too hot
Fixed by
these parts
these parts
Show All
Door won’t close
Fixed by
these parts
these parts
Show All
Watch our pros, then fix it yourself.
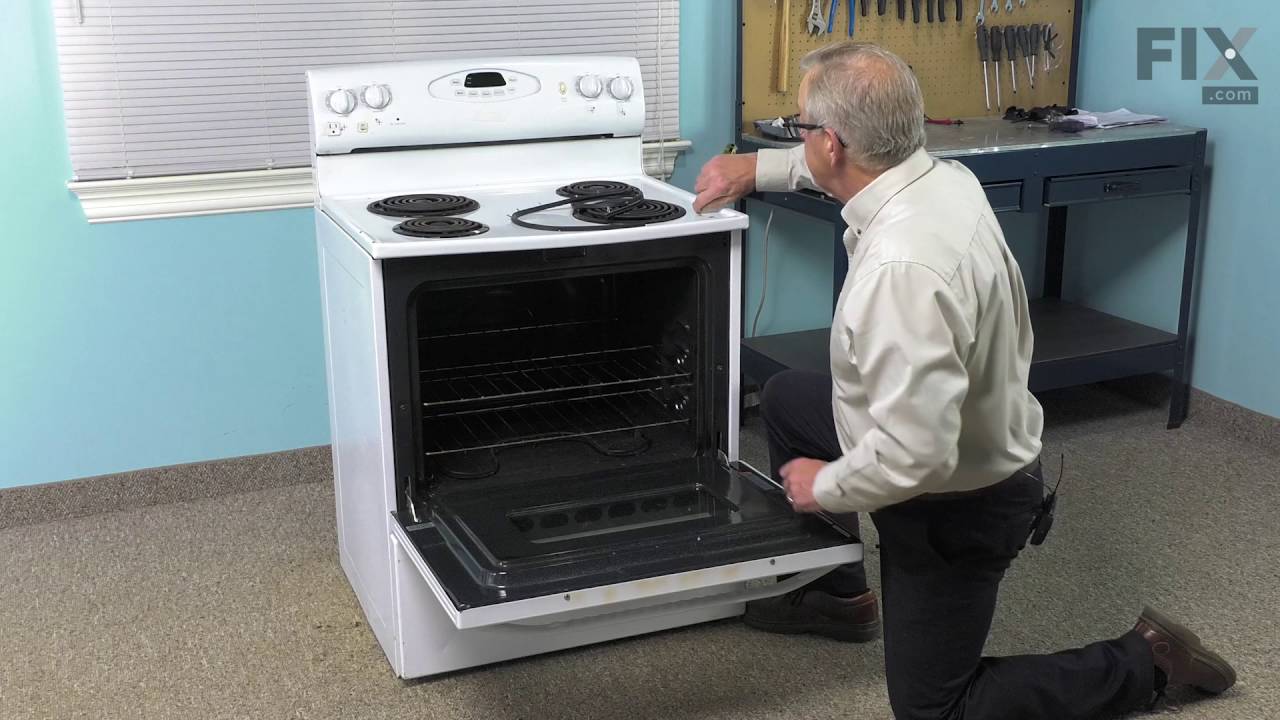
See how others fixed this model. Time, tools, difficulty, and steps that lead to victory!
View More