


 My Orders




MZF34X18FW07 Maytag Freezer - Overview

Enter a part description. DIY Heroes keep it simple, eg. "belt" or "pump".
Search filter:
Clear Filter
Your search term must have 3 or more characters.

$11.77
In Stock

$28.42
In Stock
Evaporator Fan Blade
Part #WP2169142
If your refrigerator or freezer is too warm, or making noises, you may need to replace the fan blade. The fan blade attaches to the evaporator motor, which is in the freezer section, to help circulate the cold air into the refrigerator and freezer sections. The fan blade is white in color and made from plastic. This is a genuine OEM part...Read more. Please be sure to disconnect the power to your refrigerator before starting your repair.
Read less

$11.77
In Stock
Refrigerator Door Hinge Nylon Washer
Part #WP487576
This small hinge washer acts as a spacer between the refrigerator door and hinge. It helps keep the door aligned and reduces wear as the door moves. Replace a missing, cracked, or worn washer. Empty the door shelves and have another person support the door during installation. Use the exact model number to confirm fit.

$9.62
In Stock
Foot Brake
Part #WPW10141622
Introducing the Whirlpool Refrigerator Leveling Leg. This genuine OEM part supports your refrigerator, ensuring it remains stability and level. The height of the leveling leg can be adjusted to suit your unique refrigerator model, providing you with versatility and customization. This leveling leg is compatible with some models of Whirlpo...Read moreol, KitchenAid, Maytag, Jenn-Air, Amana, Inglis, and Magic Chef fridges. For a smooth installation, we recommend wearing work gloves to protect your hands. Verify your model compatibility before purchase.
Read less

$28.95
Special Order

$28.95
In Stock

$17.15
In Stock

$25.75
In Stock

$61.55
In Stock
Refrigerator Temperature Sensor
Part #WPW10384183
Food that freezes in the refrigerator may point to a temperature sensor problem. The sensor works like a small thermometer by tracking the temperature inside the compartment. As the temperature changes, it sends a signal that helps the appliance control its cooling cycles. Replacement may be needed if testing shows that the sensor gives t...Read morehe wrong reading or has damaged wires. Disconnect electrical power before opening the appliance. Follow the service guide to find the correct sensor location, and make sure the plug is fully connected during installation.
Read less

$60.51
In Stock

$67.82
In Stock
Wire Shelf
Part #W10838567
This shallow wire shelf is designed to enhance storage and organization within the freezer compartment of compatible refrigerator models. Constructed from durable, coated wire, it provides a stable surface for storing frozen items while promoting optimal air circulation for consistent cooling. Its shallow depth allows for flexible placeme...Read morent and easy access to smaller items, helping maximize usable space. The shelf can be repositioned to accommodate various container sizes and is ideal for replacing a bent or missing shelf. Installation is simple—just slide it into the designated support rails inside the freezer.
Read less

$7.47
In Stock
SCREW
Part #67006564
Common Symptoms of the MZF34X18FW07
How this model fails, and the parts that fix it.
Noisy
Fixed by
these parts
these parts

Show All
Fridge too warm
Fixed by
these parts
these parts

Show All
Door won’t open or close
Fixed by
these parts
these parts


Show All
Too warm
Fixed by
these parts
these parts
Show All
Fridge too cold
Fixed by
these parts
these parts
Show All
Frost buildup
Fixed by
these parts
these parts
Show All
Freezer section too warm
Fixed by
these parts
these parts
Show All
Watch our pros, then fix it yourself.

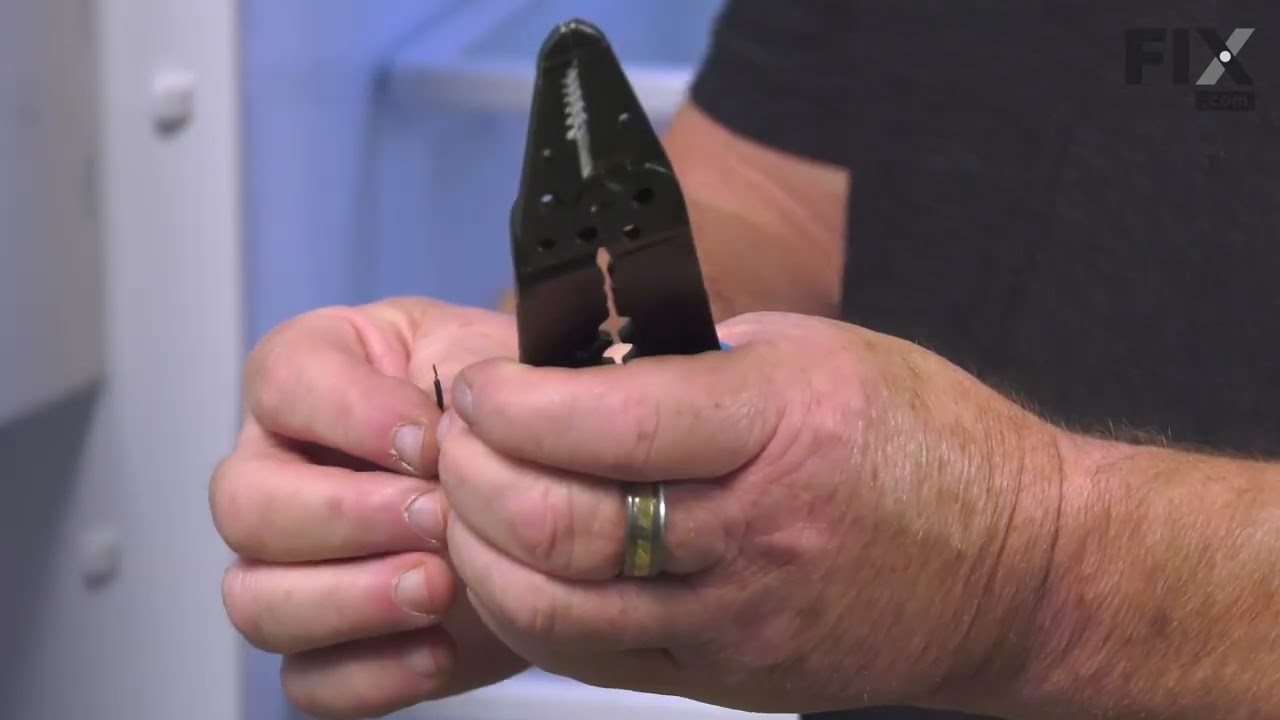
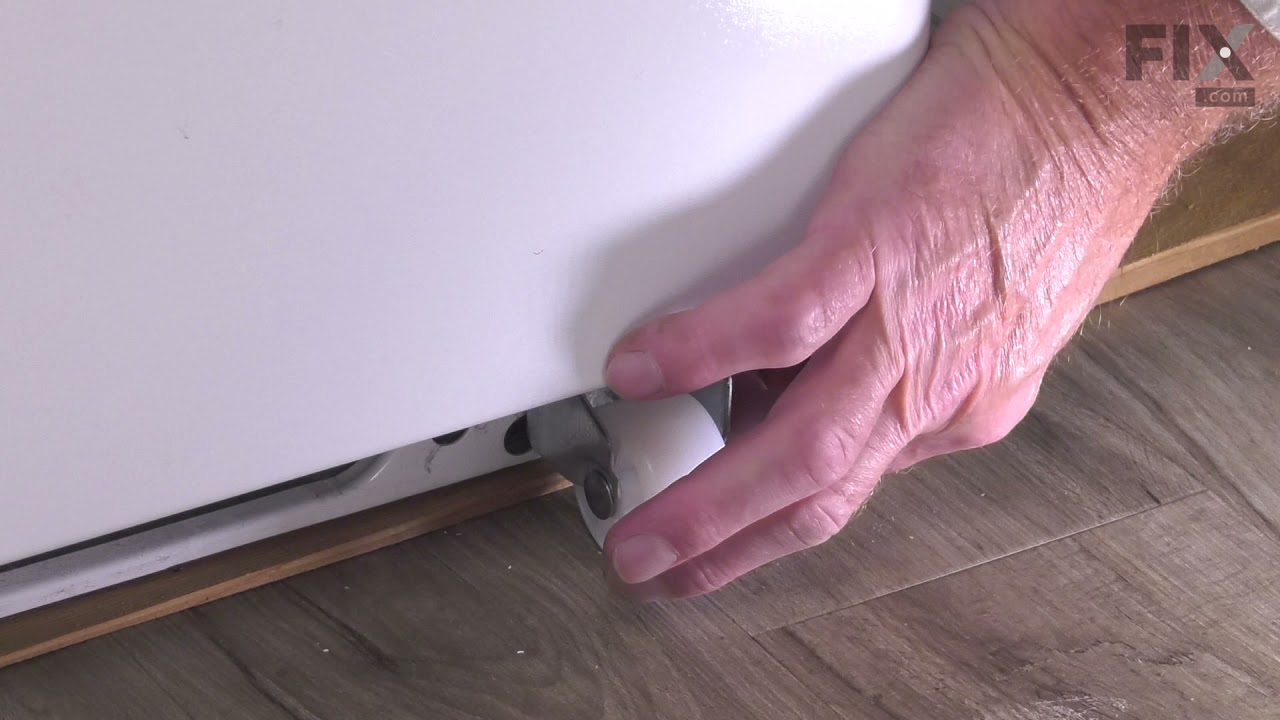

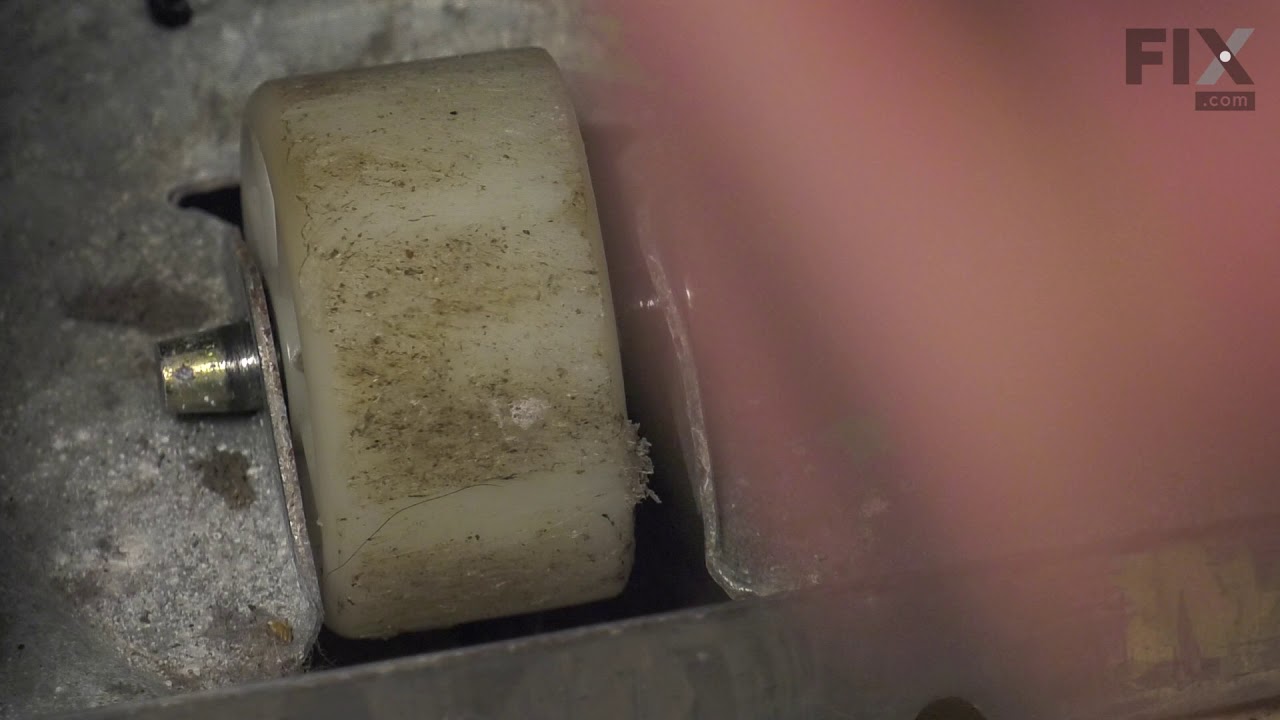
See how others fixed this model. Time, tools, difficulty, and steps that lead to victory!
View More
Search repair tips from other customers using simple keywords like "replace", "fit", "remove", "inspect". DIY doesn't mean you have to do it alone!
Search filter:
Clear Filter
Your search term must have 3 or more characters.
Original bracket foot brake screw hole was stripped and foot brake would not extend
16 of 20 people
found this instruction helpful.
The repair seemed simple, I just needed to remove the old bracket -- 4 screws -- and slip the new one on.
The tricky bit is that the roller bracket holds the weight of the fridge. So in order to make sure that the fridge did not fall over, and to keep the installation point off the ground so that I could align the screw holes, ... Read more I needed to shim up the side of the fridge that I was working on.
To tap in the shims, I used a hammer and a spare chunk of wood. I ultimately used 3 shims, and kept tapping until the roller wheel could roll freely. Then I knew that the fridge was high enough. After that, it was pretty easy to remove the 4 screws, align the new bracket, and replace the screws. After that, in order to get the shims out I could just extend the foot brake as it was designed, and that lifted the fridge enough for me to easily slide out the shims. After that I just had to level out the fridge by adjusting the two feet.
The tricky bit is that the roller bracket holds the weight of the fridge. So in order to make sure that the fridge did not fall over, and to keep the installation point off the ground so that I could align the screw holes, ... Read more I needed to shim up the side of the fridge that I was working on.
To tap in the shims, I used a hammer and a spare chunk of wood. I ultimately used 3 shims, and kept tapping until the roller wheel could roll freely. Then I knew that the fridge was high enough. After that, it was pretty easy to remove the 4 screws, align the new bracket, and replace the screws. After that, in order to get the shims out I could just extend the foot brake as it was designed, and that lifted the fridge enough for me to easily slide out the shims. After that I just had to level out the fridge by adjusting the two feet.
Read less
Other Parts Used:
Was this helpful?
Thank you for voting!