


 My Orders




MWF - Overview
Models starting with MWF
Click on the best match to narrow your results.
- MWF2100AWB Maytag Water Softener
- MWF2100AWS Maytag Water Softener
- MWF3100AWB Maytag Water Softener
- MWF3100AWS Maytag Water Softener
- MWF3500AWS Maytag Water Softener
- MWF4100 Maytag Water Softener
- MWF4100-MWF4100 Maytag Water Filter System (MAYTAG WATER FILTRATION SYSTEM)
- MWF4100AWS Maytag Water Softener
- MWF4200 Maytag Water Softener
- MWF4200-MWF4200 Maytag Water Filter System (MAYTAG WATER FILTRATION SYSTEM)
- MWF4200AWS Maytag Water Softener
- MWF4300 Maytag Water Softener
- MWF4300-MWF4300 Maytag Water Filter System (MAYTAG WATER FILTRATION SYSTEM)
- MWF4300AWS Maytag Water Softener
- MWF4500AWS Maytag Water Softener
- MWFCK06CRN1BCL1 Midea Air Conditioner (Midea Window Mwfck06crn1bcl1)
- MWFCK08CRN1BCL0 Midea Air Conditioner (Midea Window Mwfck08crn1bcl0)
- MWFCK18ERN1MCJ7 Midea Air Conditioner (Midea 5,000 Btu 115v Window Air Conditioner, Cool Only Mwfck18ern1mcj7)
- MWFUK05CMN1BCK0 Midea Air Conditioner (Midea Window Mwfuk05cmn1bck0)
- MWFUK06CRN1BCL1 Midea Air Conditioner (Midea Window Mwfuk06crn1bcl1)
- MWFUK08CMN1BCJ9 Midea Air Conditioner (Midea Window Mwfuk08cmn1bcj9)
- MWFUK08CRN1BCL0 Midea Air Conditioner (Midea Window Mwfuk08crn1bcl0)
- MWFUK15CRN1BCK8 Midea Air Conditioner (Midea 15,000 Btu 115v Window Air Conditioner, Cool Only Mwfuk15crn1bck8)
- MWFW8300SW01 Whirlpool Washer (Residential)
- MWFW8300SW02 Whirlpool Washer (Residential)
- MWFW8500SR01 Whirlpool Washer (Residential)
- MWFW8500SR02 Whirlpool Washer (Residential)
- MWFW9200SQ00 Whirlpool Washer (Residential)
Enter a part description. DIY Heroes keep it simple, eg. "belt" or "pump".
Search filter:
Clear Filter
Your search term must have 3 or more characters.

$109.42
In Stock
Washer Drain Pump
Part #WPW10730972
This is a manufacturer-approved replacement drain pump for your washing machine. To complete this repair you will need a 1/4 inch nut driver, 5/16ths nut driver, a flat blade screwdriver, and a pair of pliers. Make sure to disconnect power to the washer before beginning this repair.

$121.56
In Stock
Washer Door Bellow
Part #WP8182119
This is a door bellow, also known as a door gasket or seal, that is compatible with washing machines. Door bellows are used as a method to seal the inner drum of the washing machine and the soapy water inside it, from the rest of the washer cabinet and your home. If you notice any leaks at the front of your washing machine, this door bell...Read moreow may be worn out or damaged, so inspect it to ensure it needs replacing. This door bellow is made of a thick rubberized material and wraps around the inner drum and will need a clamp to stay secure. This door bellow is sold as an individual OEM part and is not sold with any other parts or accessories.
Read less

$10.70
In Stock

$104.36
In Stock
Front Load Washer Bellow - Gray
Part #WPW10111435
Also known as a door boot seal.This part is used to keep the clothes inside the tub during the wash cycle. The folds in the bellow allow the tub to move separately from the door during the spin cycle.

$7.47
In Stock
Washer Hose Clamp
Part #WP596669
This hose clamp is used in a wide variety of household appliances. Most often it is found in washers, dishwashers, refrigerators, freezers, dehumidifiers, garbage disposals, or air conditioners. This clamp is used to securely attach a hose to another part of your appliance, which helps prevent leaks from those connections. Depending on th...Read moree appliance, it can attach hoses to drain pumps, water inlet valves, pressure switches, and injector nozzles. We recommend you refer to model-specific diagrams for appropriate uses and exact placement. This hose clamp is made of metal, and is sold individually. To access and replace this part you will need a nut driver, pliers, and screwdrivers. Before you begin any repair work, make sure you have unplugged your appliance, and shut off the water supply if applicable.
Read less

$110.70
In Stock
Washing Machine Door Hinge
Part #WP8183202
This door hinge helps your front-load washer door open and close smoothly. If the door feels loose, won’t stay shut, or is hard to open, replacing the hinge can fix the problem. It’s a sturdy, reliable part that fits many models and helps keep your washer working properly.

$6.40
In Stock
Washer Front Leveling Foot
Part #WPW10001130
The front facing foot is sold individually. It is used on your washing machine and can also be known as an adjustable leveling leg. This specific front facing leveling leg has a rubber foot. It is important that when installing this part you are very careful, if not installed correctly your washer will be off balance which will then cause...Read more it to vibrate and/or shake during the cycle. The function of the adjustable foot is to keep your washing machine supported and to make sure that it is level at all times. The tools you will need for this repair include a pair of channel lock pliers, and a 9/16 wrench.
Read less

$56.33
In Stock
Shock Absorber
Part #W10822553
Sold individually. These shock absorbers keep the washer from vigorous shaking during its cycles. This shock absorber is for washers.
Shock absorber absorbs the vibrations and movements of the outer washer tub.
Unplug the washer before installing this part. Wear work gloves to protect your hands.

$24.15
In Stock
Touch-Up Paint - White
Part #72017
This touch-up paint can be used on a wide variety of household appliances. It is most often used on washers, dryer, refrigerators, dishwashers, ranges, freezers, trash compactors, or microwaves. It is an 18 ml, or.6 fluid ounces, bottle of touch-up paint. It also features a brush for easy application. This quick-drying, long-lasting paint...Read more is perfect for fixing any nicks, scratches, or chips on the exterior of your appliance. This paint is white in color, and provides a durable finish.
Read less

$7.47
In Stock
Screw
Part #WP488729
Metallic screw that is less than an inch long. Does not include the plastic washer.

$77.99
On Order
Washer Water Inlet Flowmeter
Part #WPW10110225
This part continually measures the amount of water entering the tub. It will make adjustments if too much or too little water is present.

$27.36
In Stock
Washer Bellow To Outer Tub Clamp
Part #WP8182210
Used to help hold your bellow in place on your washer.
Exact Part matches for your search term

$74.23
In Stock
Refrigerator Ice and Water Filter
This part number matches the current model number MWF
Part #MWFP
This OEM ice and water filter fits side-by-side and bottom-freezer GE models. The most common reason you would need to change this part is if you have never updated your model and it is no longer filtering your water. This also may lead to your refrigerator not dispensing water or ice properly. Manufacturers recommend you change your filt...Read moreer every six months to ensure it properly filters impurities. Depending on the model, a red light might also indicate that the filter is due for a replacement. Note: As per the manufacturer, this is an updated water filter. If you have never installed the updated part or your old model was made by Culligan, you may need the adapter to install the filter. See related parts. This filter is located inside the refrigerators upper right corner. It is common for water to drip from the dispenser when being changed so place a cloth underneath before you begin this repair. To remove the filter, turn it to the left until it releases without pulling down. Fill the new filter with tap water to prepare it. Position the new filter into the holder taking note of the arrows. The arrow on the front should be facing out. Gently push up on the filter and turn it to the right to secure it. Do not over-tighten. To release air in the system run 1-1/2 gallons of water through it. If your model has a reset button, press and hold this for a few seconds to reset it.
Read less
Common Symptoms of models starting with MWF
How this model fails, and the parts that fix it.
Leaking
Fixed by
these parts
these parts


Show All
Will not drain
Fixed by
these parts
these parts


Show All
Lid or door won’t close
Fixed by
these parts
these parts


Show All
Will Not Start
Fixed by
these parts
these parts


Show All
Will not agitate
Fixed by
these parts
these parts


Show All
Locking Issues
Fixed by
these parts
these parts
Show All
Burning smell
Fixed by
these parts
these parts
Show All
Draining Issues
Fixed by
these parts
these parts
Show All
Shaking and Moving
Fixed by
these parts
these parts


Show All
Marks left on clothes
Fixed by
these parts
these parts

Show All
Does not dispense fabric softener or detergent
Fixed by
these parts
these parts


Show All
Spins slowly
Fixed by
these parts
these parts
Show All
No hot or cold water
Fixed by
these parts
these parts


Show All
Water Filling Issues
Fixed by
these parts
these parts
Show All
Door won’t open or close
Fixed by
these parts
these parts

Show All
Spinning Issues
Fixed by
these parts
these parts
Show All
Engine runs but does not pump water
Fixed by
these parts
these parts
Show All
Door won’t close
Fixed by
these parts
these parts
Show All
Not draining
Fixed by
these parts
these parts
Show All
Leaks water
Fixed by
these parts
these parts
Show All
Watch our pros, then fix it yourself.
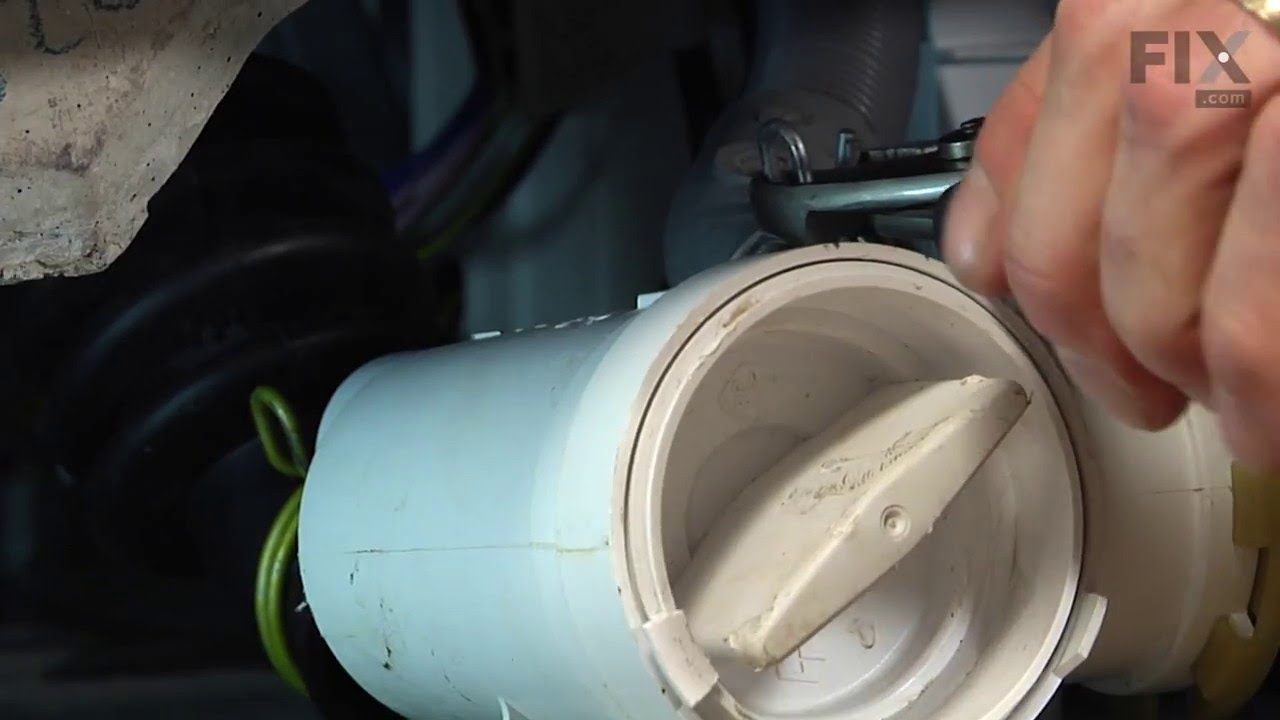
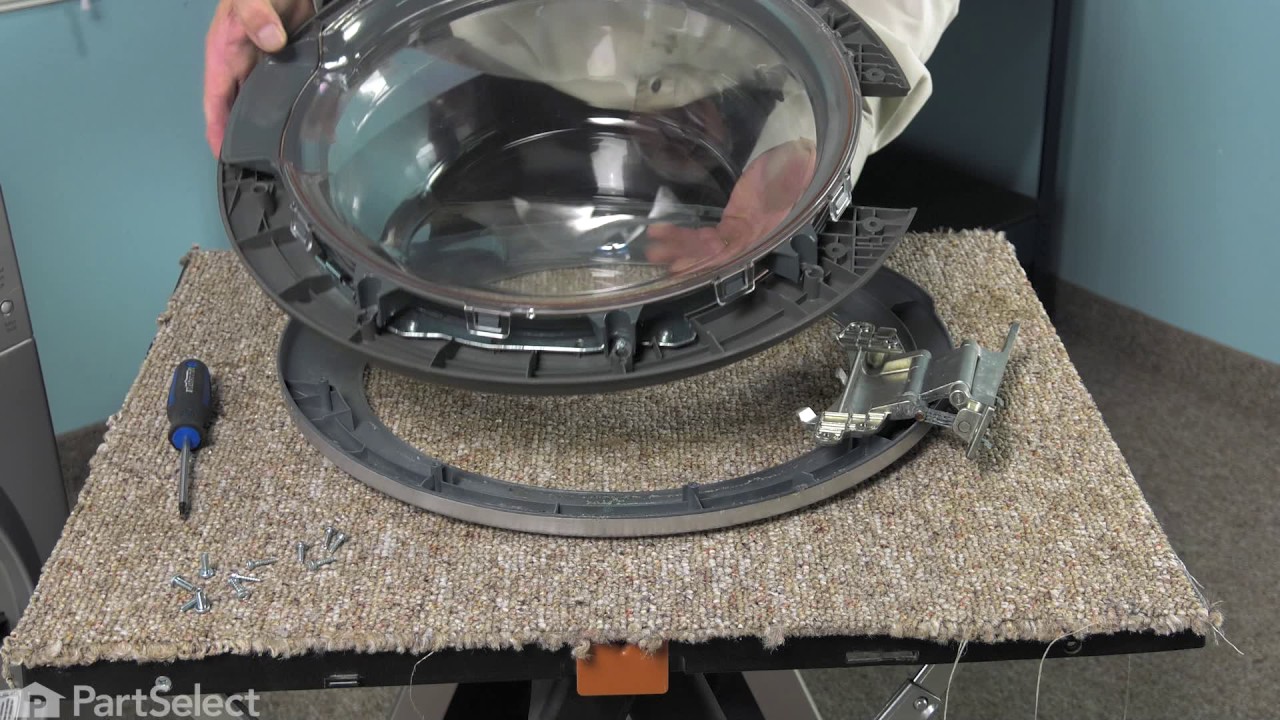
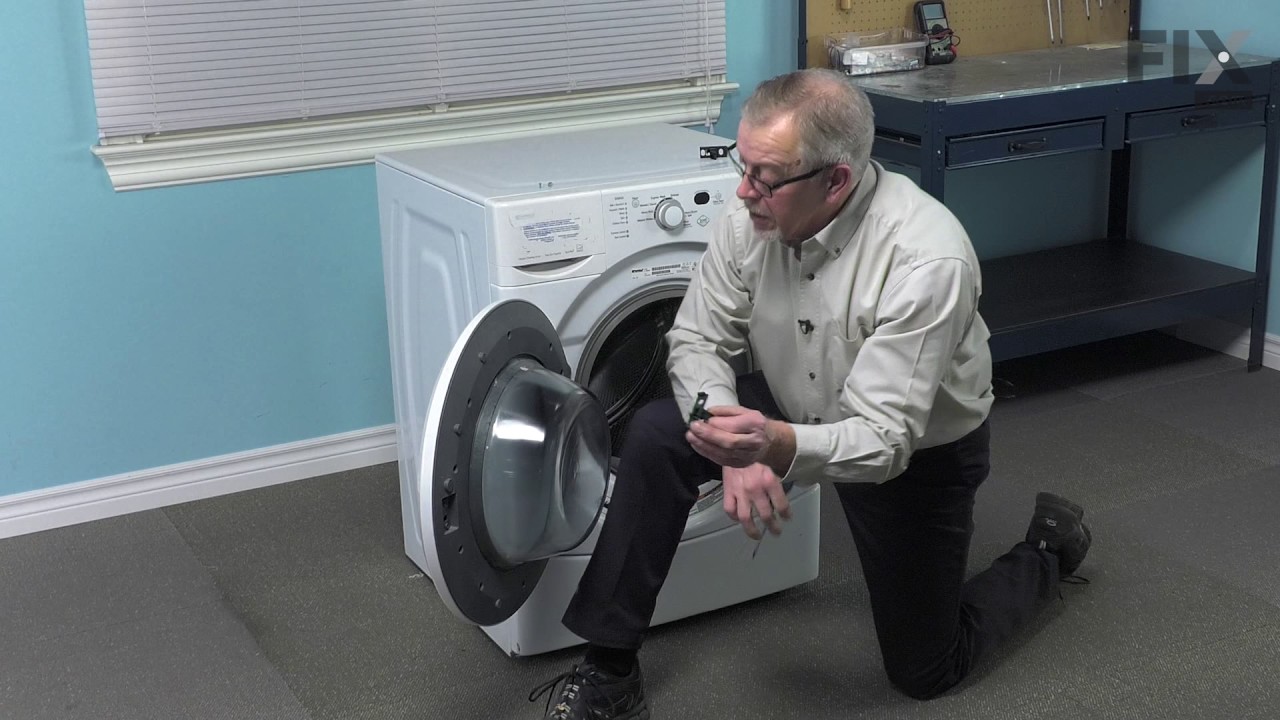
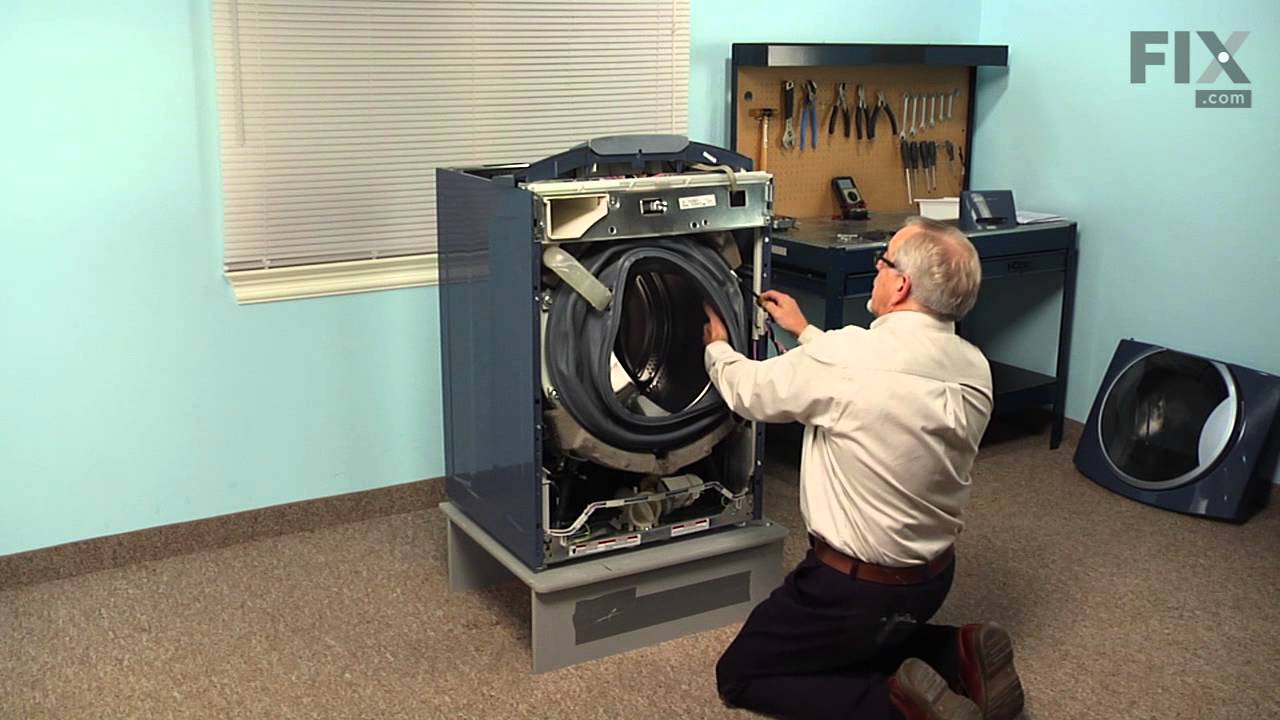
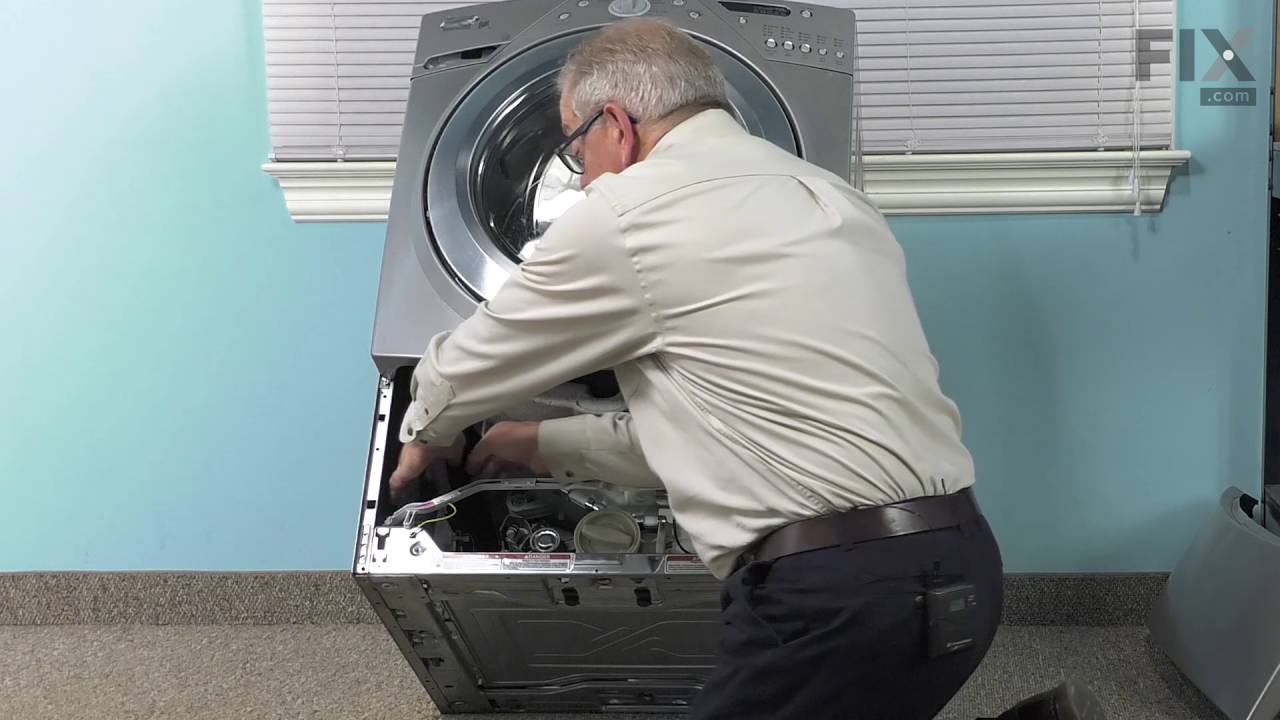
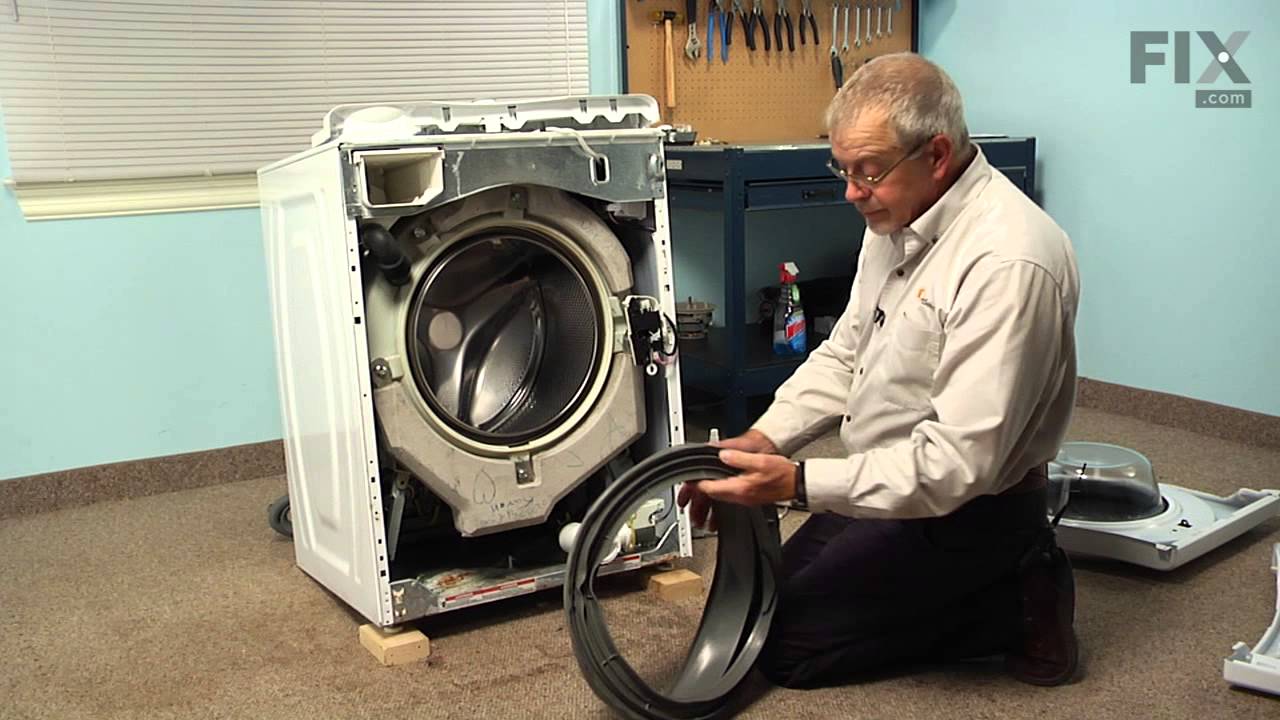

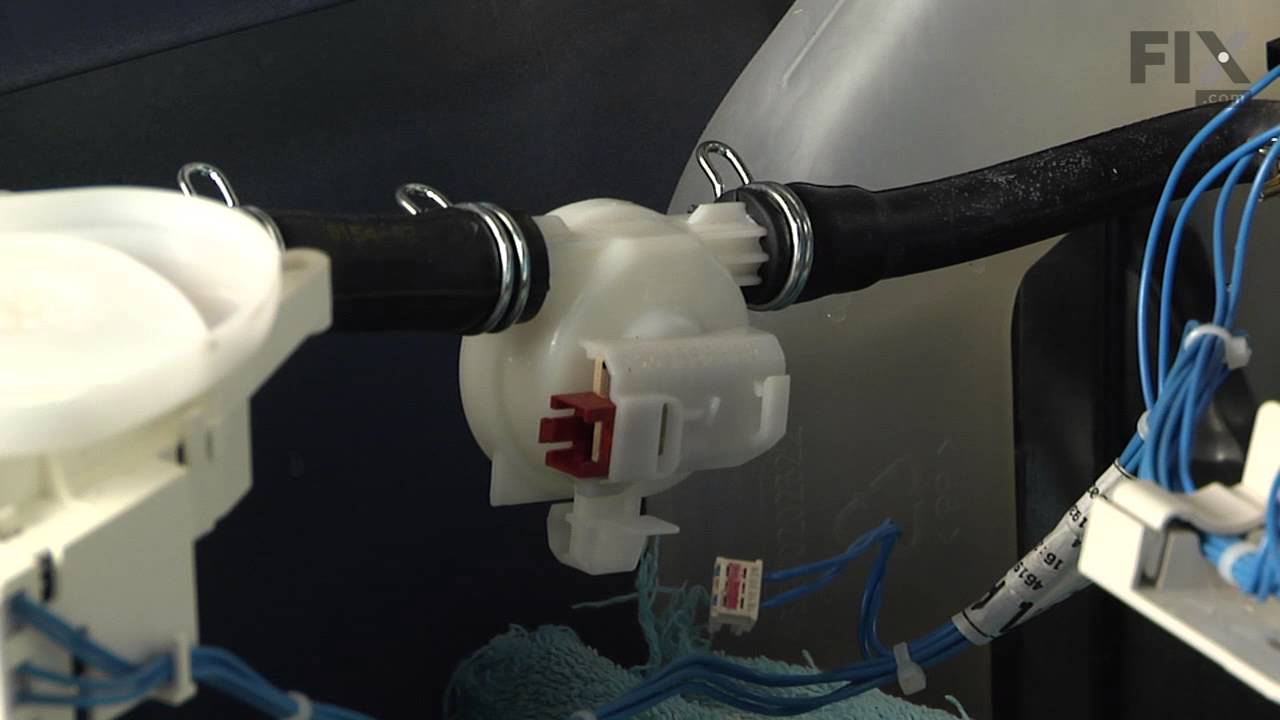
See how others fixed this model. Time, tools, difficulty, and steps that lead to victory!
View More