


 My Orders




MW858 Microwave - Overview
Models starting with MW858
Click on the best match to narrow your results.
- MW8580XL9 Whirlpool Microwave (Table top)
- MW8580XP0 Whirlpool Microwave (Table top)
- MW8582W Samsung Microwave (Samsung Microwave Mw8582w)
- MW8582WXAA Samsung Microwave (Samsung Microwave Model MW8582WXAA Parts)
- MW8584W Samsung Microwave (Samsung Microwave Model MW8584W Parts)
- MW8584WXAA Samsung Microwave (Samsung Microwave Model MW8584WXAA Parts)
Enter a part description. DIY Heroes keep it simple, eg. "belt" or "pump".
Search filter:
Clear Filter
Your search term must have 3 or more characters.

$19.54
In Stock
Light Bulb - 40W
Part #8009
This an authentic OEM 40-Watt replacement light bulb, used in a number of household appliances. It is specially designed to withstand extreme temperatures, which is why these replacement bulbs are most often used to light the inside of refrigerators and ranges. It features a standard socket base, which means you simply unscrew the burnt-o...Read moreut bulb and screw in the replacement. Depending on the appliance you may require a screwdriver or nut driver to access the light bulb. We recommend you wear work gloves while handling this replacement part. It is constructed of glass and metal and is sold individually. Depending on the appliance and location of the bulb within it, you may want to consider disconnecting power and using a flashlight for easier access to unscrewing and re-screwing in your bulb during this repair.
Read less

$9.62
In Stock
Dryer Lint Trap Housing Seal
Part #WP339956
This is foam seal for your dryer. It forms a seal to prevent air from escaping the rear of the dryer drum and the lint duct. This model comes with adhesive backing and is located in between the lint chute and the bulkhead of your appliance. This foam seal is just over 28 inches long and under 1 inch wide. You may need to replace this part...Read more if your clothing is taking too long to dry, or if your dryer is not generating enough heat or no heat at all.
Read less

$7.47
In Stock

$5.45
In Stock
Ceramic Fuse - 20 amp
Part #WPM0805101
This microwave fuse is just over an inch in length. It has a white ceramic center, and metal on either end. This is a twenty amp 250-volt fuse, and is used to power your microwave. If your microwave will not heat properly, will not turn on, or the touch pad becomes unresponsive, there could be a faulty fuse which should be replaced. Remem...Read moreber, since this part contains an electrical charge, before you replace the fuse from your microwave, make sure that the power is disconnected from the unit. This part is sold individually.
NOTE: Make sure your microwave is unplugged, and your capacitor is discharged before you begin this repair. A capacitor stores large amounts of electricity even after your microwave is unplugged.
Read less

$28.26
In Stock
High-Voltage Diode
Part #DE91-70063D
This high-voltage diode is designed for use within various makes and models of microwaves and is a genuine OEM part that converts alternating current (AC) into direct current (DC). If you notice your microwave turns on and starts but does not heat anything, this diode is likely responsible. You can check the continuity of the diode with a...Read more multimeter before outright replacing it, but it is important to remember that doing any repairs on a microwave and dealing with sensitive electrical components should be done carefully and with the appropriate precautions to avoid any hazards. To replace the high-voltage diode in your microwave, disconnect it from power and allow it to discharge. Using the appropriate screwdrivers, gain access to the control panel of the microwave. Using an insulated screwdriver, release any electrical charge in the capacitor by touching it across the terminals. Then you can remove any hardware securing the diode, including the harness connecting it to the capacitor, which may be easiest done with pliers. Connect the new diode to the capacitor terminal and the securing bracket, and then reassemble your microwave before connecting it to power again.
Read less

$11.77
In Stock

$10.70
In Stock

$22.95
In Stock

$8.55
Special Order

No Longer Available
Door Handle Spring
Part #310197

$8.55
Special Order

$28.33
In Stock
Button Spring
Part #DE61-70076A
Common Symptoms of models starting with MW858
How this model fails, and the parts that fix it.
No heat
Fixed by
these parts
these parts

Show All
Won’t turn on
Fixed by
these parts
these parts


Show All
Noisy
Fixed by
these parts
these parts

Show All
Not Heating
Fixed by
these parts
these parts
Show All
Too hot
Fixed by
these parts
these parts
Show All
Door won’t close
Fixed by
these parts
these parts

Show All
Watch our pros, then fix it yourself.

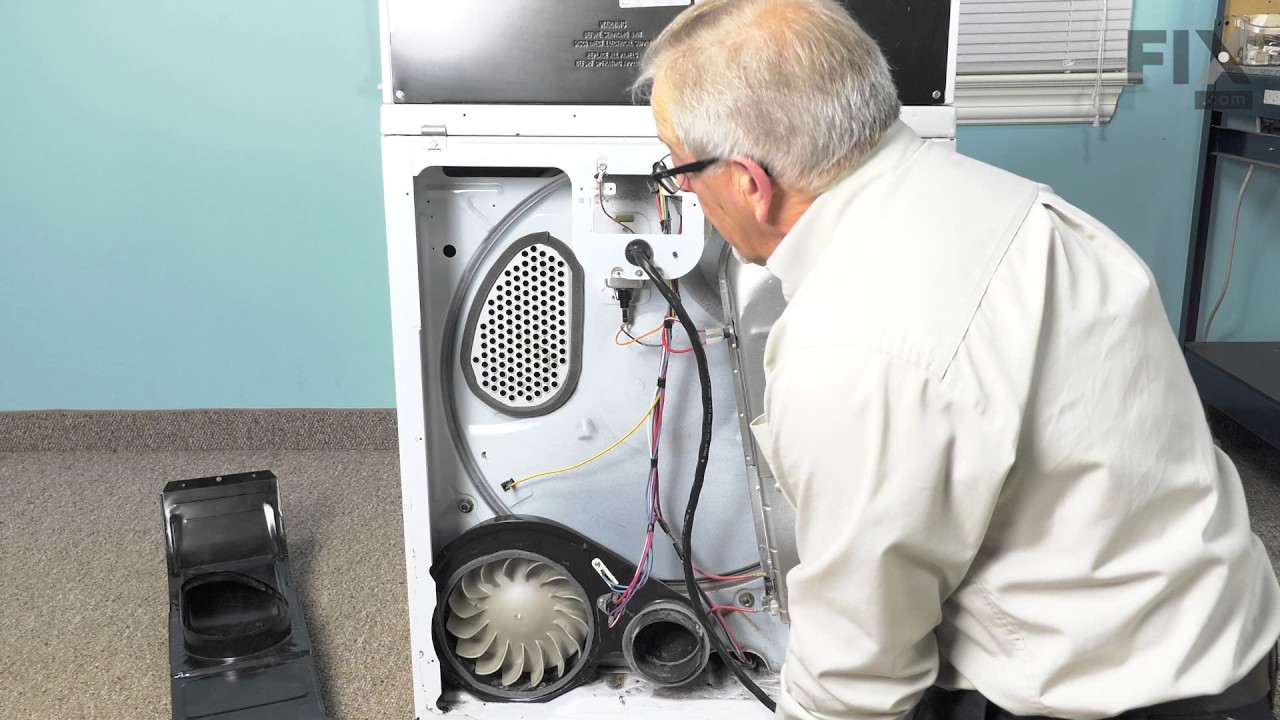
See how others fixed this model. Time, tools, difficulty, and steps that lead to victory!
View More