


 My Orders




MW70 - Overview
Models starting with MW70
Click on the best match to narrow your results.
Enter a part description. DIY Heroes keep it simple, eg. "belt" or "pump".
Search filter:
Clear Filter
Your search term must have 3 or more characters.

$15.00
In Stock
V-Style Drive Belt
Part #WH1X2026
This V-shaped drive belt is 29 1/2 inches long x 1/2-inch-wide, and fits both front-load and top-load washing machines. When belts are worn or frayed, they are known to make noise. If you have a top-load washer, a drive belt may be connecting the transmission to the drive motor. It would generally be a rubber V-belt covered in fabric to a...Read morellow free movement. Or it could be a rubber belt aided by a tensioning device like an idler pulley, to stop the motor from causing too much friction to the belt. For front-loaders, the drive belt goes between the drive motor and the wash basket. If your drive belt is worn or frayed, it should be replaced straight away. After replacing the drive belt, run a wash cycle to ensure the belt is correctly fitted.
Read less

$7.47
In Stock

$70.95
In Stock
Water Inlet Valve with Outlet Insert
Part #WH13X81
This washing machine water inlet valve has two ports for water to enter.

$18.22
In Stock
Heat Resistant Adhesive
Part #W10841140
This is a heat-resistant adhesive for your appliance. The heat resistance allows you to stick parts such as grate feet, gaskets, and felt seals in hot areas, such as a cooktop, without compromising the integrity of the adhesive. It is white in color, and the tube is approximately 7.5 inches long.

No Longer Available
Four Port Pump
Part #WH23X42
This washing machine pump is white in color and has four ports for water to pass through.

$8.55
Special Order
Range Hex Nut
Part #WP488130
This hex nut is an authentic Whirlpool part that is sourced directly from the original equipment manufacturer, and will fit a variety of appliances including ovens, microwaves, refrigerators, air conditioners, and dishwashers. It is a metal part with a threaded hole to fasten parts in the appliance together. It is common for this part to ...Read morewear out; it is recommended to order a spare. To replace this part the tools needed are a nut driver or wrench. This nut features a built-in external tooth lock washer, which is used to help keep the nut in place.
Read less

$26.40
In Stock
Dishwasher Hose Clamp Kit
Part #WH1X2036
This is a water hose clamp kit for a variety of appliances including dishwashers and washers. This is a genuine replacement part. The kit includes two hose clamps. The smaller of the two is 1 inch in diameter while the larger one is 2 inches in diameter. The hose clamps secure the end of the water hose in place to prevent the hose from le...Read moreaking. If you notice leaking from the hose of your appliance, you may need to replace this kit. Protect your hands with work gloves during this repair to avoid injury.
Read less

$18.22
In Stock

No Longer Available

$15.35
In Stock
Washer Package of 12
Part #WH2X42D

No Longer Available
Lower Shaft Seal
Part #WH8X281
This seal goes to bottom of the transmission to stop oil from leaking at the bottom of the appliance.

No Longer Available
Common Symptoms of models starting with MW70
How this model fails, and the parts that fix it.
Leaking
Fixed by
these parts
these parts


Show All
Will not agitate
Fixed by
these parts
these parts

Show All
Burning smell
Fixed by
these parts
these parts
Show All
No hot or cold water
Fixed by
these parts
these parts
Show All
Spins slowly
Fixed by
these parts
these parts
Show All
Will not drain
Fixed by
these parts
these parts
Show All
Spinning Issues
Fixed by
these parts
these parts
Show All
Watch our pros, then fix it yourself.
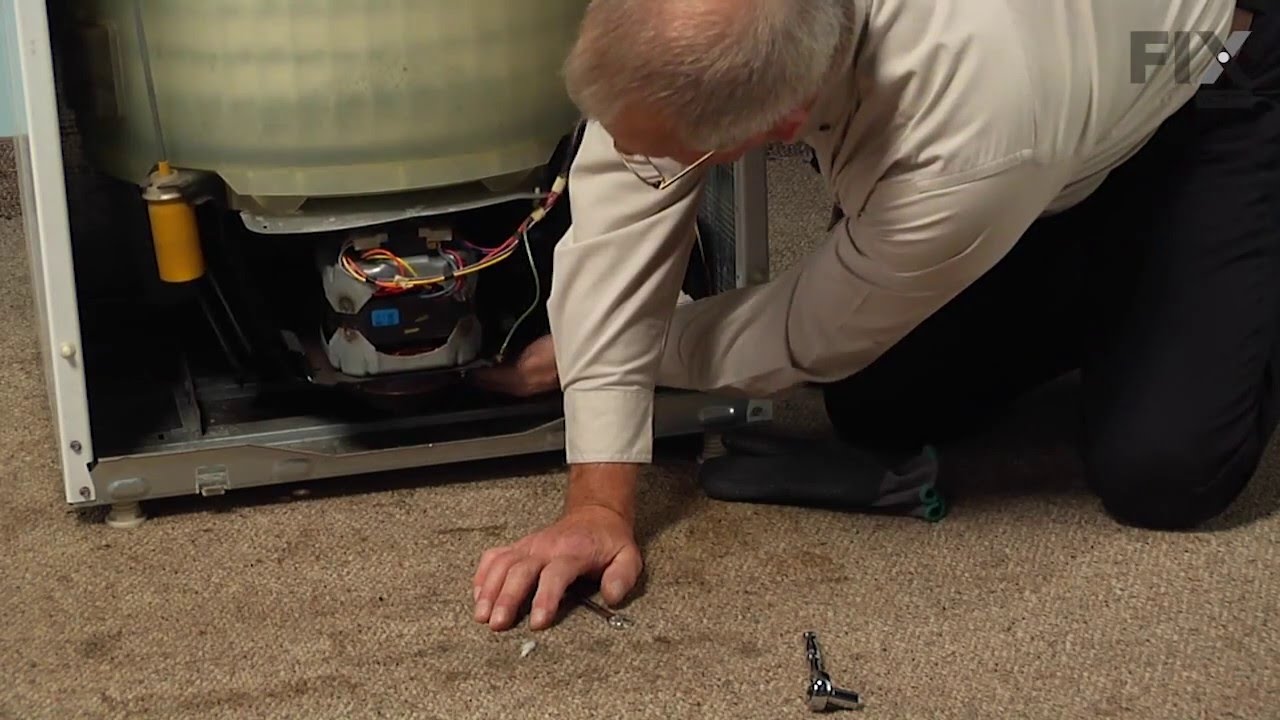
See how others fixed this model. Time, tools, difficulty, and steps that lead to victory!
View More