


 My Orders




MW62 Samsung Microwave - Overview
Models starting with MW62
Click on the best match to narrow your results.
- MW620BA Samsung Microwave (Samsung Microwave Model MW620BA Parts)
- MW620BAXAA Samsung Microwave (Samsung Microwave Model MW620BAXAA Parts)
- MW620DA Samsung Microwave (Samsung Microwave Model MW620DA Parts)
- MW620DAXAA Samsung Microwave (Samsung Microwave Model MW620DAXAA Parts)
- MW620WA (XAA-00) Samsung Microwave (Samsung Mw620wa/Xaa-00 Microwave)
- MW620WA (XAA-0000) Samsung Microwave (MICROWAVE)
- MW620WAXAA Samsung Microwave (Samsung Microwave Model MW620WAXAA Parts)
Enter a part description. DIY Heroes keep it simple, eg. "belt" or "pump".
Search filter:
Clear Filter
Your search term must have 3 or more characters.

$17.95
In Stock
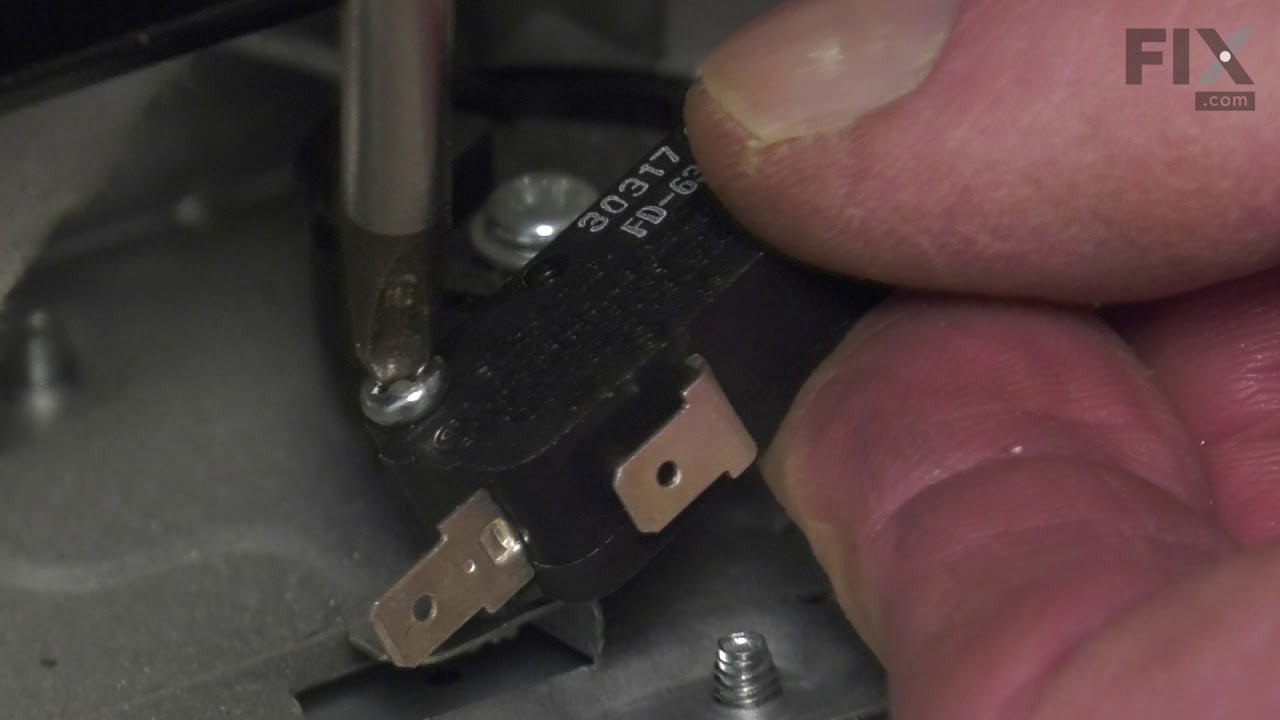
Micro Door Switch
Part #3405-001034
This door switch, also known as a safety switch, is a genuine OEM replacement part for microwaves. It is a safety mechanism that sends signals to the microwaves control system, telling it when the door is open/closed. This ensures that the microwave only operates when the door is securely shut and switches off as soon as the door is open....Read more Over time, this switch can become worn out or damaged. A faulty door switch can result in failure to switch the microwave on/off, lack of heat, and running with the door open. To confirm that the door switch is faulty, use a multimeter to test for electrical failure. To remove the faulty switch, disconnect the wiring connectors and take note of where they are positioned. Place the new switch in position and reattach the wiring connectors to the appropriate terminals and close the microwave door to check that the switch engages appropriately.
Read less

$28.26
In Stock
High-Voltage Diode
Part #DE91-70063D
This high-voltage diode is designed for use within various makes and models of microwaves and is a genuine OEM part that converts alternating current (AC) into direct current (DC). If you notice your microwave turns on and starts but does not heat anything, this diode is likely responsible. You can check the continuity of the diode with a...Read more multimeter before outright replacing it, but it is important to remember that doing any repairs on a microwave and dealing with sensitive electrical components should be done carefully and with the appropriate precautions to avoid any hazards. To replace the high-voltage diode in your microwave, disconnect it from power and allow it to discharge. Using the appropriate screwdrivers, gain access to the control panel of the microwave. Using an insulated screwdriver, release any electrical charge in the capacitor by touching it across the terminals. Then you can remove any hardware securing the diode, including the harness connecting it to the capacitor, which may be easiest done with pliers. Connect the new diode to the capacitor terminal and the securing bracket, and then reassemble your microwave before connecting it to power again.
Read less

$22.95
In Stock

No Longer Available

$30.75
In Stock
Rectifier
Part #WP13091701
The rectifier (also known as a diode) provides the microwave with energy to cook food. If your appliance is not producing heat or not turning on it could be due to the breakdown of the rectifier. This part works with microwaves, microwave oven combos, and wall ovens. This is one of the most common parts to fail over time in a microwave. T...Read morehis part is just under 3-1/2 inches in length. It is a genuine OEM part that is shipped right from the manufacturer. Make sure to use the proper precautions before attempting this repair. Ensure the appliance is unplugged.
Read less

$28.33
In Stock
Button Spring
Part #DE61-70076A

$56.94
In Stock
Synchronous Motor
Part #DE31-10154D

$6.55
In Stock
Door Switch Lever
Part #DE66-00088B
This genuine microwave door switch lever is an essential component of the door interlock system, helping detect when the microwave door is properly closed so the appliance can operate safely. Designed to engage the door switch mechanism during opening and closing, it helps ensure the microwave starts only when the door is securely latched...Read more. Replacing a worn, cracked, or damaged lever can help resolve issues such as a microwave that will not start, intermittent operation, or failure to recognize that the door is closed. Made from durable plastic for reliable performance, this OEM replacement part helps restore proper door switch function and safe appliance operation. Installation typically involves disconnecting power, removing the outer cabinet or control panel as required to access the door switch housing, replacing the damaged lever, and reassembling the unit before testing operation. This is just the lever, not the switch itself.
Read less

$25.30
Special Order

$26.23
Special Order

$6.55
In Stock
Flange Nut
Part #DE60-30016A
This flange nut is designed for use within various cooking appliances like ranges, microwaves and wall ovens. Flange nuts are typically used to evenly distribute pressure across its application surface, and can also eliminate the need for a separate washer. This flange nut also features a ribbed surface on the flat side, so it can bite in...Read moreto the mating surface to create a more secure connection. Since this nut is not used for one specific purpose, its use is versatile, and it can be used in a variety of applications. This nut is a genuine OEM part made of high-quality metal, and a wrench is the only tool you will need to install or remove this flange nut.
Read less

$31.58
On Order
Door Lever
Part #DE66-90013A
Common Symptoms of models starting with MW62
How this model fails, and the parts that fix it.
No heat
Fixed by
these parts
these parts


Show All
Doesn’t shut off
Fixed by
these parts
these parts
Show All
Won’t turn on
Fixed by
these parts
these parts


Show All
Watch our pros, then fix it yourself.
See how others fixed this model. Time, tools, difficulty, and steps that lead to victory!
View More
Search repair tips from other customers using simple keywords like "replace", "fit", "remove", "inspect". DIY doesn't mean you have to do it alone!
Search filter:
Clear Filter
Your search term must have 3 or more characters.
microwave ran with the door open
9 of 14 people
found this instruction helpful.
First I read through the customer comments, reviews, questions, etc. at Parts Select, which is always a good bet. Then I put "samsung microwave door switch replacement" into youtube and watched some videos. They don't even have to be for Samsung. From what I can tell, many of the appliance companies use the same design and the same jun
... Read more
k parts, so watching a GE video is almost the same for example. Watch some videos to familiarize yourself with the steps. There are maybe six to disassemble and install the new part. I replaced all three switches. They are not expensive and to replace 3 is only 5% more work than to replace just one; you have to take the microwave apart in either case. UNPLUG THE MICROWAVE FROM THE WALL. Start taking it apart. I use my phone to take a picture of any thing I remove, unscrew or disconnect, especially wires, BEFORE I disconnect them. Thee pictures serve as a reference when I go to reconnect and reassemble. If I am uncertain then I check the picture. Good luck!
Read less
Other Parts Used:
Was this helpful?
Thank you for voting!