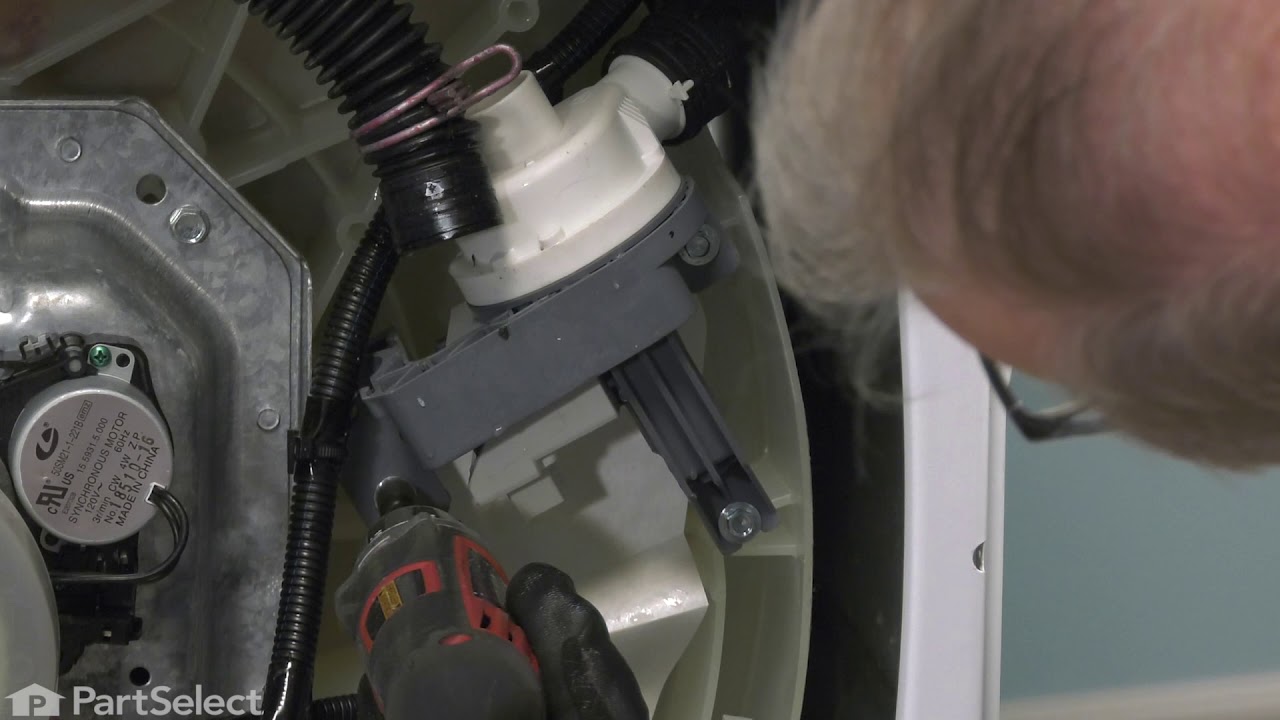
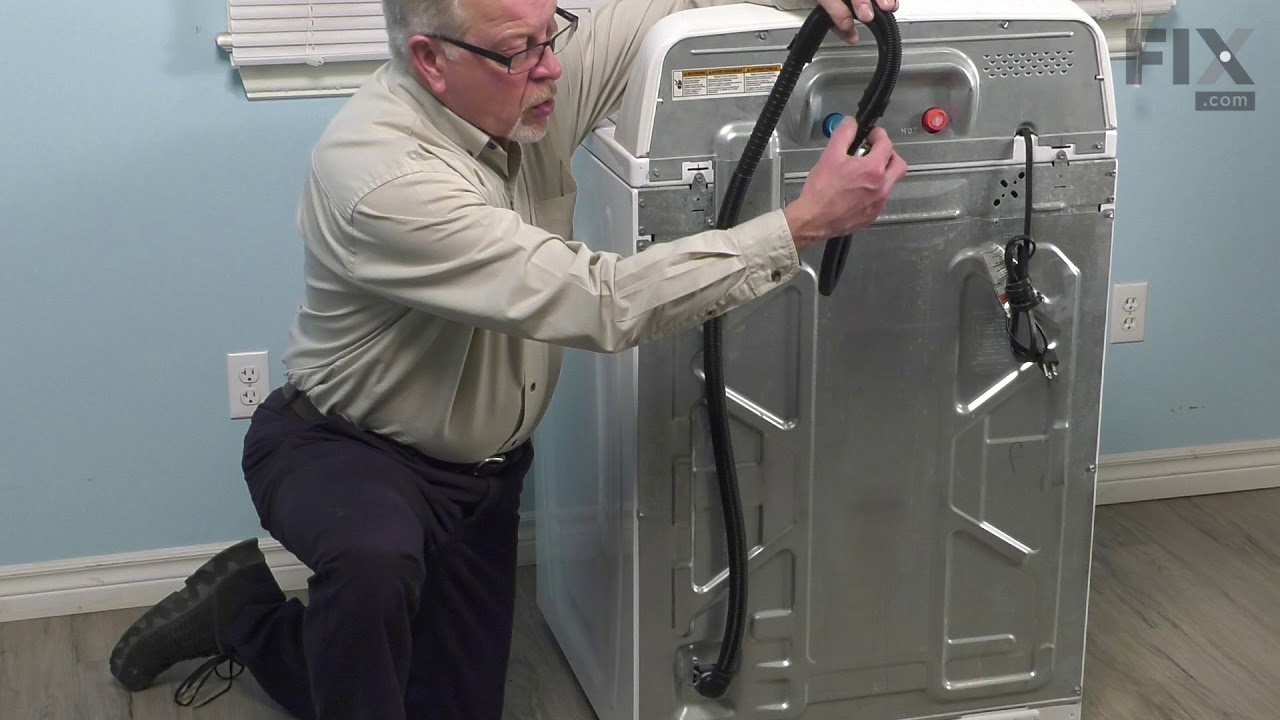
This is an inlet valve for your washing machine. The inlet valve is an electrically controlled valve with a solenoid that opens and closes as needed, during the water filling cycle of the washing machine. This inlet valve features two inlets, one for hot and one for cold water, and three push-on valves that connect within your washing mac...Read morehine. If your washer is having issues filling or is leaking water from the area of the inlet valve, it needs to be replaced immediately. Replacing this valve will require a screwdriver and a wrench to replace. This inlet valve is an OEM part and is sold individually.
This touch-up paint can be used on a wide variety of household appliances. It is most often used on washers, dryer, refrigerators, dishwashers, ranges, freezers, trash compactors, or microwaves. It is an 18 ml, or.6 fluid ounces, bottle of touch-up paint. It also features a brush for easy application. This quick-drying, long-lasting paint...Read more is perfect for fixing any nicks, scratches, or chips on the exterior of your appliance. This paint is white in color, and provides a durable finish.
This lid lock assembly is supplied by the original manufacturer for use in various models of top-load washing machines. The assembly includes the lid lock mechanism and the wiring harness. You can find it positioned on the underside of the washer lid. The lid lock assembly is designed to prevent the washer lid from opening during use. Thi...Read mores is a safety mechanism that ensures that users do not accidentally come in contact with moving parts or are not injured by spilled water or detergent. If the lid lock assembly is faulty, the washer may be unable to start the cycle or it may stop in the middle of a cycle.
The hose clamp is used to hold the water hose in place which will prevent the hose from leaking water. Sometimes the clamp may lose its ability to latch on, causing a leaking washer. For the installation, you will need a flat head screw driver to replace the clamp and a drill to access the screws to remove the front of the washer. Be care...Read moreful if you do not have specific clamp pliers as the clamp could fly off. Once the front of the washer has been removed, take a quick look for water damage or any obvious signs of where the leak is coming from. If it is not obvious, run water to test.
Affresh Washing Machine Cleaner includes three slow-dissolving tablets that help remove odor-causing residue from inside the washer. Suitable for all washer brands, including high-efficiency (HE) machines, the formula is also septic-safe. Place one tablet directly in the empty wash basket and run the Clean Washer cycle, or use a normal cycle with hot water. Use monthly or every 30 wash cycles for best results.
This agitator assembly is an authentic OEM part that is compatible with various models of washing machines. It consists of a central shaft with a series of fins attached to it. When the washer is operating, the agitator rotates back and forth, causing the clothes to rub against each other and against the agitator itself, which helps to lo...Read moreosen dirt and stains. If the agitator does not move or moves erratically while the washer is running, then this is a sign that it is faulty. You may also hear unusual noises such as grinding or rattling and notice that your clothes are not distributed evenly around the agitator during the wash cycle.
This is a dispenser drawer assembly direct from the manufacturer and used in washing machines. This drawer is made of plastic and features the compartments for bleach, detergent, and softener, for you to pour each respective liquid into. If your current dispenser drawer is clogged or moldy beyond repair, it should be replaced. Removing an...Read mored replacing the old drawer is simple and requires you to press down on the respective tabs to release it from the washer assembly, then simply slide the new one in. When installing the new drawer, make sure to close the lid slightly so the dispenser will slide right in as it is supposed to and sit flush. This drawer is sold on its own, and does not come with any other parts or accessories.
This is an impact absorber, also known as a sound dampening pad, for washing machines. This sound dampening pad attaches to the top of your washing machine drum to reduce the severity and harshness of vibrations and movement during the washing and spinning cycle, to produce a quieter laundry experience. If your washer is shaking excessive...Read morely during operation, this pad may be worn out or simply missing, and in need of replacement. To replace this pad, you will need a screwdriver or wrench to access the inner portion of your washing machine and remove the old one and install the new one. This OEM pad measures 5-inches by 3-inches and is sold individually.
Ask our experts a question about this model and we'll get back to you as soon as possible!
We may have answered a similar question already! Search questions and answers left by others using simple keywords like "fit", "broken", "easy", or "quality" to find questions that match.
Search filter:
Clear Filter
Your search term must have 3 or more characters.
Sort by:
Prev
1
2
3
Next
Sorry, we couldn't find any existing answers that matched.Try using some different or simpler keywords, or submit your new question by using the "Ask a Question" button above!
Michael - For model number MVWB865GW0
February 9, 2020
The washer stops, gives a LF error code, chimes and does this mid cycle. We have tried to power cycle the unit and it starts again, and the lock mechanism does engage, but then gives error code again. What is wrong and what can we do to fix it? Washer is less than two years old.
Hello Michael,
Thank you for your question. If the water fill time exceeds ten minutes, the water valves will be shut off and this error code will display. Press 'Stop/Cancel' to clear display, and if that doesn't clear up the error code, the water valve under part PS12348013 would need to be replaced. We hope this helps.
Maytag washing makes a clicking noise while agitating. I thought it was the agitator because it sounds like something is stripped. Bought an agitator with baseplate from this site, installed it, and it still makes the same clicking sound. Wish I could send an audio recording but when it agitates, the sound is like click, click, click, click, then a pause, then the clicking pattern again. No sound when spinning, agitator is working, more of a clicking noise than a grinding sound. Any advice? Clutch, gear case? Thank you.
Hi Chad, thank you for reaching out. Based on the description you have provided, the clicking noise during agitation could be due to a worn or damaged clutch, which is responsible for engaging the agitator. If the clutch is not functioning properly, it might cause the clicking sound you are hearing. The clutch for your model is part number PS10064562. You may need to replace it to fix the issue. We hope this solves your problem!
Had washer for approximately 5yrs and worked great then all at once it started acting up,it’ll turn on,you can select a cycle,lid will lock but then it does nothing,no wash,rinse,spin or drain
I’ve tried unplugging it to see if it would reset but still nothing
Washer is in to good of shape to replace but not shore which direction to go for a fix,help would be appreciated,thanks
Hi Adam, thank you for reaching out. Based on the description you have provided, it seems that there is an issue with the control board, part number PS12745290. It manages the washer's functions such as filling, washing, draining and spinning. You may need to replace it to fix the issue. We hope this sorts out your problem!
When I touch the power buttlo it powers on. When I touch the Start button it just beeps. What part could be the issue?
I just recently changed the water valve due to constant dripping and not filling very fast. Then about a week later is when this other problem started.
Hello Lee, thank you for contacting us. Based on our understanding of the issue, we would suggest replacing the control board, part number PS12745290, to solve the problem. It manages the washer's functions such as filling, washing, draining and spinning. We hope that helps!
the top of the washer is glass and it separated from plastic frame it is attached too.....can this top be replaced ?
Hi Noelle, thank you for asking. Yes, the washer glass lid can be replaced. The washer glass lid, part number PS12584356, fits your model. If you require assistance to place an order, please contact customer service. We hope that helps!
See how others fixed this model. Time, tools, difficulty, and steps that lead to victory!View More
Search repair tips from other customers using simple keywords like "replace", "fit", "remove", "inspect". DIY doesn't mean you have to do it alone!
Search filter:
Clear Filter
Your search term must have 3 or more characters.
Loud grinding noise when the washer was in use.
69 of 84 peoplefound this instruction helpful.
Charles from STARKVILLE, MS
Easy
1- 2 hours
Nutdriver, Screw drivers, Socket set
1.) disconnect power to your washer. Turn off water supply and disconnect from the washer.
open the washer top and remove plastic cap from the wash plate
2.) using 7/16 socket, remove bolt from the wash plate. If you can't remove it with a socket , I recommend using impact wrench.
3.) remove wash plate
... Read more( you might need to spray penetrating oil or wd40 inside the bolt hole to loosen it. Check to make sure the wash plate gear grooves are not worn down, if they are, replace it.
4.) using your Maytag specific spaner nut wrench, remove the spaner nut from the shaft of the gear case. This should be right underneath where the wash plate was. If you can't turn it by hand , use a rubber mallet or hammer to encourage it.
5.) some people remove the wash basket at this point. I don't think it is necessary.
6.) close your washing machine. Tape the top closed to keep it from flying open. Tilt your washer back and prop it up where you have access to the underside of the washing machine.
7) remove motor rotor bolt and pull rotor off of the motor.
8.) disconnect the two wire connectors that supply power to motor. using a socket, remove bolts that are keeping motor attached to the gear case.
9.) Now that the gear case is all the is remaining on the underside, you can remove the 4 bolts that are holding the gear case to the washer. Now try to pull gear case out.
10.) if gearcase will not pull out, lower washer back to upright position. Spray penetrating oil or wd40 around the shaft of the gearcase and allow it to sit for 5-10 minutes. Using a hammer, lightly tap on the shaft of the gearcase and it should now fall out. ( you might have to apply penetrating oil again, or apply more force with the hammer.
11.) reinstall motor to new gearcase. Insert new gear case to the washer. Reinstall bolts and reconnect power supply wires.
12. ReInstall spaner nut inside the washer, reinstall wash plate.
Read less
Was this helpful?
Thank you for voting!
Broken lid frame at left hinge.
37 of 43 peoplefound this instruction helpful.
Greg from RICHMOND, VA
Easy
30 - 60 mins
Socket set
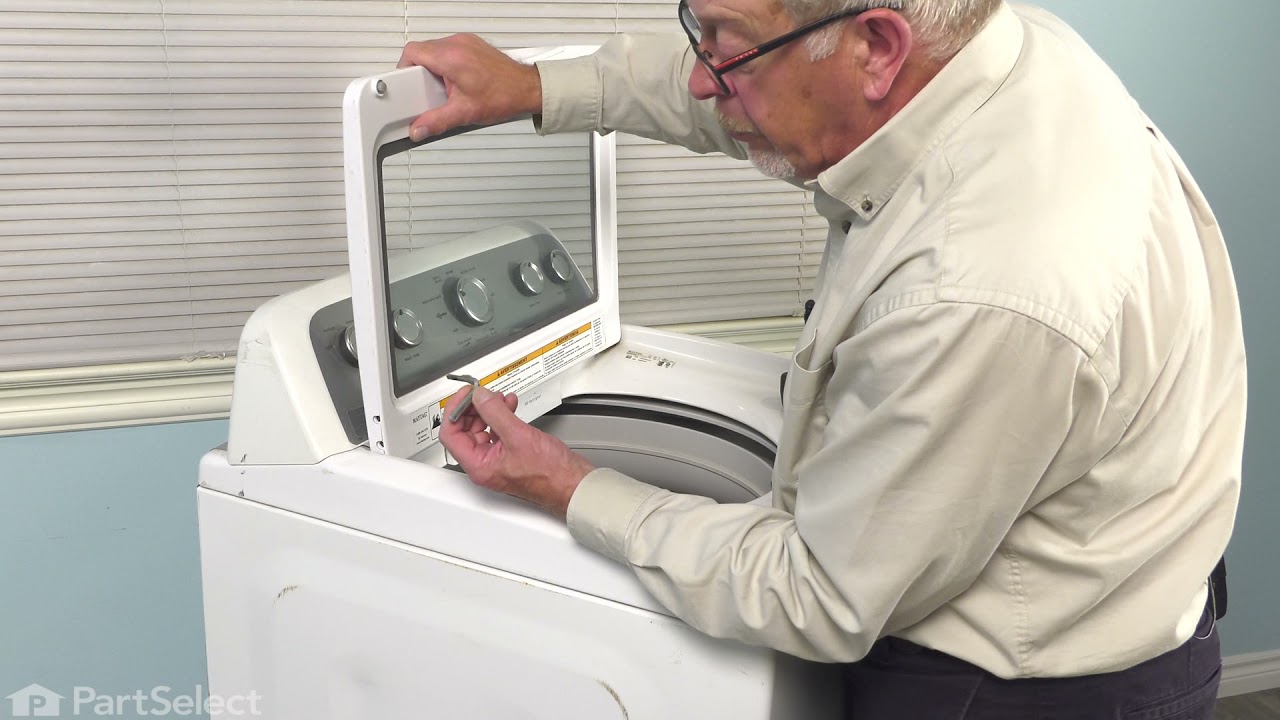
Raised lid to remove two Torx head screws from each hinge. Lid will then lift off of hinges. Installation of new lid was the reverse of the removal procedure. It is best to install one hinge to the lid by removing that hinge from the washer. The lid can then be installed by inserting that hinge into it's spot and then over the other hinge
... Read more. Install the hinge screws into the second hinge and the job is complete. The lid now closes properly allowing the automatic lid lock to function properly.
Read less
Was this helpful?
Thank you for voting!
Lid was broken at the hinge and would not stay closed
24 of 29 peoplefound this instruction helpful.
Gary from GLADE VALLEY, NC
Easy
15 - 30 mins
Removed the old lid by removing the two screws on both sides of the lid holding it to the hinge. Then pull upon the lid to remove. Slide the new lid back on the hinges being careful to slide in the right slot in the lid. Replace the screws through the lid into the hinges and your done



 My Orders