Your coupon for will be reflected when you check out!
✖
Your coupon for
✖
Hello!
You're visiting the PartSelect site in U.S.
Would you like to shop on the Canadian site?
Stay on this site
Go to Canadian site
✖
Model Number Locations
1Select Category Type
Select Category Type
2Select Product Type
Select Product Type
3Select {MODEL} Type
Select {MODEL} Type
Sample Model Number Tags
Model numbers can be made up of numbers (1005400, for example) or a combination of letters and numbers (LAT1000AAE). The model number will most likely appear on either a paper sticker or a metal plate. Your appliance's model number tag may look similar to the sample model number tags shown here (model number highlighted in yellow):
Model has been saved to My Models. If you're not signed in, your lists are available on this device and will expire within 30 days.
Model has been saved to My Models.
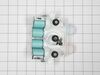
This is an inlet valve for your washing machine. The inlet valve is an electrically controlled valve with a solenoid that opens and closes as needed, during the water filling cycle of the washing mach...
This touch-up paint can be used on a wide variety of household appliances. It is most often used on washers, dryer, refrigerators, dishwashers, ranges, freezers, trash compactors, or microwaves. It is...
This lid lock assembly is supplied by the original manufacturer for use in various models of top-load washing machines. The assembly includes the lid lock mechanism and the wiring harness. You can fin...
The hose clamp is used to hold the water hose in place which will prevent the hose from leaking water. Sometimes the clamp may lose its ability to latch on, causing a leaking washer. For the installat...
This washing machine cleaner includes three time-release tablets designed to remove odor-causing residues, grime, and buildup from high-efficiency and top-load washing machines. The tablets work by cl...
This agitator assembly is an authentic OEM part that is compatible with various models of washing machines. It consists of a central shaft with a series of fins attached to it. When the washer is oper...
Introducing the Whirlpool Washer Washplate Screw - your reliable solution for fixing broken or loose washplates in your washing machine. This OEM genuine part, compatible with distinct models of Whirl...
This is a dispenser drawer assembly direct from the manufacturer and used in washing machines. This drawer is made of plastic and features the compartments for bleach, detergent, and softener, for you...
This is an impact absorber, also known as a sound dampening pad, for washing machines. This sound dampening pad attaches to the top of your washing machine drum to reduce the severity and harshness of...
The drain hose carries used water from the washer to your house drain.
$26.82
In Stock
Order now and your part arrives by Jun 4
Questions And Answers for MVWB765FW0
Ask our experts a question about this model and we'll get back to you as soon as possible!
47 questions answered by our experts.
Sort by:
< Prev
1
2
3
Next >
Search filter:
Clear Filter
Your search term must have 3 or more characters.
Keep searches simple. Use keywords, e.g. "leaking", "pump", "broken" or "fit".
Sorry, we couldn't find any existing answers that matched.Try using some different or simpler keywords, or submit your new question by using the "Ask a Question" button above!
Ken
March 24, 2020
Washer is dead after displaying codes e2 &f6
Now it is completely dead.
For model number MVWB765FW0
Hello Ken,
Thank you for your question. The E2F6 error code means the control board under part PS11770139 for your model is defective and would need to be replaced. We hope this helps.
What does the f6 and e2 flashing on the panel mean.Washer has quit working and the f6 and e2 flash.
For model number MVWB765FW0
Hello Gary and thanks for writing.
The F6 E2 alert indicates there is an issue with the appliance control unit, user interface or associated wiring. Unplug the washer, wait five minutes, then plug back in. We hope this helps. Please contact us anytime.
3 people found this helpful.
Did this question help you?
Thank you for voting!
Edith
August 16, 2021
The lid disintegrated at the corner where it attaches to the washer. The plastic broke into pieces. I purchased this unit 4/17/2020. I am still under warranty. Have other customers had this problem?
For model number MVWB765FW0
Hi Edith,
Thank you for your question. Where you are still under warranty with your washer, you will need to contact Maytag. We hope this helps! If you have any questions, please let us know.
2 people found this helpful.
Did this question help you?
Thank you for voting!
Daniel
October 17, 2024
Having filling issues! Hot and cold water will not flow into washer, but water will come in when "cleaning" function is chosen. Could this indicate a bad inlet valve?
For model number MVWB765FW0
Hello Daniel, Thank you for your inquiry. It could indicate a bad valve. There are multiple solenoids on this valve and one of them can stick and prevent water from flowing in fast enough. You can test it with a multimeter. Good luck with your repair.
1.) disconnect power to your washer. Turn off water supply and disconnect from the washer.
open the washer top and remove plastic cap from the wash plate
2.) using 7/16 socket, remove bolt from the wash plate. If you can't remove it with a socket , I recommend using impact wrench.
3.) remove wash plate
... Read more( you might need to spray penetrating oil or wd40 inside the bolt hole to loosen it. Check to make sure the wash plate gear grooves are not worn down, if they are, replace it.
4.) using your Maytag specific spaner nut wrench, remove the spaner nut from the shaft of the gear case. This should be right underneath where the wash plate was. If you can't turn it by hand , use a rubber mallet or hammer to encourage it.
5.) some people remove the wash basket at this point. I don't think it is necessary.
6.) close your washing machine. Tape the top closed to keep it from flying open. Tilt your washer back and prop it up where you have access to the underside of the washing machine.
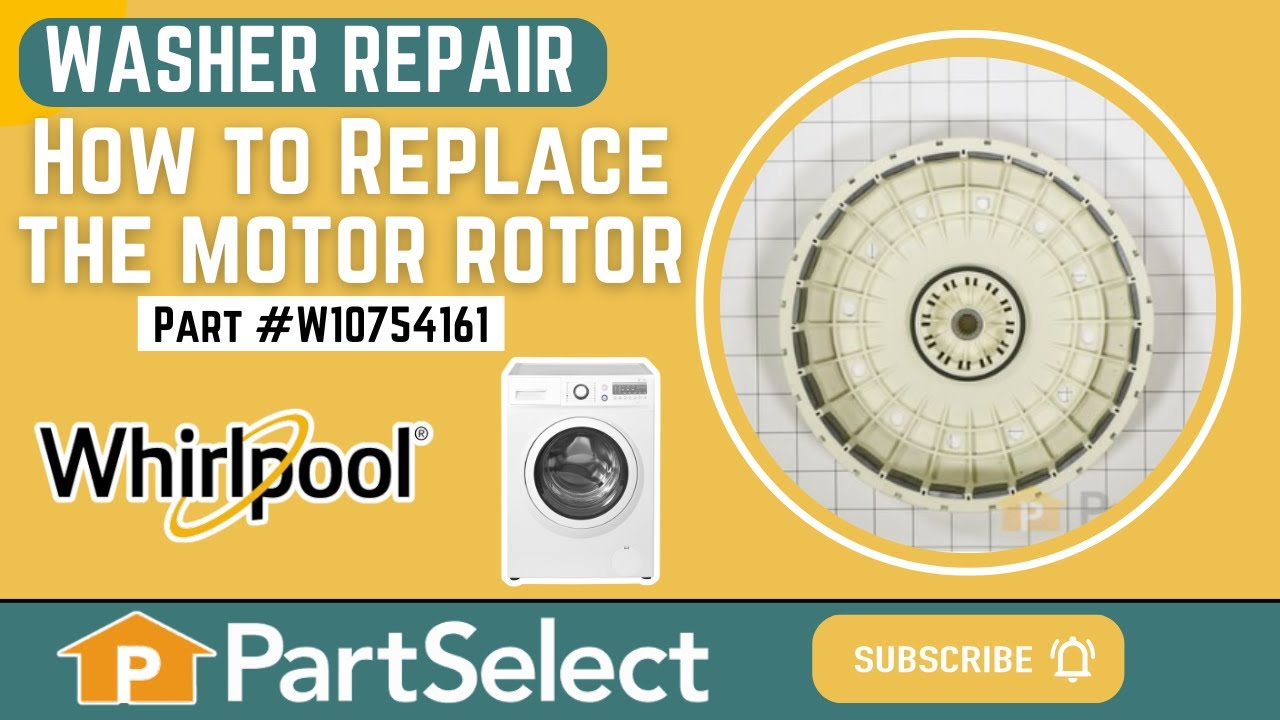
7) remove motor rotor bolt and pull rotor off of the motor.
8.) disconnect the two wire connectors that supply power to motor. using a socket, remove bolts that are keeping motor attached to the gear case.
9.) Now that the gear case is all the is remaining on the underside, you can remove the 4 bolts that are holding the gear case to the washer. Now try to pull gear case out.
10.) if gearcase will not pull out, lower washer back to upright position. Spray penetrating oil or wd40 around the shaft of the gearcase and allow it to sit for 5-10 minutes. Using a hammer, lightly tap on the shaft of the gearcase and it should now fall out. ( you might have to apply penetrating oil again, or apply more force with the hammer.
11.) reinstall motor to new gearcase. Insert new gear case to the washer. Reinstall bolts and reconnect power supply wires.
12. ReInstall spaner nut inside the washer, reinstall wash plate.
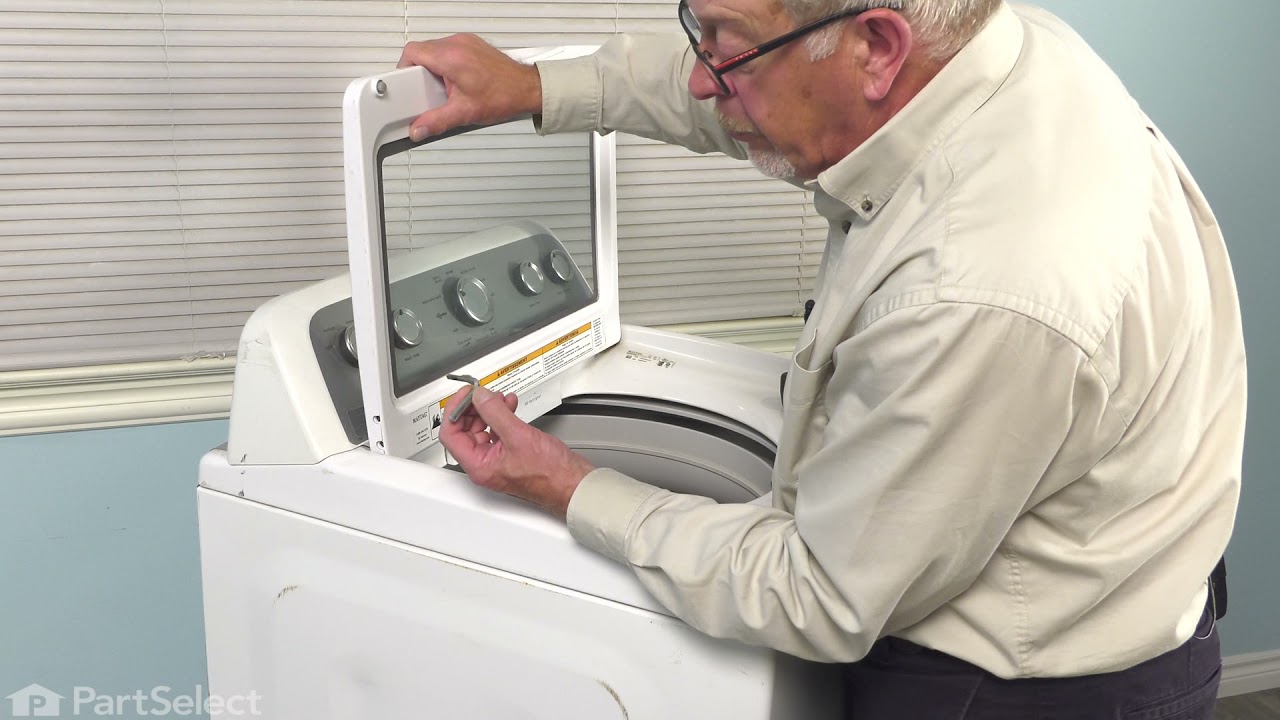
Raised lid to remove two Torx head screws from each hinge. Lid will then lift off of hinges. Installation of new lid was the reverse of the removal procedure. It is best to install one hinge to the lid by removing that hinge from the washer. The lid can then be installed by inserting that hinge into it's spot and then over the other hinge
... Read more. Install the hinge screws into the second hinge and the job is complete. The lid now closes properly allowing the automatic lid lock to function properly.
Removed the old lid by removing the two screws on both sides of the lid holding it to the hinge. Then pull upon the lid to remove. Slide the new lid back on the hinges being careful to slide in the right slot in the lid. Replace the screws through the lid into the hinges and your done