


 My Orders




MVWB757JW0 Maytag Washer - Overview
Diagrams for MVWB757JW0
See every part. Know exactly what you need.


Enter a part description. DIY Heroes keep it simple, eg. "belt" or "pump".
Search filter:
Clear Filter
Your search term must have 3 or more characters.

$7.47
In Stock

$69.91
In Stock
Water Inlet Valve
Part #W11165546
This is an inlet valve for your washing machine. The inlet valve is an electrically controlled valve with a solenoid that opens and closes as needed, during the water filling cycle of the washing machine. This inlet valve features two inlets, one for hot and one for cold water, and three push-on valves that connect within your washing mac...Read morehine. If your washer is having issues filling or is leaking water from the area of the inlet valve, it needs to be replaced immediately. Replacing this valve will require a screwdriver and a wrench to replace. This inlet valve is an OEM part and is sold individually.
Read less

No Longer Available
Touch-Up Paint - White
Part #72017
This touch-up paint can be used on a wide variety of household appliances. It is most often used on washers, dryer, refrigerators, dishwashers, ranges, freezers, trash compactors, or microwaves. It is an 18 ml, or.6 fluid ounces, bottle of touch-up paint. It also features a brush for easy application. This quick-drying, long-lasting paint...Read more is perfect for fixing any nicks, scratches, or chips on the exterior of your appliance. This paint is white in color, and provides a durable finish.
Read less

$80.82
In Stock
Lid Lock Assembly
Part #W10810403
This lid lock assembly is supplied by the original manufacturer for use in various models of top-load washing machines. The assembly includes the lid lock mechanism and the wiring harness. You can find it positioned on the underside of the washer lid. The lid lock assembly is designed to prevent the washer lid from opening during use. Thi...Read mores is a safety mechanism that ensures that users do not accidentally come in contact with moving parts or are not injured by spilled water or detergent. If the lid lock assembly is faulty, the washer may be unable to start the cycle or it may stop in the middle of a cycle.
Read less

$9.62
In Stock
Hose Clamp
Part #WP285655
The hose clamp is used to hold the water hose in place which will prevent the hose from leaking water. Sometimes the clamp may lose its ability to latch on, causing a leaking washer. For the installation, you will need a flat head screw driver to replace the clamp and a drill to access the screws to remove the front of the washer. Be care...Read moreful if you do not have specific clamp pliers as the clamp could fly off. Once the front of the washer has been removed, take a quick look for water damage or any obvious signs of where the leak is coming from. If it is not obvious, run water to test.
Read less

$20.36
Special Order
Affresh Washing Machine Cleaner - 3 pack
Part #W10135699
Affresh Washing Machine Cleaner includes three slow-dissolving tablets that help remove odor-causing residue from inside the washer. Suitable for all washer brands, including high-efficiency (HE) machines, the formula is also septic-safe. Place one tablet directly in the empty wash basket and run the Clean Washer cycle, or use a normal cycle with hot water. Use monthly or every 30 wash cycles for best results.

$9.62
In Stock
Washer Hinge
Part #WP8563964
This is a replacement lid hinge for your washer. It is approximately 2.5 inches in length and 1.5 inches in width. The lid hinge is what the lid for your washer pivots on. If the lid hinge is damaged, the washer lid may not open or close properly. The lid hinge is screwed into the washer lid. You will need a Phillips-head screwdriver to d...Read moreetach it. There will be a lid hinge on either side of the lid, so be sure to determine if you need to replace both hinges, or only one.
Read less

$7.47
In Stock

$7.47
In Stock
Lid Bumper
Part #WP9724509
This gray and white washer lid bumper contains a rubber bottom and is sold individually.

$79.80
In Stock
Dispenser Drawer
Part #W10919352
This is a dispenser drawer assembly direct from the manufacturer and used in washing machines. This drawer is made of plastic and features the compartments for bleach, detergent, and softener, for you to pour each respective liquid into. If your current dispenser drawer is clogged or moldy beyond repair, it should be replaced. Removing an...Read mored replacing the old drawer is simple and requires you to press down on the respective tabs to release it from the washer assembly, then simply slide the new one in. When installing the new drawer, make sure to close the lid slightly so the dispenser will slide right in as it is supposed to and sit flush. This drawer is sold on its own, and does not come with any other parts or accessories.
Read less

$9.62
In Stock
Impact Absorber
Part #WP8564458
This is an impact absorber, also known as a sound dampening pad, for washing machines. This sound dampening pad attaches to the top of your washing machine drum to reduce the severity and harshness of vibrations and movement during the washing and spinning cycle, to produce a quieter laundry experience. If your washer is shaking excessive...Read morely during operation, this pad may be worn out or simply missing, and in need of replacement. To replace this pad, you will need a screwdriver or wrench to access the inner portion of your washing machine and remove the old one and install the new one. This OEM pad measures 5-inches by 3-inches and is sold individually.
Read less

$26.82
In Stock
Washer Drain Hose
Part #W11244231
The drain hose carries used water from the washer to your house drain.
Common Symptoms of the MVWB757JW0
How this model fails, and the parts that fix it.
Leaking
Fixed by
these parts
these parts


Show All
Water Filling Issues
Fixed by
these parts
these parts
Show All
Shaking and Moving
Fixed by
these parts
these parts


Show All
Spinning Issues
Fixed by
these parts
these parts


Show All
Will not agitate
Fixed by
these parts
these parts

Show All
Will not drain
Fixed by
these parts
these parts

Show All
Lid or door won’t close
Fixed by
these parts
these parts


Show All
Will Not Start
Fixed by
these parts
these parts
Show All
Locking Issues
Fixed by
these parts
these parts
Show All
No hot or cold water
Fixed by
these parts
these parts
Show All
Noisy and Marks Left on Clothes
Fixed by
these parts
these parts
Show All
Draining Issues
Fixed by
these parts
these parts
Show All
Does not dispense fabric softener or detergent
Fixed by
these parts
these parts

Show All
Cycle Not Advancing
Fixed by
these parts
these parts
Show All
Will Not Dispense
Fixed by
these parts
these parts
Show All
Spins slowly
Fixed by
these parts
these parts
Show All
Watch our pros, then fix it yourself.
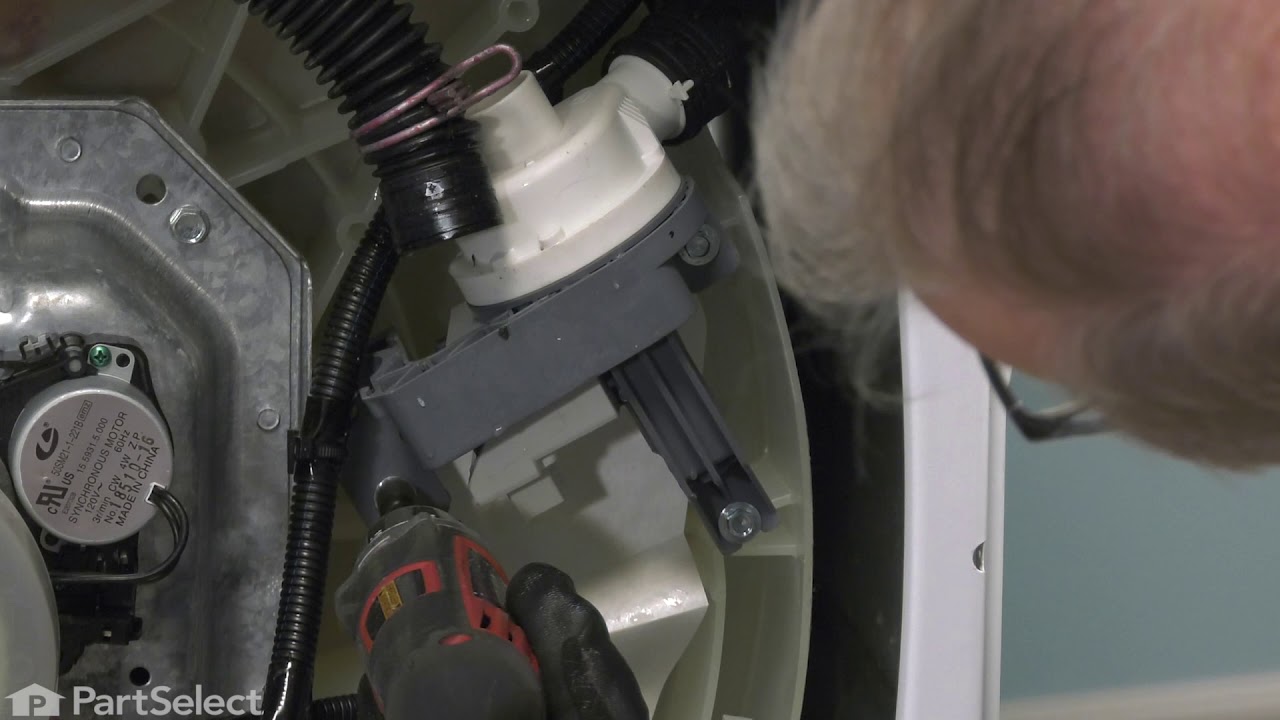
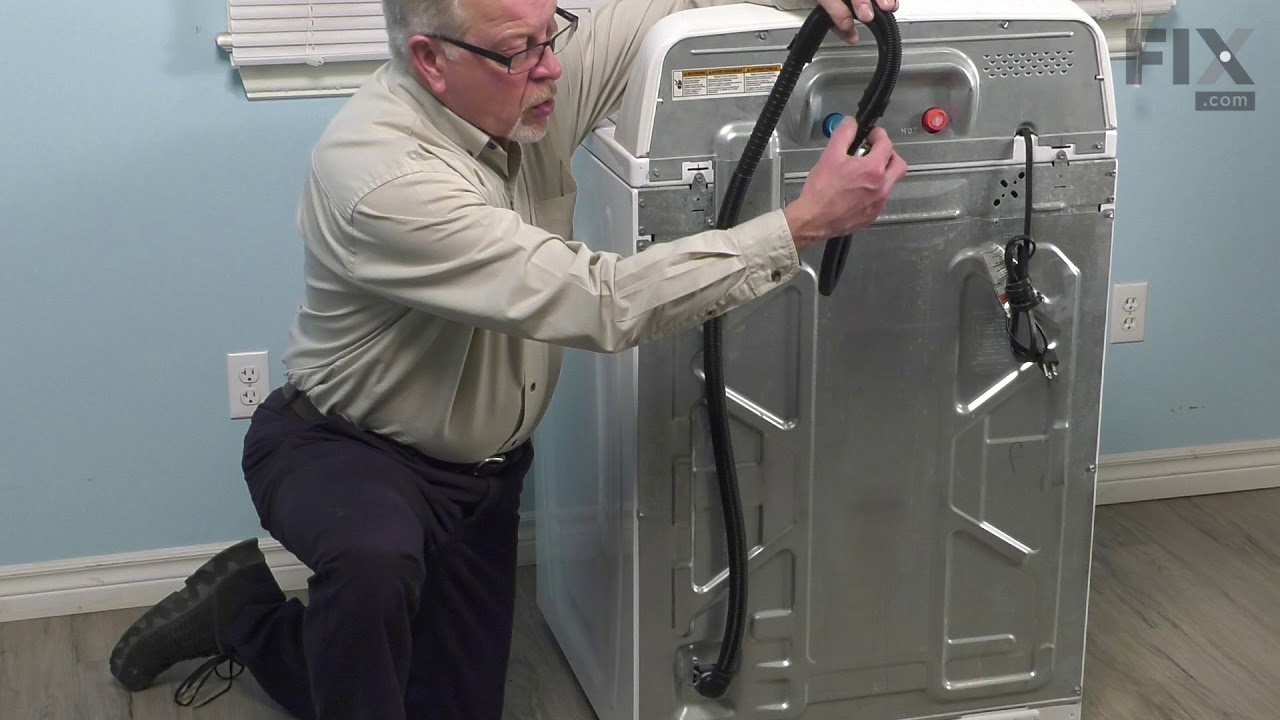

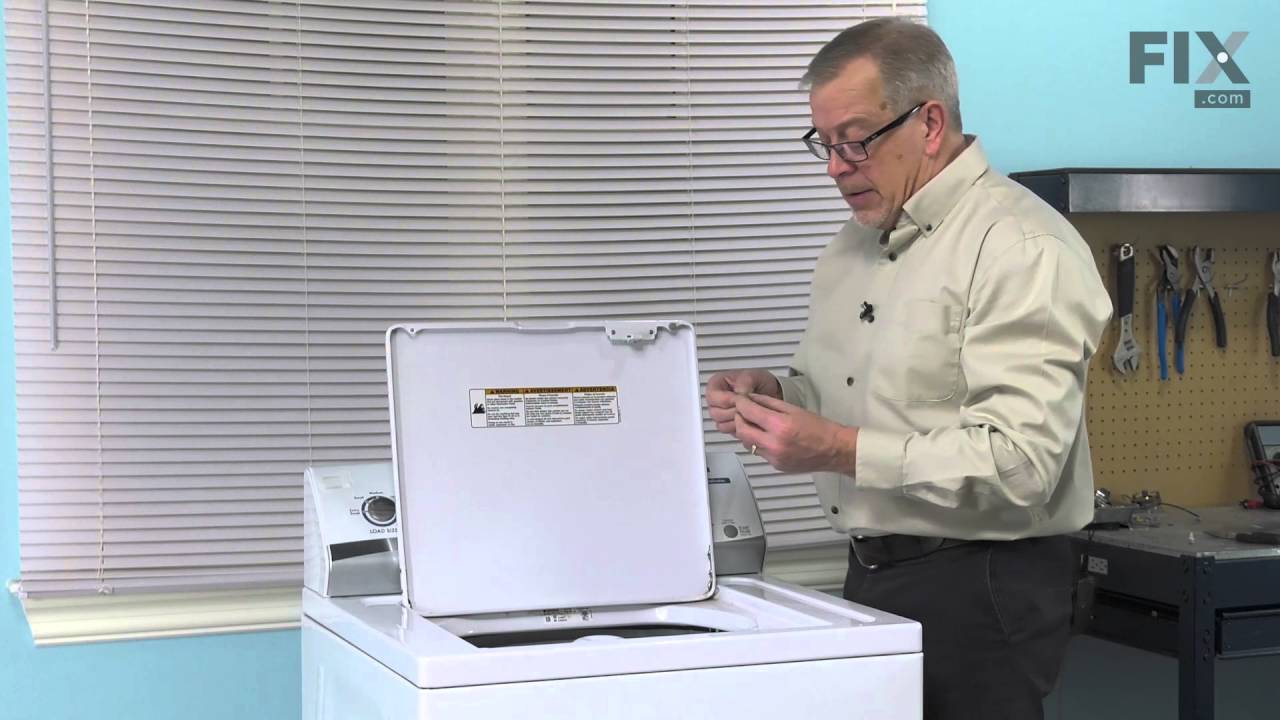
See how others fixed this model. Time, tools, difficulty, and steps that lead to victory!
View More