


 My Orders




MRTG20V8PS0 Frigidaire Refrigerator - Overview


Enter a part description. DIY Heroes keep it simple, eg. "belt" or "pump".
Search filter:
Clear Filter
Your search term must have 3 or more characters.

$58.25
In Stock
Refrigerator Door Shelf Bin
Part #240338101
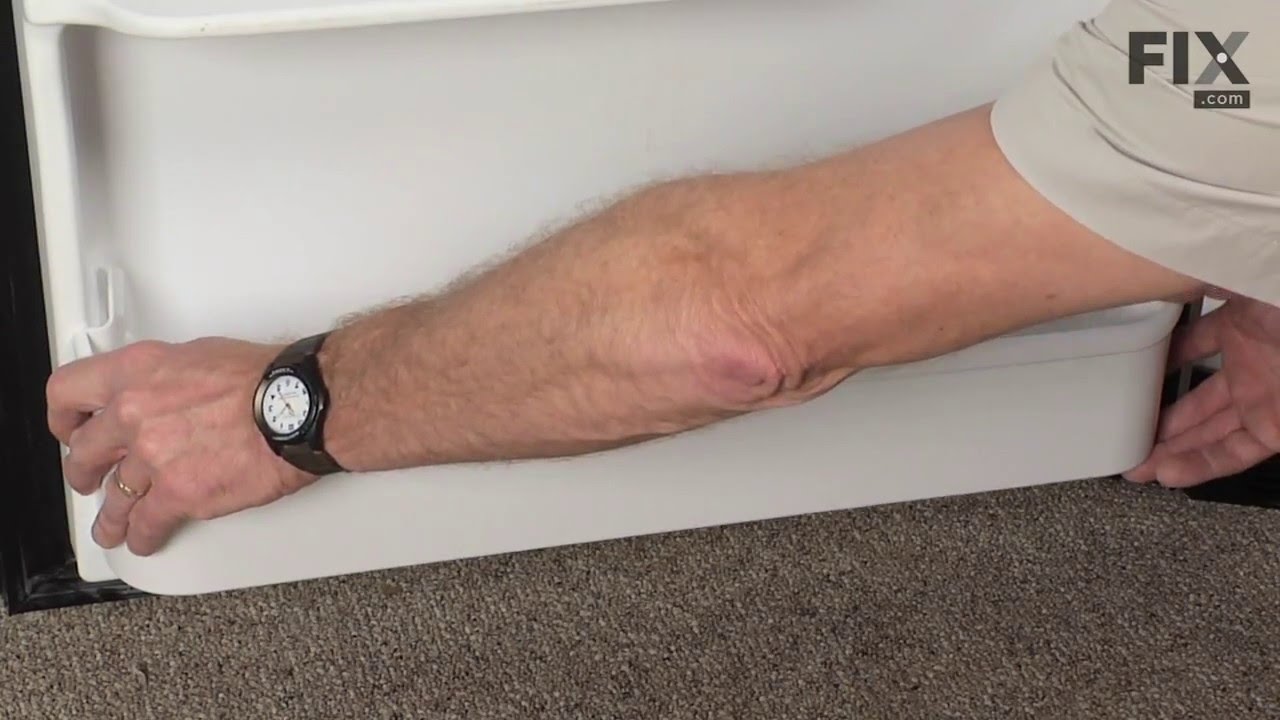
This retainer bar (Refrigerator Door Shelf Bin, Refrigerator Door Shelf, Door Shelf Bin, Refrigerator Door Bin) holds items on the refrigerator door shelf. The plastic retainer can become brittle with time and crack or break under the strain of normal use. It can also break if heavy items are placed in the door shelf. If this part will no...Read more longer hold securely onto the inner door panel it will need to be replaced. This model is white plastic, and measures 26 by 5 inches. Sold individually.
Read less

$53.85
In Stock
Crisper Glass Shelf Insert
Part #240350608
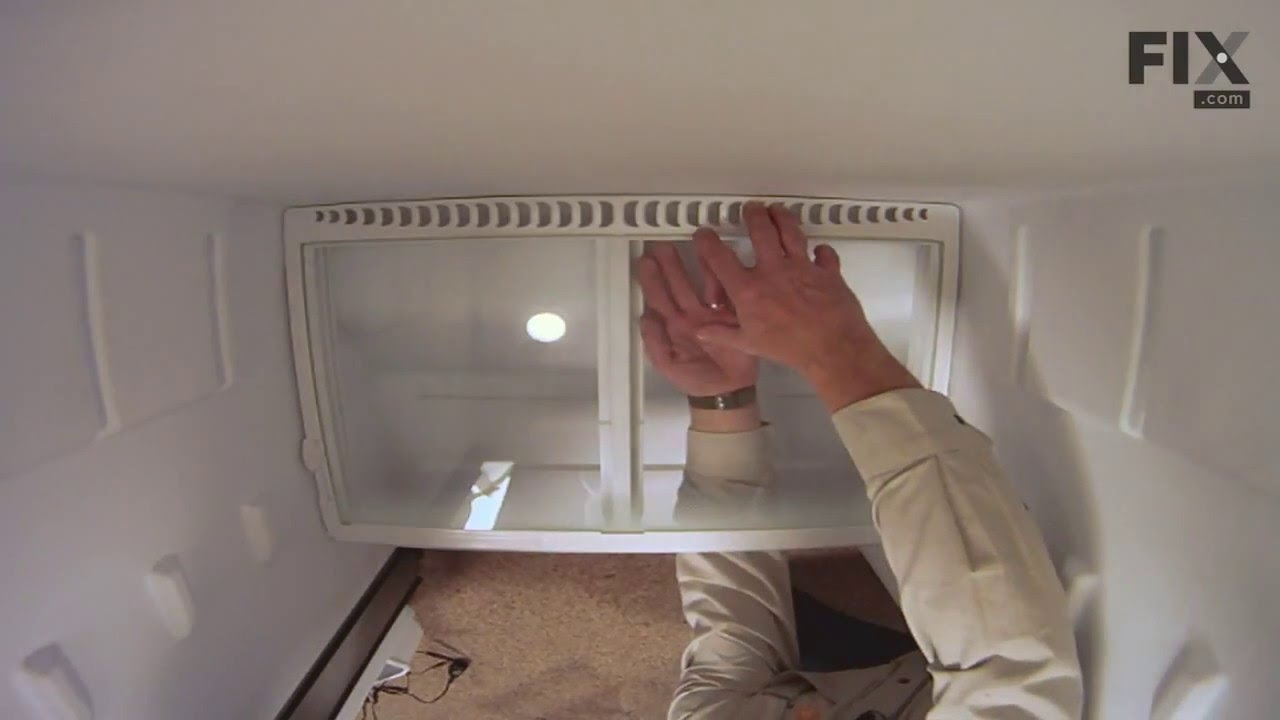
This refrigerator crisper shelf insert is a genuine replacement component designed to sit above the crisper drawers, providing a stable surface for food storage while helping to maintain proper humidity levels below. Measuring approximately 23.82 inches by 15.50 inches, it is made of durable glass and fits select Frigidaire refrigerator m...Read moreodels. Installation is tool-free—simply remove the old insert and slide the new one into place. This OEM part is sold individually and ensures a precise fit and reliable performance.
Read less

$131.88
In Stock
Refrigerator Door Gasket
Part #242193213
Frost near the door, long cooling cycles, or a warm refrigerator can result from a cracked or twisted fresh-food door seal. The gasket forms a tight barrier between the door and cabinet, helping hold cold air inside. First check for spilled food, loose hinges, bent door parts, or shelves that stop the door from closing. Match the replacem...Read moreent to the full appliance model before ordering. Disconnect power and move food to a cooler during the repair. Smooth shipping creases with warm water or low heat, but do not overheat the material. Install the seal without stretching it, then test several spots around the closed door with a sheet of paper.
Read less

$90.52
In Stock
Refrigerator Shelf (Spill Safe) - White
Part #240358926
This sliding glass refrigerator shelf is a genuine OEM replacement part designed for select models from Frigidaire, Electrolux, Kenmore, and Tappan. Known for its “Spill-Safe” design, the shelf features a raised lip to contain spills and prevent liquids from leaking onto lower shelves. The integrated sliding mechanism allows for easy acce...Read moress to items stored at the back of the refrigerator, while the built-in pan hanger adds organizational flexibility, particularly for meat storage. Constructed from durable materials, including a white base and clear glass top with a central metal auger, this shelf is designed for long-term reliability and tool-free installation. Compatibility should be confirmed using your refrigerator’s model number.
Read less

$41.14
In Stock
Defrost Thermostat
Part #5303918202
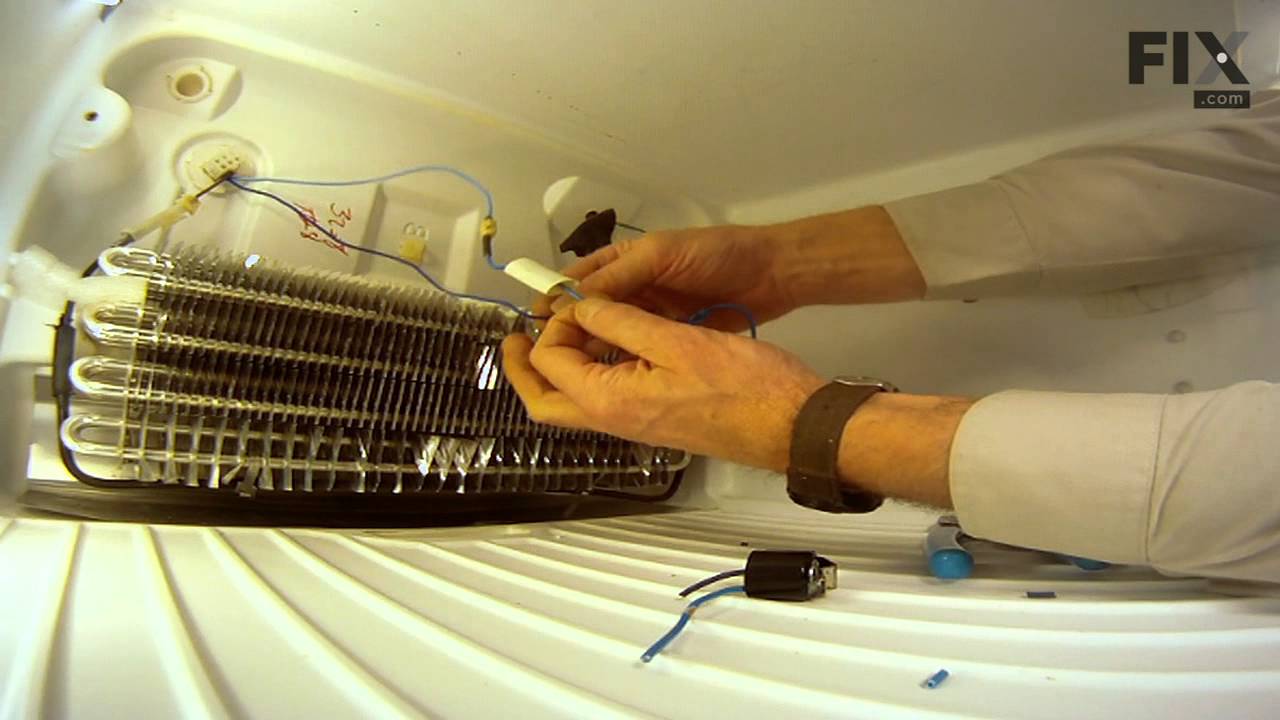
This defrost thermostat is also known as a refrigerator defrost bi-metal thermostat kit. The function of the defrost bi-metal thermostat is to prevent overheating during the defrost cycle in your refrigerator by protecting the evaporator. The most common sign that there is a problem with your refrigerator defrost thermostat kit is if your...Read more freezer is cold but your refrigerator is warm. If your evaporator coils are icy then your defrost bi-metal thermostat kit could be defective. To do this installation the tools you will need include a 1/4 inch nut driver, a pair of wire strippers and crimpers, and a heat gun.
Read less

$17.17
In Stock
Screw - Kit of Four
Part #5304515677
This screw is used in refrigerators. The screw can be loosened or tightened with a Phillips-head or square-head screwdriver. This screw is used to secure the refrigerator handle to the refrigerator door. This is an OEM part sourced directly from the manufacturer.

$42.38
In Stock

$25.25
In Stock
Screw
Part #218755504
Sold individually.
This is a genuine part. The handle mounting shoulder screw (no.10 ab) is made for use with many refrigerators. The metal screw helps to fasten the handle assembly to the outer door panel. The handle mounting shoulder screw is sold individually. For the repair, you will need a pair of pliers.

$20.67
In Stock
Single Washer
Part #240311303
Improve door function and alignment with this hinge nylon washer, designed to support the door as it pivots on the hinge pin. Made from durable nylon, it helps reduce friction and noise while ensuring smooth opening and closing. By maintaining proper door positioning, it supports a secure seal and contributes to efficient operation and consistent cooling performance.

$97.00
In Stock
Freezer Door Gasket
Part #241872503
This white freezer door gasket is a genuine replacement part designed for select Frigidaire, Electrolux, and Kenmore refrigerator models. It forms an airtight seal around the freezer door, preventing warm air from entering and cold air from escaping. This helps maintain consistent internal temperatures, reduces frost buildup, and improves...Read more overall energy efficiency. Made from flexible, durable material, the gasket compresses when the door is closed to ensure a tight seal. If your current gasket is torn, warped, or no longer sealing properly, replacing it can restore optimal performance. Always verify compatibility with your model before installation.
Read less

$13.73
In Stock
Hinge Bearing
Part #5304507147
This door hinge bushing, or hinge bearing, is a genuine OEM replacement part for your refrigerator. The hinge bearing helps the refrigerator door stay on track when opening and closing, ensuring it is flush with the cabinet when closed. You will need a screwdriver and a ratchet in order to complete this repair.

$128.74
In Stock
Refrigerator Condenser Fan Motor Kit
Part #5303918774
This is a replacement condenser fan motor kit for your refrigerator. This six-piece kit contains foam tape, 2 screws, the fan blade, the new motor mounting bracket, and the condenser fan motor. The condenser fan motor is found in the back of the refrigerator, and it moves air across the compressor and the condenser to keep them cool. If t...Read morehe motor has failed, the condenser and the compressor will run hot, and this can cause the refrigerator not to cool. This is an OEM part from the manufacturer.
Read less
Common Symptoms of the MRTG20V8PS0
How this model fails, and the parts that fix it.
Fridge too warm
Fixed by
these parts
these parts


Show All
Door won’t open or close
Fixed by
these parts
these parts


Show All
Noisy
Fixed by
these parts
these parts

Show All
Freezer not defrosting
Fixed by
these parts
these parts

Show All
Door Sweating
Fixed by
these parts
these parts

Show All
Leaking
Fixed by
these parts
these parts
Show All
Freezer section too warm
Fixed by
these parts
these parts
Show All
Frost buildup
Fixed by
these parts
these parts
Show All
Fridge and Freezer are too warm
Fixed by
these parts
these parts
Show All
Light not working
Fixed by
these parts
these parts

Show All
Fridge runs too long
Fixed by
these parts
these parts
Show All
Freezer too cold
Fixed by
these parts
these parts
Show All
Too warm
Fixed by
these parts
these parts
Show All
Clicking sound
Fixed by
these parts
these parts
Show All
Fridge too cold
Fixed by
these parts
these parts
Show All
Watch our pros, then fix it yourself.


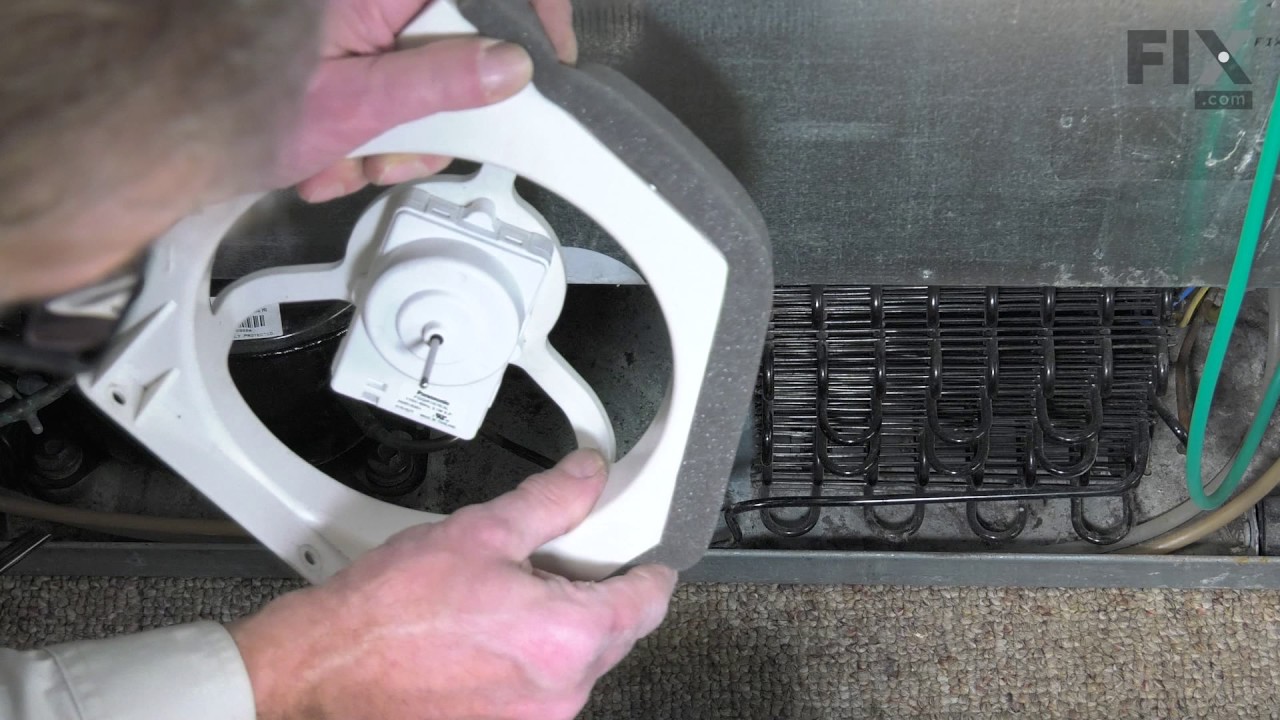
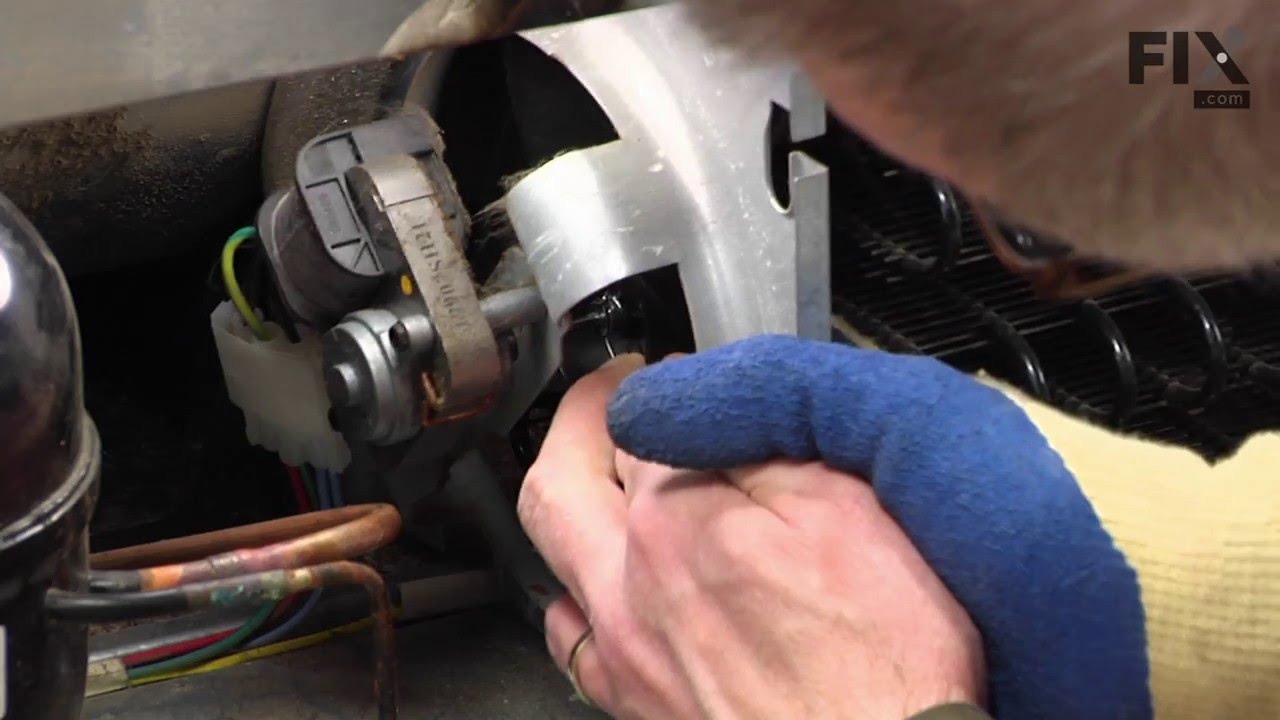
See how others fixed this model. Time, tools, difficulty, and steps that lead to victory!
View More