


 My Orders




MRT118FFFZ10 Maytag Refrigerator - Overview
Diagrams for MRT118FFFZ10
See every part. Know exactly what you need.


Enter a part description. DIY Heroes keep it simple, eg. "belt" or "pump".
Search filter:
Clear Filter
Your search term must have 3 or more characters.

$11.77
In Stock
Refrigerator Door Shelf Retainer Bar End Cap
Part #WP2156003
The door shelf retainer bar end cap connects to the retainer bar on your refrigerator’s door shelf, and attaches it to the refrigerator door. If your shelf retainer bar has become disconnected, a damaged end cap could be the cause. To remove the end cap, first unhook the release tab on both ends of the retainer bar. Slide out the bar and ...Read morethe end caps, and slide out the defective cap. Now, simply replace the end cap and snap the bar with end caps back in place on the refrigerator door. This part is made of white plastic and is sold individually.
Read less

$55.29
In Stock
Freezer Evaporator Fan Motor
Part #WP2315539
This evaporator fan motor is located in the back of the freezer, and circulates air over the refrigerator coils. These coils will convert the heat into cool air, which is then circulated.

No Longer Available
Touch-Up Paint - White
Part #72017
This touch-up paint can be used on a wide variety of household appliances. It is most often used on washers, dryer, refrigerators, dishwashers, ranges, freezers, trash compactors, or microwaves. It is an 18 ml, or.6 fluid ounces, bottle of touch-up paint. It also features a brush for easy application. This quick-drying, long-lasting paint...Read more is perfect for fixing any nicks, scratches, or chips on the exterior of your appliance. This paint is white in color, and provides a durable finish.
Read less

$11.77
In Stock

$12.85
In Stock
BRACKET-DOOR STOP,ZINC
Part #W11745278
This hinge bracket, also known as a door stop, is attached to the bottom of the door and is used to limit how far the door swings out to protect the refrigerator itself, and any surrounding cabinets from potential damage. If your fridge is having issues opening or staying closed, check the hinges for any damage or cracking. To replace thi...Read mores bracket, simply remove the door off your refrigerator, unscrew and remove this bracket from the bottom of the door, and install the new one. This hinge bracket is an OEM replacement and is compatible with several different makes and models of refrigerator.
Read less

$9.62
In Stock
Refrigerator Track - Right Hand Side
Part #WPW10468556
This right-hand refrigerator crisper drawer slide rail provides stable support and smooth operation for drawers and shelves within the fresh food compartment. Made from durable white plastic, it mounts securely to the right interior wall of the refrigerator and helps ensure the drawer glides properly during everyday use. Replacing a worn,...Read more cracked, or damaged slide rail can help resolve issues such as sticking drawers, difficulty opening or closing, excessive movement, or unusual operating noise. Installation typically involves removing the crisper drawer and shelf assembly, detaching the existing right-hand rail, securing the replacement rail in place, and reinstalling the drawer components. For best results, inspect the left-hand rail and other drawer support components for wear and replace any damaged parts as needed to restore smooth, reliable drawer operation.
Read less

$17.15
In Stock
Refrigerator Track
Part #WPW10468555
This track is a genuine OEM replacement part for your refrigerator. It is made of white plastic. The track supports the shelf within your fridge, and can be snapped in and out of place, which makes replacing this part very easy. Simply remove the shelf which is supported by the track, and replace your old track with the new one.

$7.47
In Stock

$107.37
In Stock
ICE MAKER FIELD INSTALL KIT (T
Part #W11729596
This genuine OEM ice maker kit is designed to fit refrigerators that did not originally come with an ice maker. This kit contains everything needed to install the new ice maker on your refrigerator including: the ice maker, ice bin, inlet valve, fill tube, and hardware. If your new ice maker does not function properly after being installe...Read mored, check the freezer temperature. The freezer must to be around zero degrees Fahrenheit. Remember to disconnect the power and water supply to your refrigerator before beginning this installation. Make sure to check that your model is compatible with this part before ordering.
Note: The manufacturer has updated this part. It may differ in appearance but will function the same as the original.
Read less

$45.29
In Stock
Refrigerator Compartment Door
Part #WP2218113
This part is the replacement compartment door for your refrigerator. It is made of clear plastic and is approximately 9 inches by 6 inches. The compartment door snaps into the walls of the dairy compartment on the refrigerator door itself and operates on a hinge so that it can open and close. The main reason to replace the compartment doo...Read morer is if yours is cracked, broken, or missing. To replace the compartment door, carefully remove the hinges, then attach the new door into the hinges. This part is sold individually and is an OEM part.
Read less

$26.82
In Stock
Light Bulb
Part #W11518235
This is an LED light bulb for various models of refrigerators. This LED light bulb features an E14 socket and requires 120V to operate properly. If your current refrigerator light bulb is burnt out, not dimming, or just not working as well as before, it should be replaced. This light bulb is sold individually and does not come with any ot...Read moreher parts or a second bulb. To replace this bulb, ensure your current light bulb is off, and then unthread the old bulb, and thread in the new one.
Read less

$11.77
In Stock
Refrigerator Insert
Part #WP489467
You've got an issue? We have the solution! Let us introduce you to our latch and handle assembly tailor-made for your GE range. Having issues with your oven door during self-cleaning cycles? No worries, this assembly provides a solid locking feature, making sure your oven door remains secure and safe throughout the cycle. Remember, befo...Read morere getting started on those repairs, it?s key to switch off the electrical power connected to your range. This safety step is not to be skipped or taken lightly. We also encourage you to put on those work gloves while handling and installing this assembly, keeping your hands safe and protected. So, why is this part so important? It's simple?it's the one component that ensures your oven door stays locked when it's required, preventing any mishaps during self-cleaning cycles. Plus, with the GE brand on it, you are assured the part you've got in your hand is top quality and durable. Ready to give your range a new lease on life and have it working just like new? It's time to get that latch and handle assembly installed!
Read less
Common Symptoms of the MRT118FFFZ10
How this model fails, and the parts that fix it.
Fridge too warm
Fixed by
these parts
these parts


Show All
Door won’t open or close
Fixed by
these parts
these parts


Show All
Noisy
Fixed by
these parts
these parts

Show All
Fridge too cold
Fixed by
these parts
these parts

Show All
Fridge and Freezer are too warm
Fixed by
these parts
these parts
Show All
Too warm
Fixed by
these parts
these parts
Show All
Ice maker not making ice
Fixed by
these parts
these parts

Show All
Freezer section too warm
Fixed by
these parts
these parts
Show All
Freezer not defrosting
Fixed by
these parts
these parts
Show All
Will Not Start
Fixed by
these parts
these parts
Show All
Door latch failure
Fixed by
these parts
these parts

Show All
Frost buildup
Fixed by
these parts
these parts
Show All
Clicking sound
Fixed by
these parts
these parts
Show All
Won’t start
Fixed by
these parts
these parts
Show All
Watch our pros, then fix it yourself.
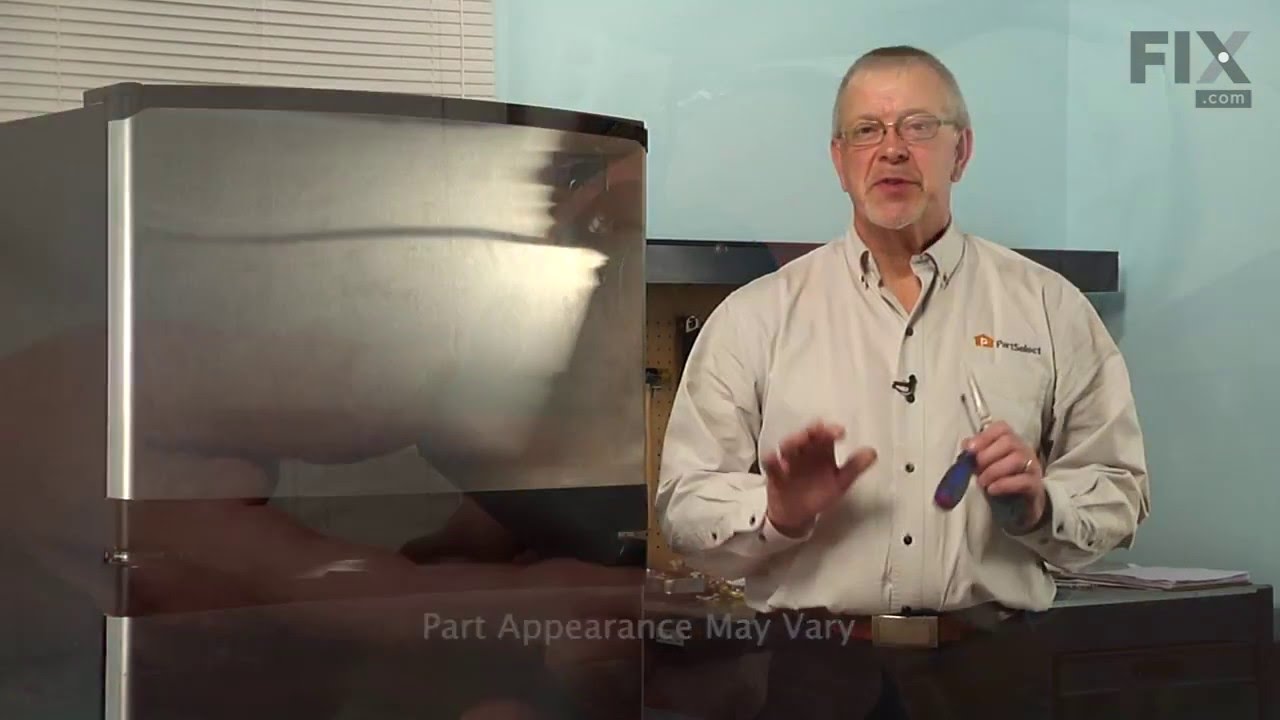
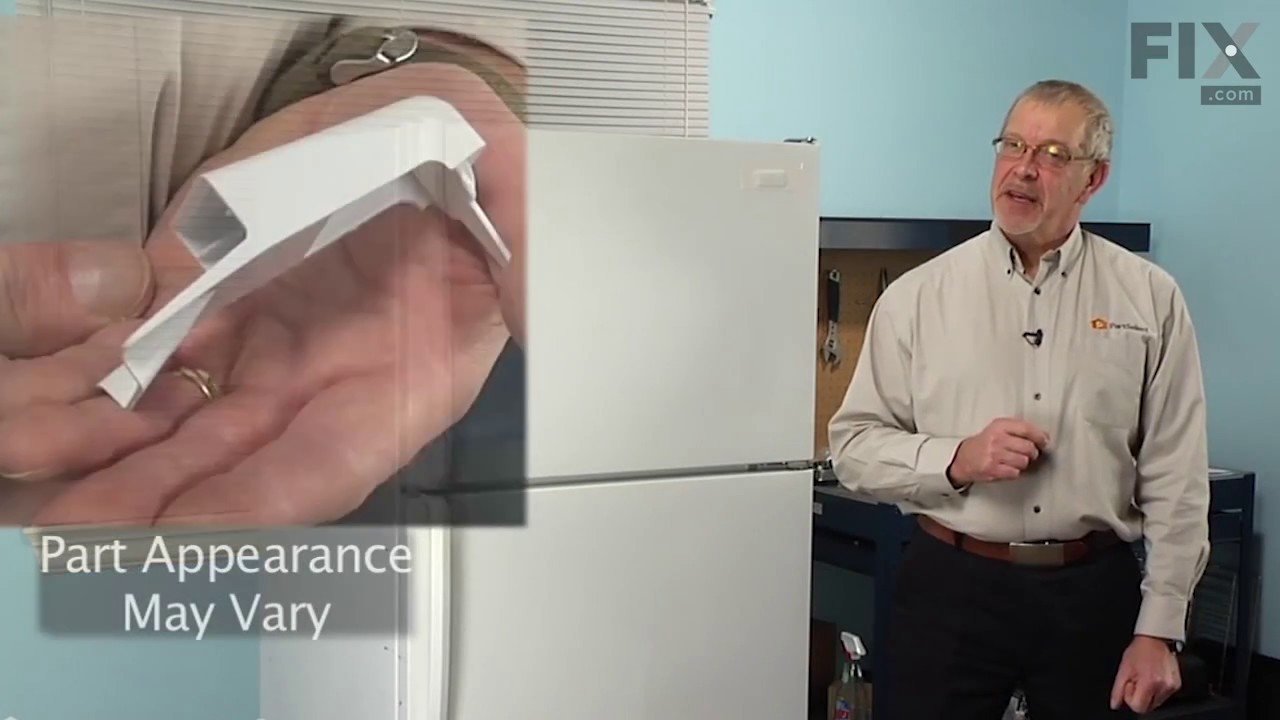
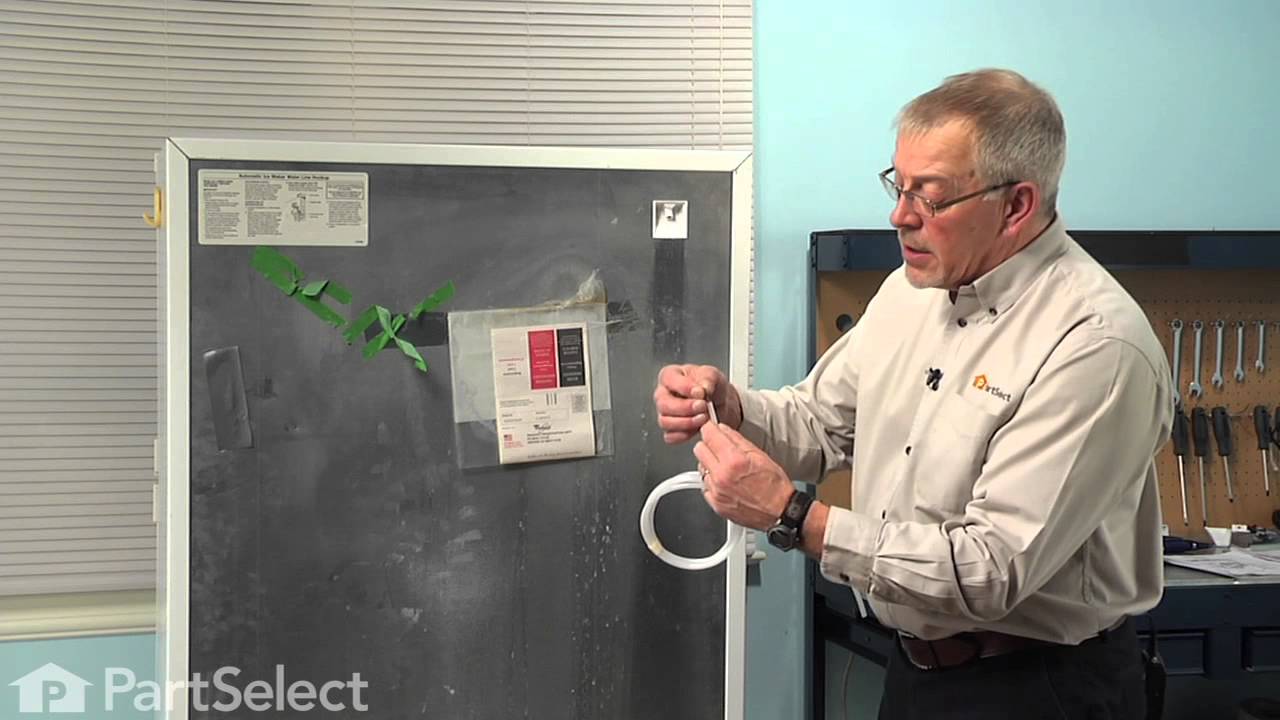
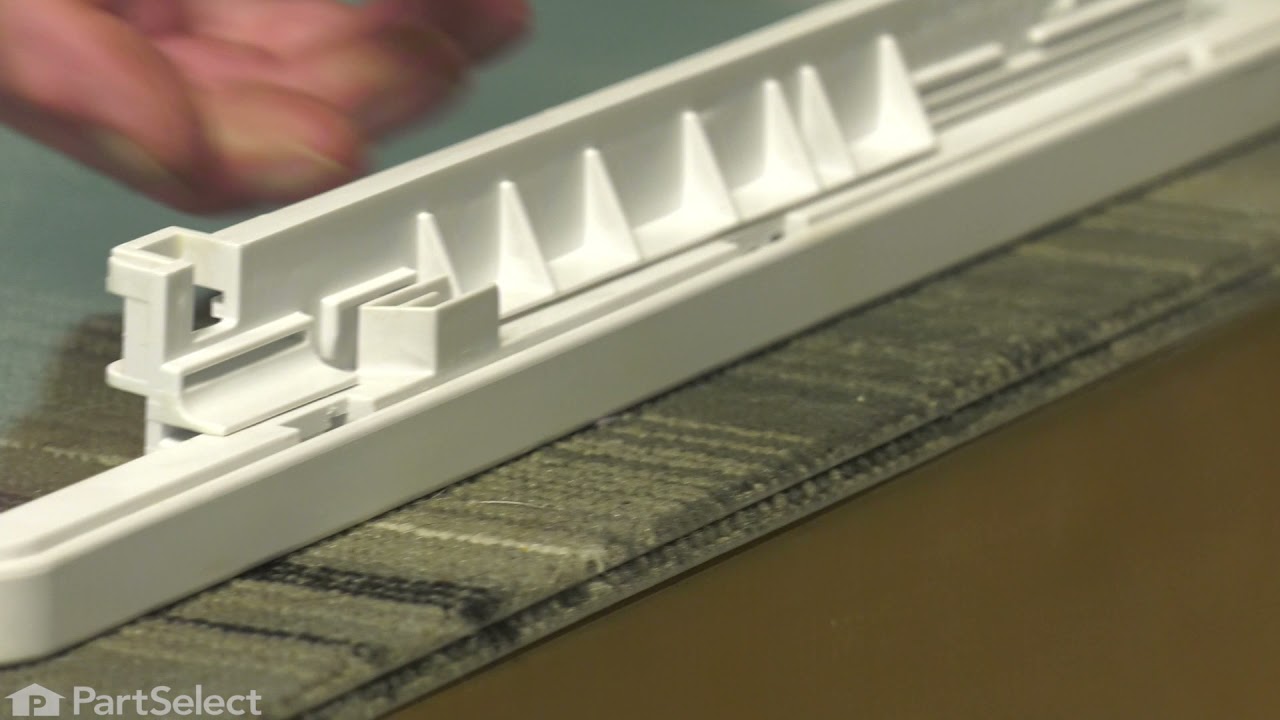
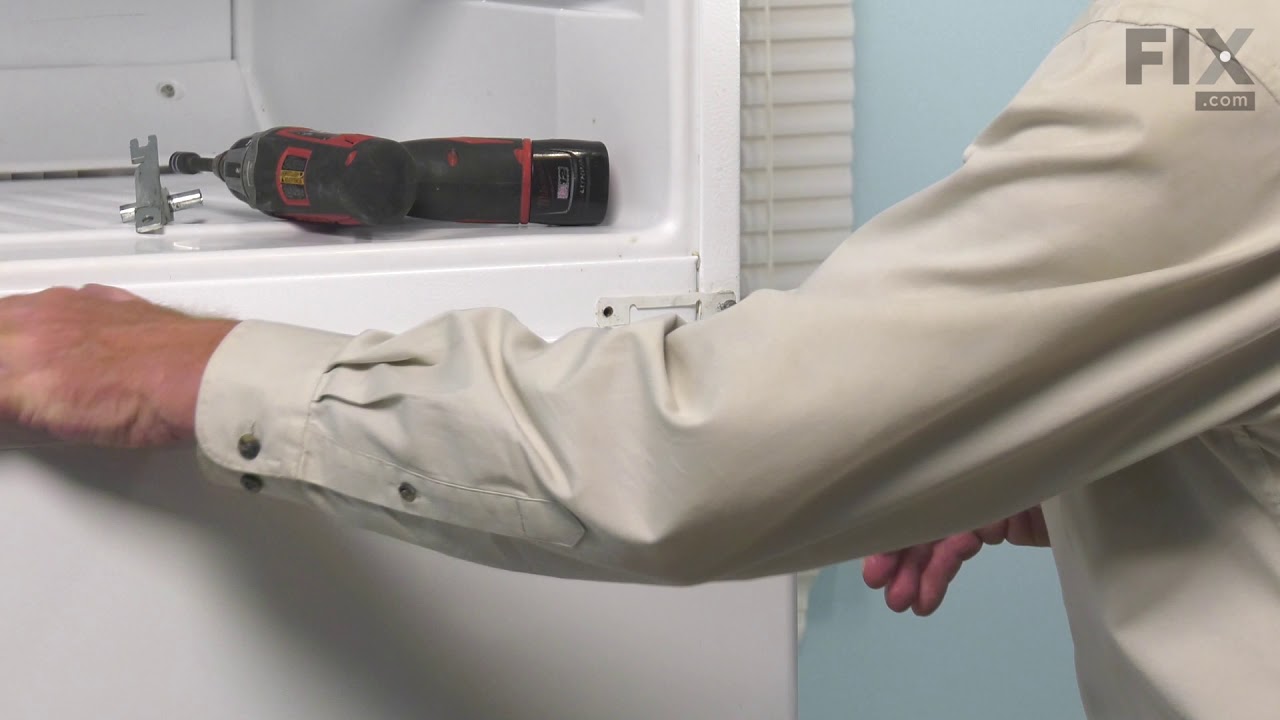
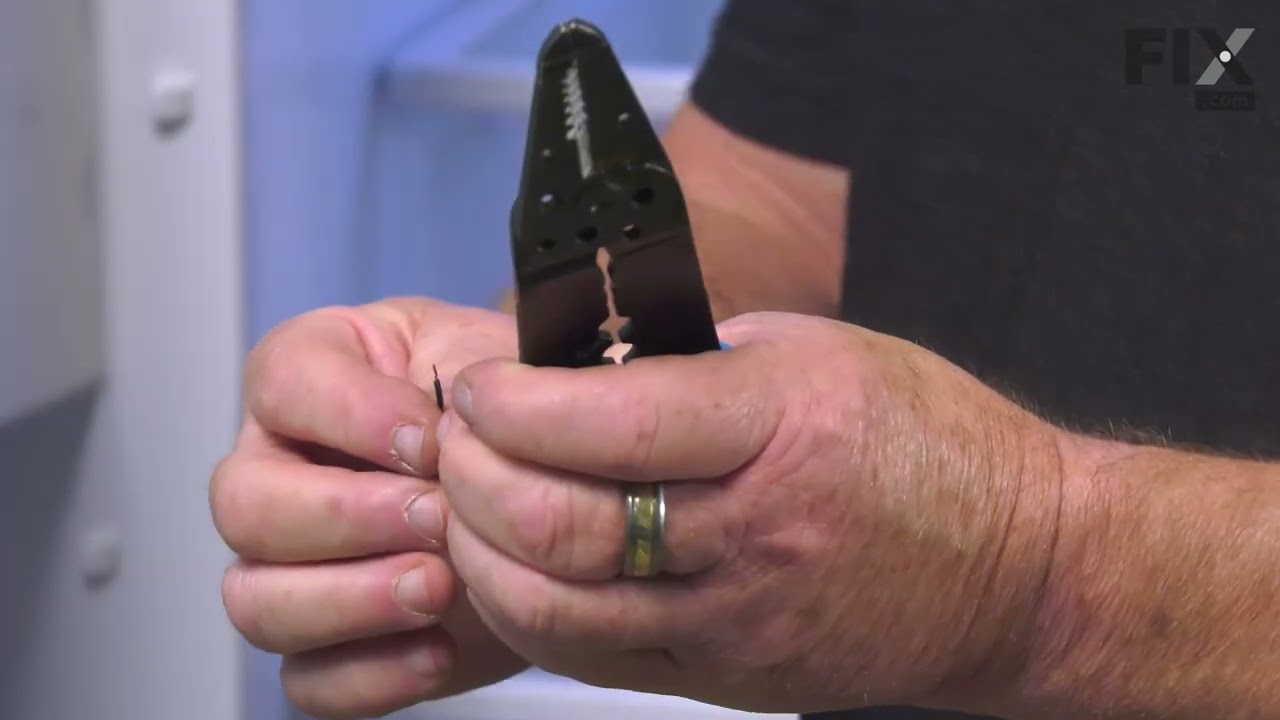
See how others fixed this model. Time, tools, difficulty, and steps that lead to victory!
View More