


 My Orders




MRSF - Overview
Models starting with MRSF
Click on the best match to narrow your results.
- MRSF3180R-1 General Electric Range
- MRSF3180R-2 General Electric Range
- MRSF3180R-3 General Electric Range
- MRSF3180RM-1 General Electric Range
- MRSF3180RM-2 General Electric Range
- MRSF3180RM-3 General Electric Range
- MRSF3180S-1 General Electric Range
- MRSF3180SM-1 General Electric Range
- MRSF3180TM-1 General Electric Range
- MRSF3180TT-1 General Electric Range
- MRSF3180TW-1 General Electric Range
- MRSF3180VM-1 General Electric Range
- MRSF3180VW-1 General Electric Range
- MRSF3180ZWH-1 General Electric Range
- MRSF3180ZWH-2 General Electric Range
- MRSF3180ZWH-3 General Electric Range
- MRSF3180ZWH-4 General Electric Range
- MRSF3180ZWW-1 General Electric Range
- MRSF3180ZWW-2 General Electric Range
- MRSF3180ZWW-3 General Electric Range
- MRSF3180ZWW-4 General Electric Range
- MRSF3180ZWW-5 General Electric Range
- MRSF3180ZWW-6 General Electric Range
- MRSF4036PB00 Maytag Refrigerator (Maytag Sxs Refrigerator)
- MRSF4036PB02 Maytag Refrigerator (Side-By-Side Refrigerator)
- MRSF4036PB02 Whirlpool Refrigerator (Maytag Side-By-Side Refrigerator)
- MRSF4036PW00 Maytag Refrigerator (Maytag Sxs Refrigerator)
- MRSF4036PW02 Whirlpool Refrigerator (Maytag Side-By-Side Refrigerator)
- MRSF4036PW02 Maytag Refrigerator (Side-By-Side Refrigerator)
- MRSF4036PZ00 Maytag Refrigerator (Maytag Sxs Refrigerator)
- MRSF4036PZ02 Whirlpool Refrigerator (Refrigerator)
- MRSF6636RZ00 Maytag Refrigerator (Side-By-Side Refrigerator)
- MRSF6636RZ00 Whirlpool Refrigerator (Maytag Side-By-Side Refrigerator)
Enter a part description. DIY Heroes keep it simple, eg. "belt" or "pump".
Search filter:
Clear Filter
Your search term must have 3 or more characters.

$84.45
In Stock
Refrigerator Ice and Water Filter
Part #EDR1RXD1
The EDR1RXD1 water filter provides clean, fresh-tasting water by reducing contaminants such as lead, chlorine, and particulates. Designed for easy installation, this filter ensures your refrigerator water and ice are safe and refreshing with every use

$22.52
In Stock
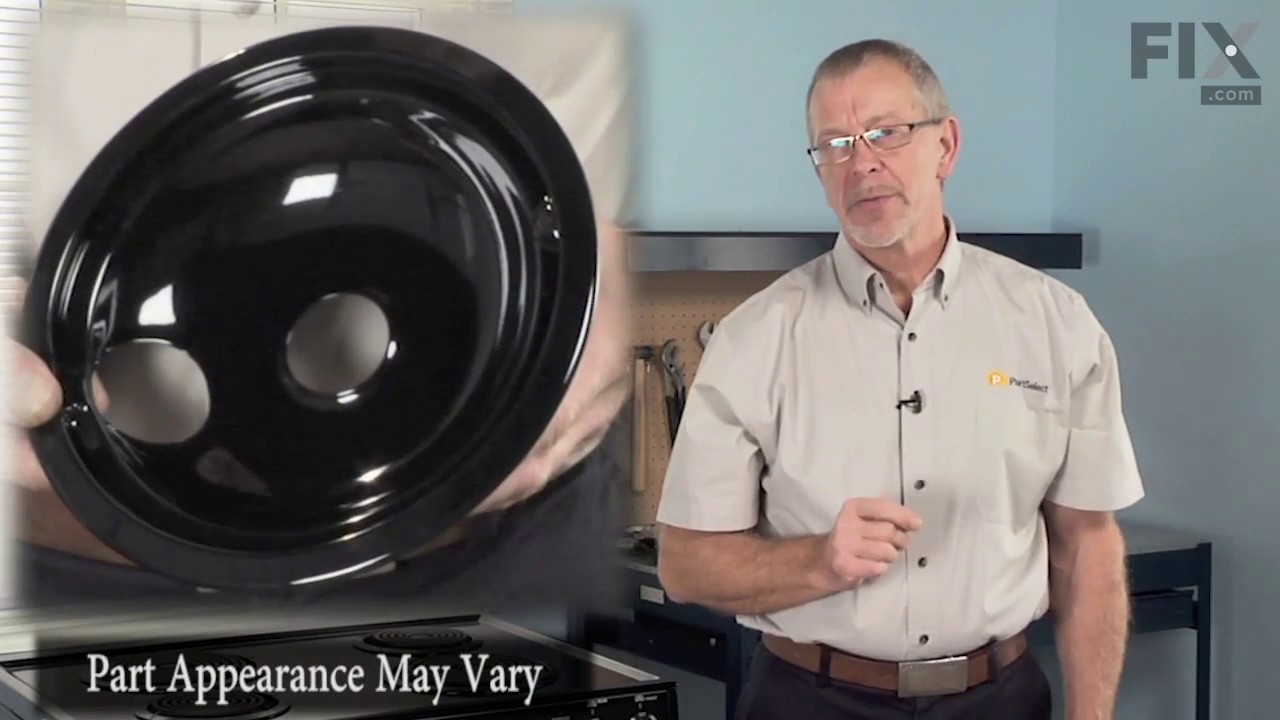
Burner Bowl - 8 Inch
Part #WB31T10015
This part is located beneath the element and catches any spills.

$18.22
In Stock
Burner Bowl - 6 Inch
Part #WB31T10014
This burner bowl is also known as a burner drip bowl or burner drip pan, and is designed for use with your cooktop or range. It is black in color and is approximately 6 inches in diameter. It can be found beneath the element and catches spills. If your old burner bowl is damaged or missing, you may need to replace it with this part.

No Longer Available
Door Handle End Cap
Part #WB7X7183
This oven door handle end cap is used on both the left and right hand sides. Sold individually.

$30.53
In Stock

$45.29
In Stock
Refrigerator Capacitor
Part #WPW10662129
This capacitor (Refrigerator and Freezer Compressor Run Capacitor, Run Capacitor) provides the voltage or energy current required to start the compressor and keep it running. It allows the compressor in your appliance to easily cycle on and off. This capacitor mounts directly onto the compressor starting relay. If the capacitor is faulty ...Read morethe compressor may get unusually hot and draw excessive amperage. It the compressor overheats, it may fail to run until it cools down again. The compressor may also get noisy from overheating. If this part is totally electrically open, it is defective (often due to overheating) and needs to be replaced. The part measures 1 inch by 1-1/2 inches, and is constructed of plastic with two metal wire terminals. This item includes 1 capacitor, sold individually. This part comes in black.
Read less

$53.20
In Stock

$21.95
In Stock
Light Bulb - 40W
Part #40A15
This 40-Watt light bulb is sold individually.
It is specially designed to withstand extreme temperatures, so this bulb is compatible with a variety of appliance types including refrigerators, ranges, microwaves, and dryers. It features a frosted glass bulb with a standard metal socket base, which allows you to easily unscrew the burnt-out light and twist the new bulb into place.

$30.53
In Stock
Door Switch
Part #W11396033
This light switch may also be known as a refrigerator door switch or a light switch kit, and is compatible with your refrigerator. The function of the refrigerator door switch is to turn on the light when your fridge door is open, and to make sure it is off when your refrigerator door is closed. The reason you would need to replace this p...Read moreart is if your light is not turning on when your door is open. For this repair, you will need a putty knife, and a small flat-blade screwdriver.
Read less

$46.21
In Stock
Oven Handle End Cap - Left or Right Side
Part #WB07X10034
This oven handle end cap connects to your oven door handle, and acts as the joint that connects it to the oven door. This part is made of black plastic and can be used as the left or right-side end cap. If your oven door handle is loose or disconnected, this part may fix the problem. The end cap will need to be screwed into the oven door itself, but simply snaps in to the door handle. This part is sold individually.

$97.14
In Stock
Refrigerator Ice Bucket
Part #WPW10670845
This refrigerator ice bucket is a genuine replacement component designed to store ice produced by the icemaker before dispensing. Compatible with a wide range of models from Whirlpool, KitchenAid, Kenmore, Maytag, and Amana, it is constructed from durable plastic to withstand regular use. The container is sold as a standalone part and doe...Read mores not include the auger or other internal components. Replacing a cracked or missing ice bucket helps restore proper ice storage and dispensing functionality. Installation is straightforward and typically requires no tools—simply follow the instructions in your owner's manual to ensure proper fit and alignment.
Read less

$111.56
On Order
Crisper Drawer
Part #W11162443
This is a manufacturer-made crisper drawer for your refrigerator. Crisper drawers are used to store fruits and vegetables at different humidity levels than the rest of your fridge. If your current crisper drawer is cracked or broken, it will need replacing immediately to ensure your food lasts as long as possible. This crisper drawer is m...Read moreade of clear and frosted plastic, and measures approximately 16.5" x 16.3" x 9.05" (Width x Depth x Height). This crisper drawer is sold individually and does not come with any other drawers or parts.
Read less
Common Symptoms of models starting with MRSF
How this model fails, and the parts that fix it.
Light not working
Fixed by
these parts
these parts


Show All
Ice maker won’t dispense ice
Fixed by
these parts
these parts


Show All
Fridge too warm
Fixed by
these parts
these parts


Show All
Leaking
Fixed by
these parts
these parts


Show All
Will Not Start
Fixed by
these parts
these parts

Show All
Fridge and Freezer are too warm
Fixed by
these parts
these parts
Show All
Freezer section too warm
Fixed by
these parts
these parts

Show All
Door won’t open or close
Fixed by
these parts
these parts


Show All
Ice maker not making ice
Fixed by
these parts
these parts

Show All
Noisy
Fixed by
these parts
these parts

Show All
Not dispensing water
Fixed by
these parts
these parts

Show All
Little to no heat when baking
Fixed by
these parts
these parts
Show All
Clicking sound
Fixed by
these parts
these parts
Show All
Too warm
Fixed by
these parts
these parts

Show All
Oven not heating evenly
Fixed by
these parts
these parts
Show All
Oven is too hot
Fixed by
these parts
these parts
Show All
Frost buildup
Fixed by
these parts
these parts


Show All
Ice maker dispenses too little ice
Fixed by
these parts
these parts
Show All
Element will not heat
Fixed by
these parts
these parts
Show All
Fridge runs too long
Fixed by
these parts
these parts
Show All
Freezer not defrosting
Fixed by
these parts
these parts
Show All
Fridge too cold
Fixed by
these parts
these parts
Show All
Door won’t close
Fixed by
these parts
these parts

Show All
Won’t start
Fixed by
these parts
these parts
Show All
Door Sweating
Fixed by
these parts
these parts
Show All
Watch our pros, then fix it yourself.

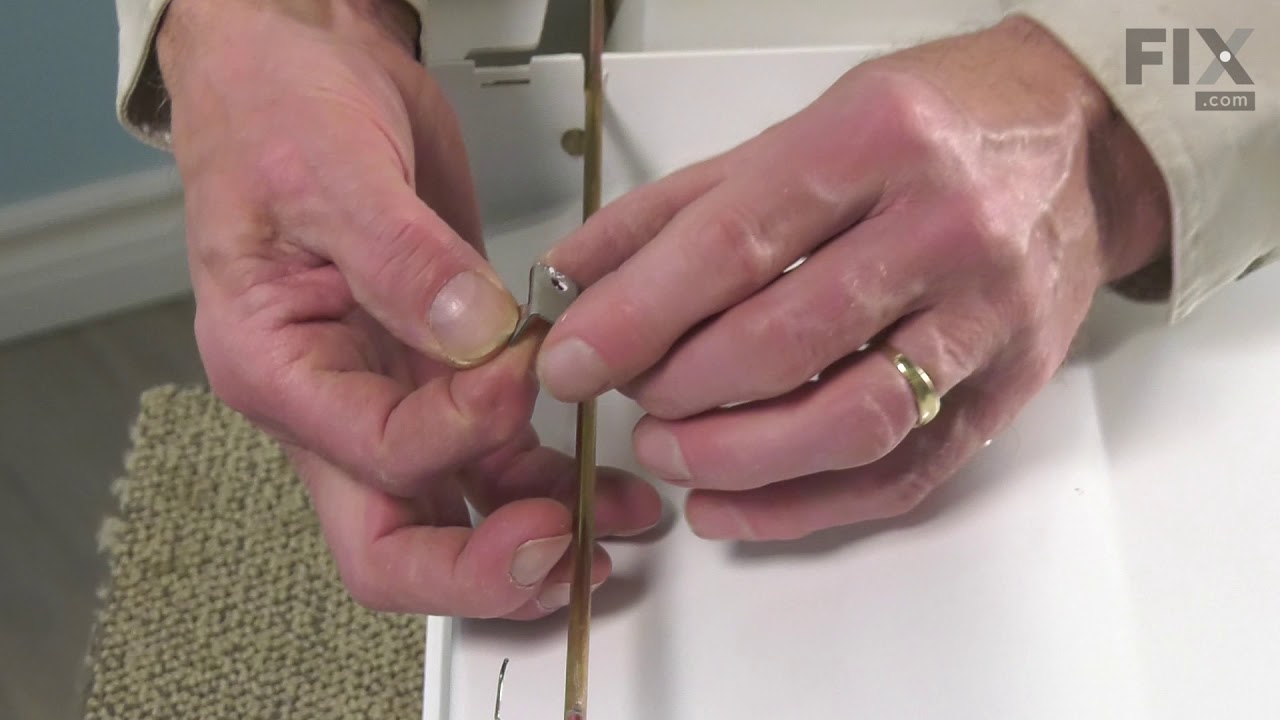
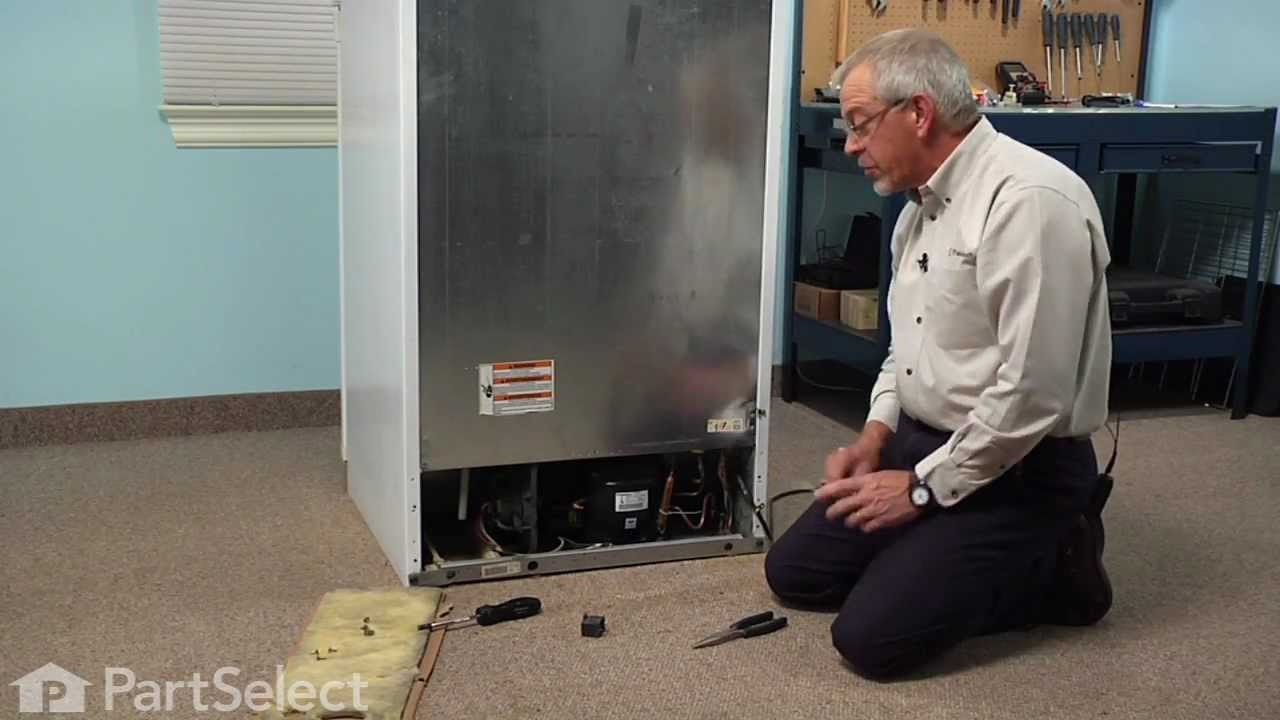
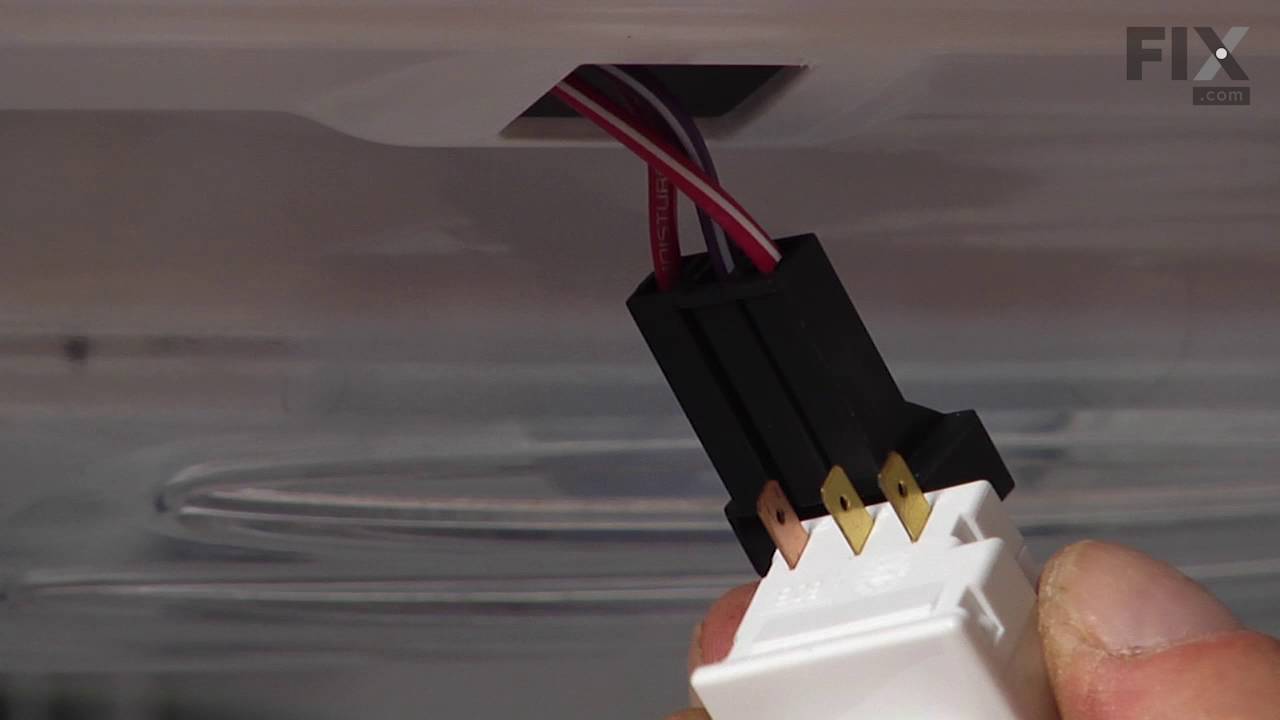
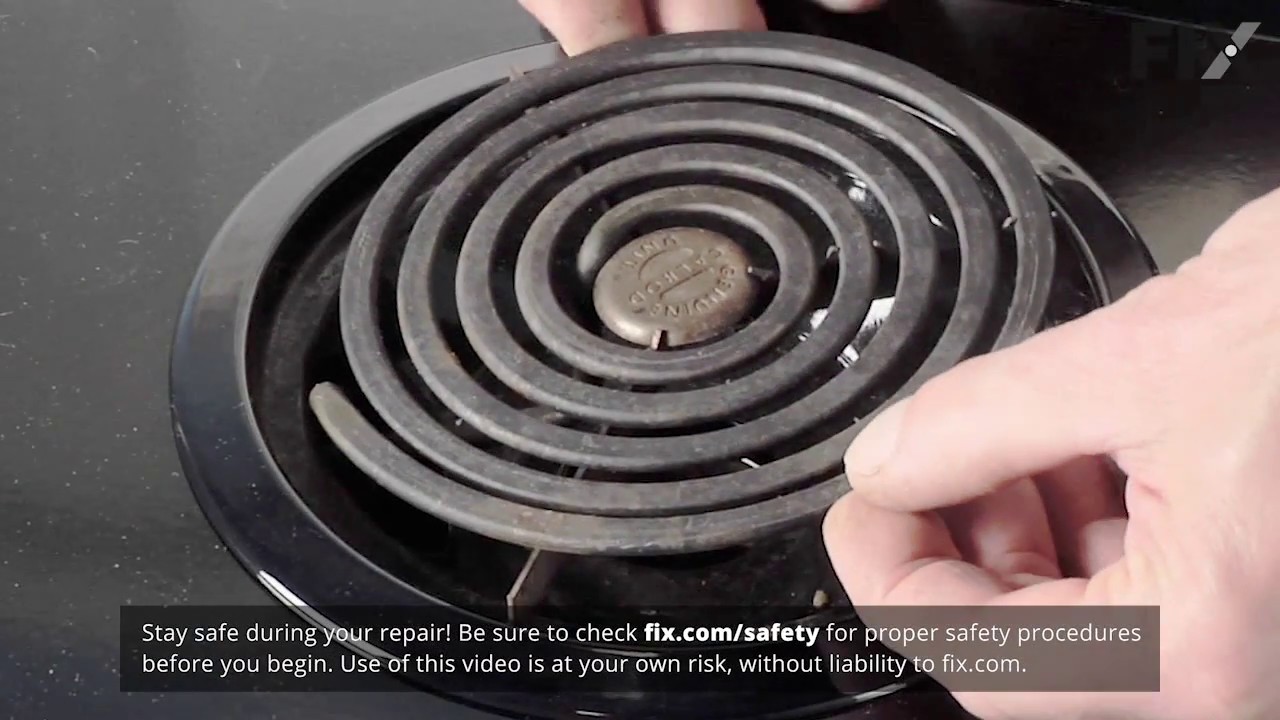
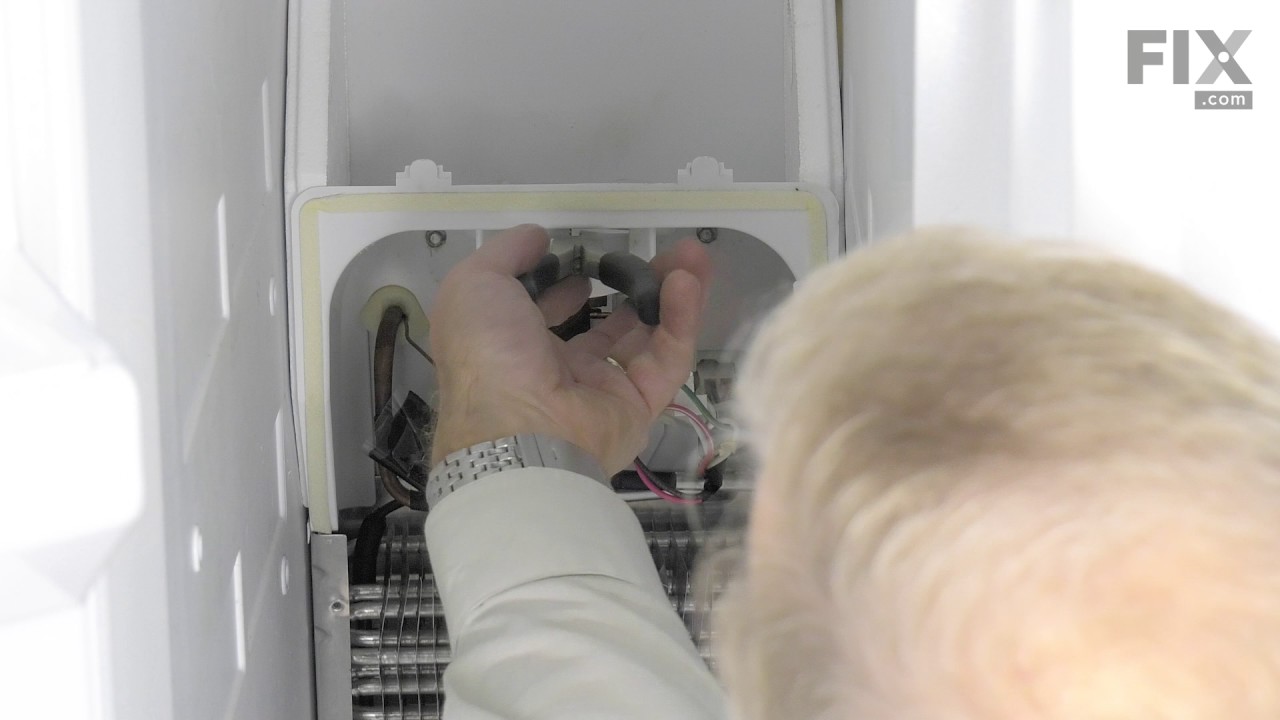
See how others fixed this model. Time, tools, difficulty, and steps that lead to victory!
View More