


 My Orders




MRS26LGJC1 Uni Refrigerator - Overview
Diagrams for MRS26LGJC1
See every part. Know exactly what you need.


Enter a part description. DIY Heroes keep it simple, eg. "belt" or "pump".
Search filter:
Clear Filter
Your search term must have 3 or more characters.

$59.47
In Stock
Water Filter
Part #WFCB
This OEM cup filter is designed to be compatible with all rear-filter refrigerators made before April 2001. The filter fits into a round white plastic housing. For this repair you may also require the PS428513 wrench or PS428532 O-ring. To install you will need to unscrew the cup before you can see the old filter, and then dump the water....Read more Pull the old filter straight down and place the new filter inside the filter cup. The end of the filter with the O-ring should be directed upward. As you tighten the filter it will align itself. If your refrigerator has a Change Filter light, it will need to be reset. Press and hold this button until the green light flashes (up to 15 seconds). This filter has a 2-Inch depth, 4.25-Inch height, 2-Inch width and needs to be replaced every 6 months of use or 200 gallons depending on which comes first. Filters for: Taste and odor Sediment 99.3% of Lead 99.99% of Cysts 99.7% of Turbidity 99.8% of Particulates (Class I) 94.9% of Atrazine (a herbicide) 94.2% of 2,4-D (a herbicide) 97.8% of Chlorine (Class I) 87.5% of Toxaphene (a pesticide).
Read less

$40.84
In Stock
Defrost Timer - 60Hz 120V
Part #215846602
This Defrost Timer works like a clock by switching on the defrost heater circuit after a predetermined amount of compressor run time. This allows the defrost circuit to clear the evaporator of ice or frost to maintain proper airflow. The defrost timer is located in the control housing which is in the refrigerator section of your appliance...Read more. If this part is not working, it can lead to temperature increases in your refrigerator. If the compressor circuit fails, no cooling will take place; if the defrost circuit isn't activated, ice will quickly build up on the evaporator coils and reduce airflow and efficiency. If the timer doesn't advance or if the contacts have no continuity, the timer will need to be replaced. This timer measures approximately 3 inches long and 2.5 inches wide, and is constructed of plastic and metal. It comes in black/white/silver and is sold individually. This replacement part features 1 defrost timer.
Read less

$32.24
In Stock
Defrost Thermostat
Part #297216600
This refrigerator defrost thermostat is a genuine OEM part and is sourced directly from the manufacturer. Located on the back wall of the freezer section in the refrigerator, the defrost thermostat is used to regulate the appliances temperature to keep the refrigerator cold and constant. The part is made of plastic, and has a 4 inch termi...Read morenal on the white lead and a 6 inch terminal on the red lead. A refrigerator defrost thermostat may need to be replaced if the appliance is experiencing temperature related issues such as: too cold, too warm, frost buildup, not running, or running too long.
Read less

$87.51
In Stock
Refrigerator Ice Maker Assembly
Part #241798231
This 8-cube ice maker is used to create ice for your refrigerator. The ice maker receives water from the water inlet valve and will freeze until ice cubes are formed. Once the water has been frozen the cubes will be ejected from the mold in to the ice bucket. The ice maker will continue the process until the ice bucket has reached the l...Read moreimit. If your ice maker is not making ice you may need to replace this part. Please remember to disconnect the power and water supply before starting your repair. This ice maker is a genuine OEM part.
Read less

$116.12
On Order

$123.09
On Order

$27.45
In Stock
Light Bulb
Part #316538904
This OEM 40 watt appliance light bulb is used for some ranges, refrigerators, freezers, and microwaves. Simply locate the existing bulb, unscrew it from its socket, and replace with new light bulb. If the existing bulb is broken in the socket, disconnect the power to the refrigerator and use a pair of needle nose pliers to grip the intern...Read moreal fragments of the bulb to unscrew. Replace with the new bulb and reconnect the power to the refrigerator. These bulbs are sold individually and are a commonly replaced part; consider ordering a spare.
Read less

$56.05
In Stock
Run Capacitor
Part #5304464438
The run capacitor helps the compressor kick on and off while maintaining a constant temperature in your fridge and freezer. You may need to replace your run capacitor if your refrigerator or freezer section will not start, if they are too warm, or if your refrigerator has become too noisy. Replacing the run capacitor is a relatively easy ...Read moreproject. For this repair you will only need a 1/4 inch nut driver and needle nose pliers. Remember to disconnect the power and water supply line to the unit before you begin this repair. For full step by step instructions, simply click on the video below.
Read less

$113.30
In Stock
Ice Container and Auger Assembly
Part #241860803
This ice container assembly is designed to securely store ice within your refrigerator while facilitating efficient dispensing. The kit includes the ice container, auger, and blades, all engineered for seamless integration with compatible models. The auger mechanism rotates to move ice toward the dispenser, while the blades help break up ...Read moreclumps for consistent flow. Replacing the assembly is a straightforward process that requires no tools. Begin by turning off the ice maker, then remove the existing container from the freezer compartment. Align the connector with the auger yoke and slide the new container into position. Once installed, the ice maker can be turned back on, restoring full functionality.
Read less

$95.86
In Stock
Replacement Ice Maker
Part #5303918277
This replacement icemaker may also be known as the ice maker assembly and is compatible with your refrigerator/freezer. This assembly replaces the heat-release ice maker unit only. The kit comes with four round female connectors at the end of the wire harness. It also comes with the adaptor that converts the harness to three round female,...Read more and one round male connectors. The tools you will need in order to make this installation include a 1/4-inch nut driver, and a Phillips screwdriver. Before starting this repair make sure to unplug your refrigerator and shut off the water supply.
Read less

No Longer Available
Crisper Drawer Cover Support
Part #5303288973
This is the replacement crisper drawer cover support for your refrigerator. The crisper shelf rests on the support, which keeps it level. If your drawer cover or shelf will not stay level, or will not stay in place, the support may be damaged. The support is held in place on the refrigerator wall with a drive pin. To remove the damaged su...Read morepport, simply drive the pin all the way in, and use a putty knife to pry the support from the refrigerator wall. At this point, pull the drive pin out and replace the old support with the new one. This is an OEM part and is sold individually.
Read less

$71.98
In Stock
Dispenser Crusher Housing
Part #241885001
This dispenser crusher housing may also be known as a refrigerator ice crusher housing, and is compatible with your refrigerator. The function of the dispenser crusher housing is to shield the ice crushing blades within the ice container. To make this repair you will need a Phillips screwdriver, a flat blade screwdriver, a quarter-inch nu...Read moret driver, and a pair of channel lock pliers. For this installation, work gloves are recommended. Note that this piece may look different or be a different color than the original, but this part will fit and function in the same way as the original part.
Read less
Manuals & Care Guides for MRS26LGJC1
Click to downloadInstall
Installation Instructions
(1.14MB)
Manual
Owner's Manuals
(1.12MB)
Wiring
Wiring Diagram
(0.26MB)
Common Symptoms of the MRS26LGJC1
How this model fails, and the parts that fix it.
Fridge too warm
Fixed by
these parts
these parts


Show All
Ice maker not making ice
Fixed by
these parts
these parts


Show All
Leaking
Fixed by
these parts
these parts


Show All
Ice maker won’t dispense ice
Fixed by
these parts
these parts


Show All
Too warm
Fixed by
these parts
these parts
Show All
Freezer section too warm
Fixed by
these parts
these parts
Show All
Not dispensing water
Fixed by
these parts
these parts

Show All
Freezer not defrosting
Fixed by
these parts
these parts
Show All
Will Not Start
Fixed by
these parts
these parts

Show All
Noisy
Fixed by
these parts
these parts

Show All
Frost buildup
Fixed by
these parts
these parts
Show All
Fridge and Freezer are too warm
Fixed by
these parts
these parts
Show All
Won’t start
Fixed by
these parts
these parts
Show All
Doesn’t stop running
Fixed by
these parts
these parts
Show All
Fridge runs too long
Fixed by
these parts
these parts
Show All
Fridge too cold
Fixed by
these parts
these parts
Show All
Freezer too cold
Fixed by
these parts
these parts
Show All
Light not working
Fixed by
these parts
these parts


Show All
Door won’t open or close
Fixed by
these parts
these parts


Show All
Ice maker dispenses too little ice
Fixed by
these parts
these parts

Show All
Ice maker dispenses too much ice
Fixed by
these parts
these parts
Show All
Clicking sound
Fixed by
these parts
these parts
Show All
Too cold
Fixed by
these parts
these parts
Show All
Watch our pros, then fix it yourself.

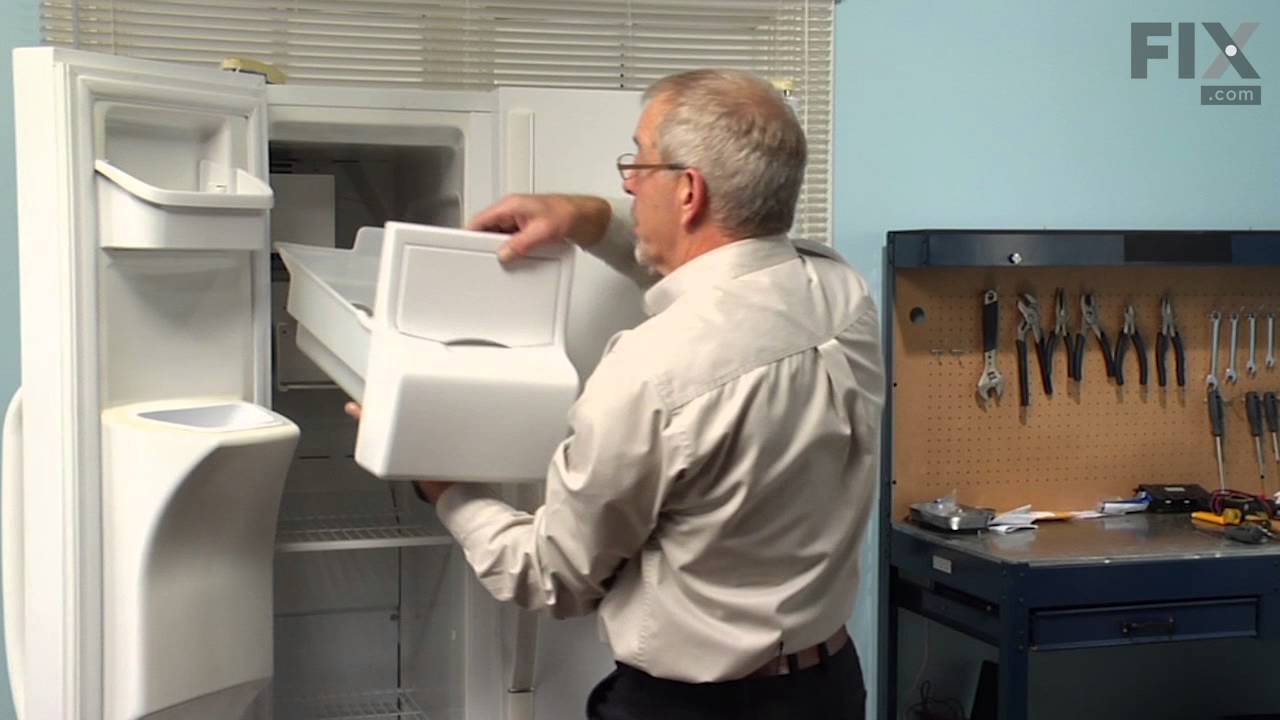
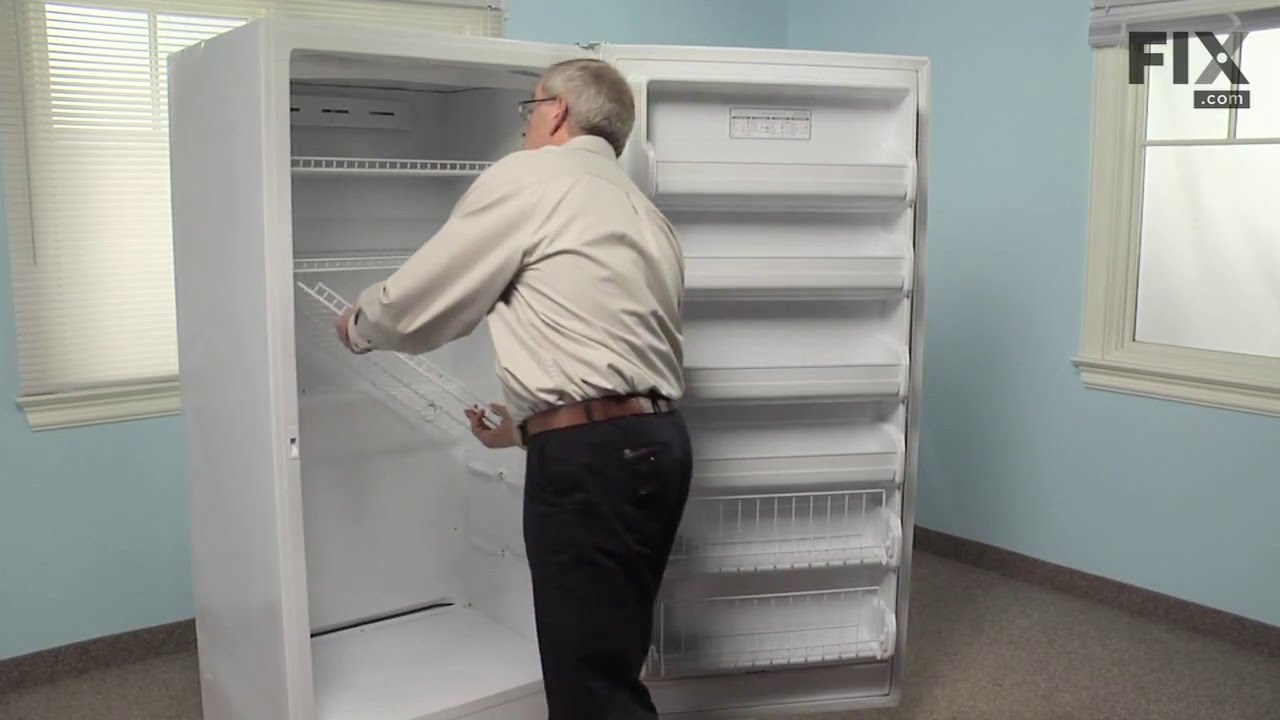
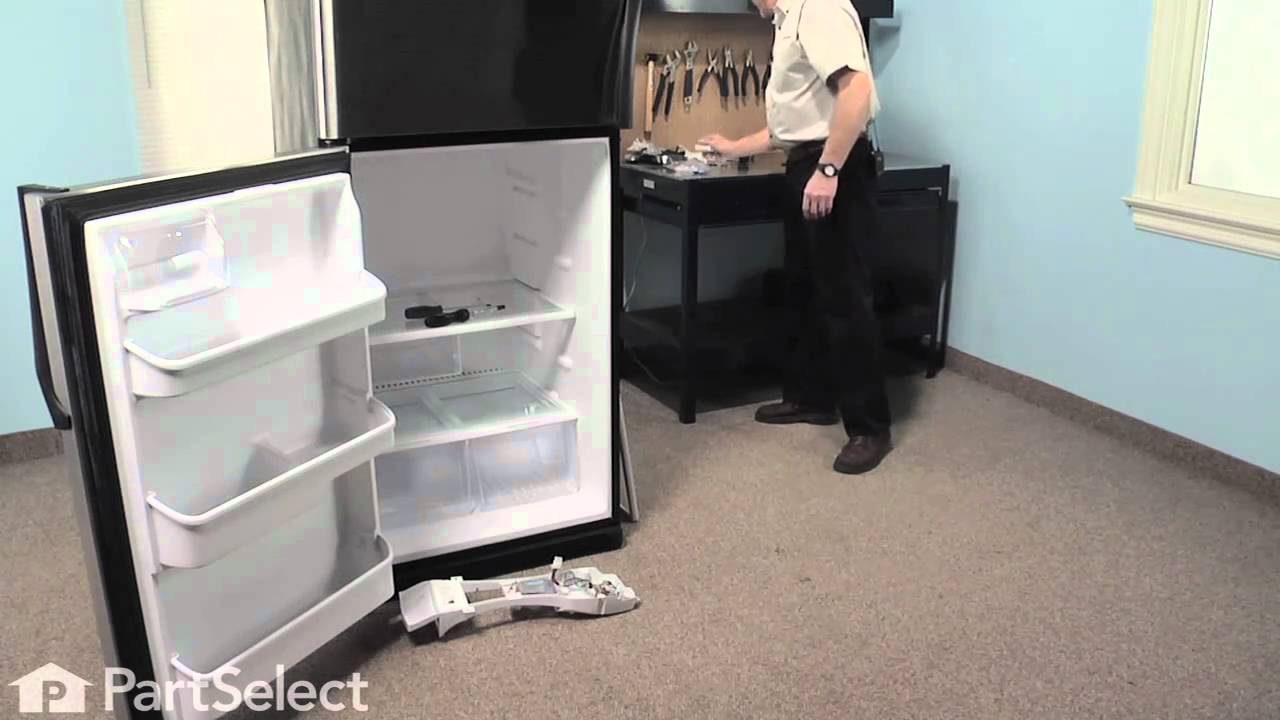
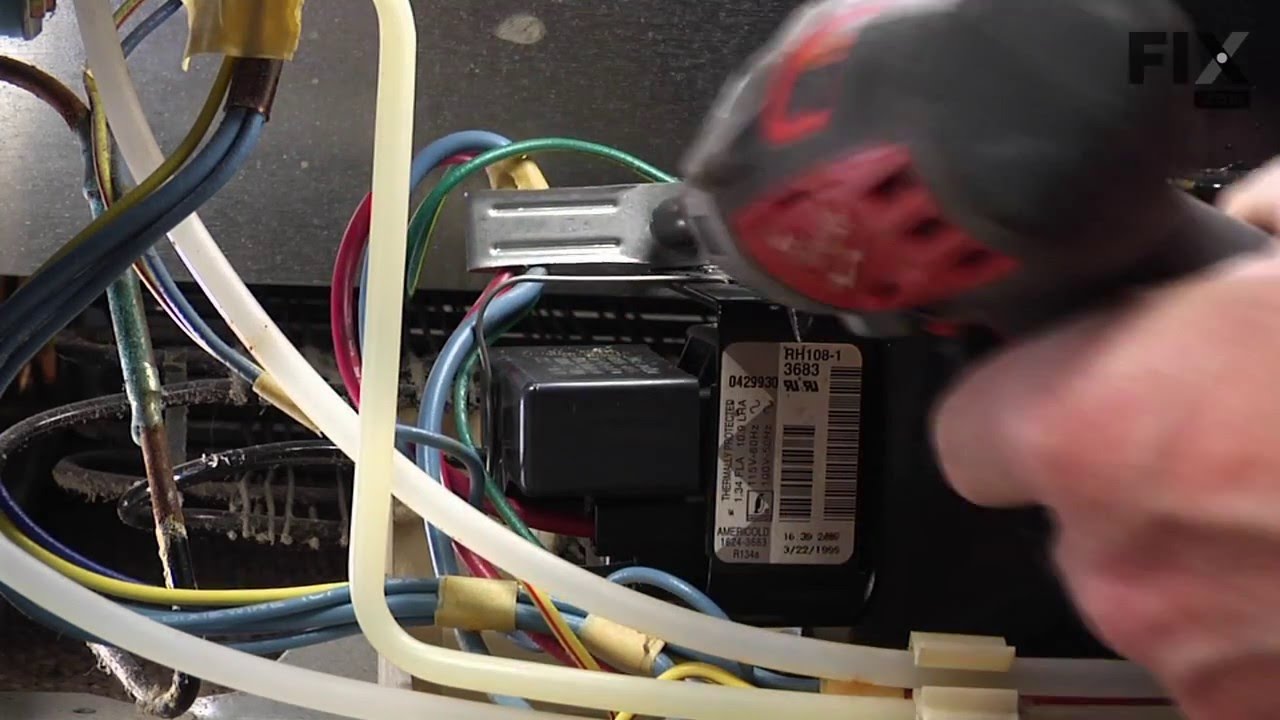

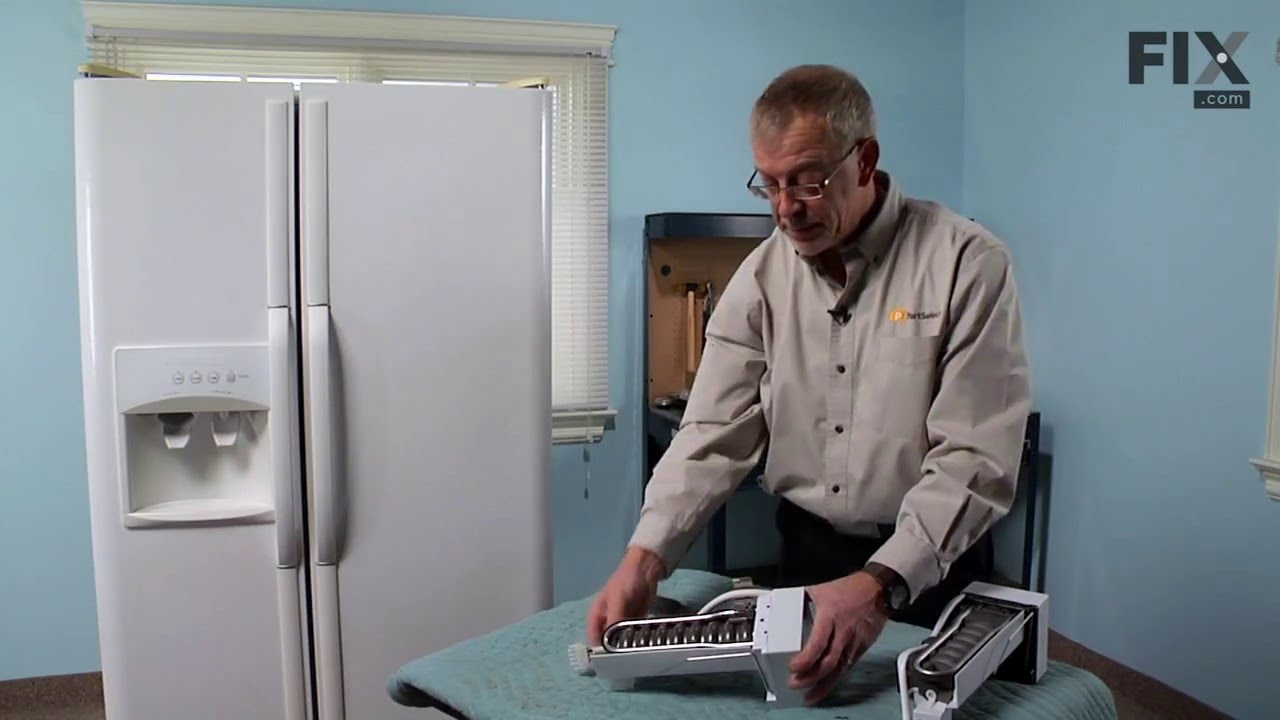
See how others fixed this model. Time, tools, difficulty, and steps that lead to victory!
View More