


 My Orders




MRMF31 General Electric Range - Overview
Models starting with MRMF31
Click on the best match to narrow your results.
- MRMF3100R-1 General Electric Range
- MRMF3100R-2 General Electric Range
- MRMF3100R-3 General Electric Range
- MRMF3100S-1 General Electric Range
- MRMF3100ST-2 General Electric Range
- MRMF3100SW-2 General Electric Range
- MRMF3100ZWW-1 General Electric Range
- MRMF3100ZWW-2 General Electric Range
- MRMF3100ZWW-3 General Electric Range
- MRMF3100ZWW-4 General Electric Range
- MRMF3150R-1 General Electric Range
- MRMF3150R-2 General Electric Range
- MRMF3150R-3 General Electric Range
- MRMF3150RM-1 General Electric Range
- MRMF3150RM-2 General Electric Range
- MRMF3150RM-3 General Electric Range
- MRMF3150S-1 General Electric Range
- MRMF3150SM-1 General Electric Range
- MRMF3150VM-1 General Electric Range
- MRMF3150VM-2 General Electric Range
- MRMF3150VW-1 General Electric Range
- MRMF3150VW-2 General Electric Range
- MRMF3150ZWH-1 General Electric Range
- MRMF3150ZWH-2 General Electric Range
- MRMF3150ZWH-3 General Electric Range
- MRMF3150ZWH-4 General Electric Range
- MRMF3150ZWH-5 General Electric Range
- MRMF3150ZWW-1 General Electric Range
- MRMF3150ZWW-2 General Electric Range
- MRMF3150ZWW-3 General Electric Range
- MRMF3150ZWW-4 General Electric Range
- MRMF3150ZWW-5 General Electric Range
- MRMF3180R-1 General Electric Range
- MRMF3180R-2 General Electric Range
- MRMF3180R-3 General Electric Range
- MRMF3180RM-1 General Electric Range
- MRMF3180RM-2 General Electric Range
- MRMF3180RM-3 General Electric Range
- MRMF3180S-1 General Electric Range
- MRMF3180SM-1 General Electric Range
Enter a part description. DIY Heroes keep it simple, eg. "belt" or "pump".
Search filter:
Clear Filter
Your search term must have 3 or more characters.

$22.52
In Stock
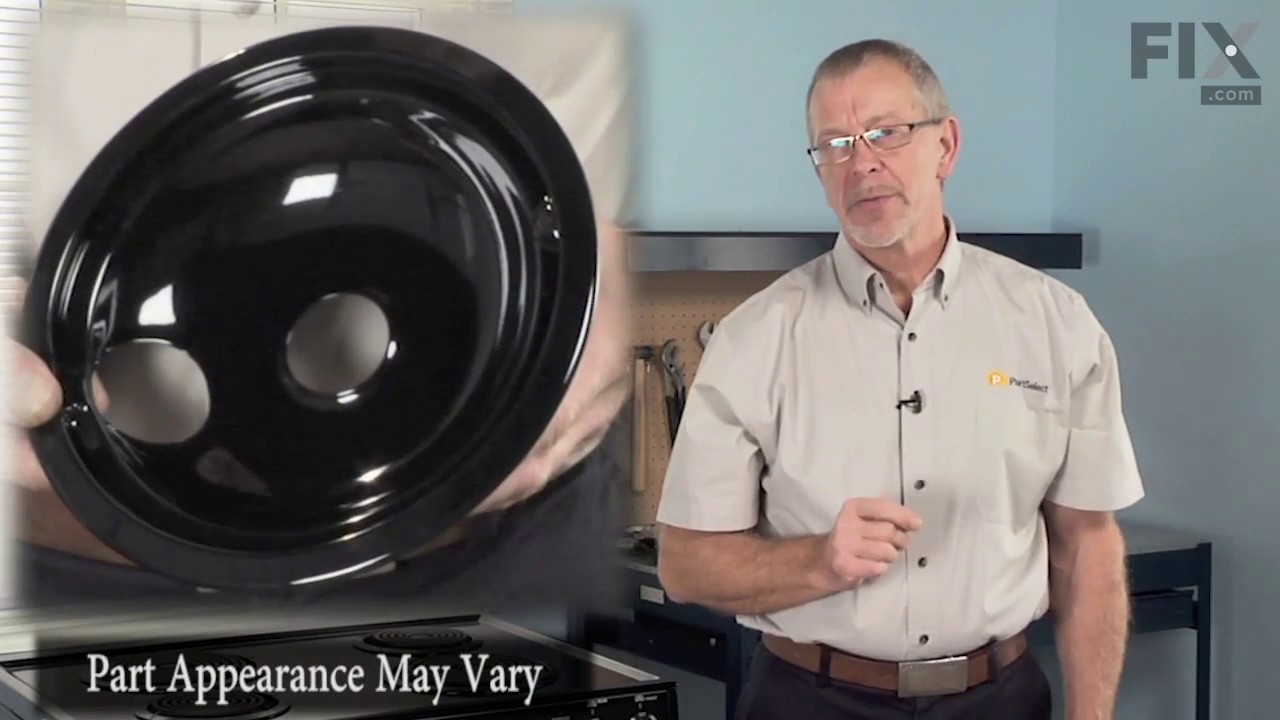
Burner Bowl - 8 Inch
Part #WB31T10015
This part is located beneath the element and catches any spills.

$18.22
In Stock
Burner Bowl - 6 Inch
Part #WB31T10014
This burner bowl is also known as a burner drip bowl or burner drip pan, and is designed for use with your cooktop or range. It is black in color and is approximately 6 inches in diameter. It can be found beneath the element and catches spills. If your old burner bowl is damaged or missing, you may need to replace it with this part.

No Longer Available
Door Handle End Cap
Part #WB7X7183
This oven door handle end cap is used on both the left and right hand sides. Sold individually.

$21.95
In Stock
Light Bulb - 40W
Part #40A15
This 40-Watt light bulb is sold individually.
It is specially designed to withstand extreme temperatures, so this bulb is compatible with a variety of appliance types including refrigerators, ranges, microwaves, and dryers. It features a frosted glass bulb with a standard metal socket base, which allows you to easily unscrew the burnt-out light and twist the new bulb into place.

$46.21
In Stock
Oven Handle End Cap - Left or Right Side
Part #WB07X10034
This oven handle end cap connects to your oven door handle, and acts as the joint that connects it to the oven door. This part is made of black plastic and can be used as the left or right-side end cap. If your oven door handle is loose or disconnected, this part may fix the problem. The end cap will need to be screwed into the oven door itself, but simply snaps in to the door handle. This part is sold individually.

$56.38
In Stock
Door Handle End Cap
Part #WB07K10043
This white end cap is sold individually. One cap is required for each end of the oven door handle.

$38.36
In Stock

$59.18
In Stock
Door Handle
Part #WB15K5076
This replacement door handle is designed to fit select range models and provides a secure grip for opening and closing the oven door. Measuring approximately 22 inches by 1 inch, it is constructed from durable black plastic for long-lasting performance. If your current handle is broken or missing, this genuine OEM part offers a reliable s...Read moreolution. Depending on your model, installation may require removing the inner panel of the oven door. Always refer to your owner's manual and wear work gloves for safety during installation.
Read less

$31.86
In Stock

$48.35
Special Order
Door Handle
Part #WB15X10018
This is just the handle. The end caps for this handle must be ordered separately if needed.

$90.03
In Stock
Door Handle
Part #WB15X10047
This replacement oven door handle is designed to restore functionality and ease of use to your appliance. Crafted from durable black plastic, it measures approximately 30 inches in length and 1.5 inches in width, providing a secure and comfortable grip. The handle attaches directly to the oven door, allowing for smooth and reliable openin...Read moreg and closing. Ideal for situations where the original handle is broken or missing, this component is sold individually and is sourced directly from the original equipment manufacturer to ensure compatibility and performance. Installation typically involves securing the handle to the existing mounting points on the oven door using standard tools.
Read less

$77.22
In Stock
Door Handle
Part #WB15X10003
This oven door handle is a genuine OEM replacement designed for select GE, Hotpoint, and Kenmore ranges. Made from heavy-duty materials and typically finished in black, it provides a secure grip for opening and closing the oven door. Engineered for durability and a precise fit, it restores proper function and appearance when the original ...Read morehandle is broken, loose, or missing. Installation is straightforward and typically requires basic hand tools; wearing work gloves is recommended for safety. Always verify compatibility with your specific model before installation, as similar handles may differ in size and mounting configuration.
Read less
Common Symptoms of models starting with MRMF31
How this model fails, and the parts that fix it.

Watch our pros, then fix it yourself.
See how others fixed this model. Time, tools, difficulty, and steps that lead to victory!
View More
Search repair tips from other customers using simple keywords like "replace", "fit", "remove", "inspect". DIY doesn't mean you have to do it alone!
Search filter:
Clear Filter
Your search term must have 3 or more characters.
handle on range was broken
15 of 19 people
found this instruction helpful.
1] removed door and put it on bench
2] removed two[2] screws to open up face of door
3] wedged aa 2" x 4" between face of door and back of door
4] used nut-driver to remove the damaged end-cap [this part holds the stove handle in place]
5] put handle on one side to good end-cap and slipped new end-cap on handle and pu ... Read more t it opening where old end-cap came off
6]screwed in new part and screwed together face and back of oven door
7] put door back on oven
2] removed two[2] screws to open up face of door
3] wedged aa 2" x 4" between face of door and back of door
4] used nut-driver to remove the damaged end-cap [this part holds the stove handle in place]
5] put handle on one side to good end-cap and slipped new end-cap on handle and pu ... Read more t it opening where old end-cap came off
6]screwed in new part and screwed together face and back of oven door
7] put door back on oven
Read less
Other Parts Used:


Was this helpful?
Thank you for voting!